>>
30-MINUTE MEALS! Get the email series now →

Quick, melty wraps filled with shredded chicken, garlic aioli, and cheddar—ready in minutes for a satisfying weeknight meal.
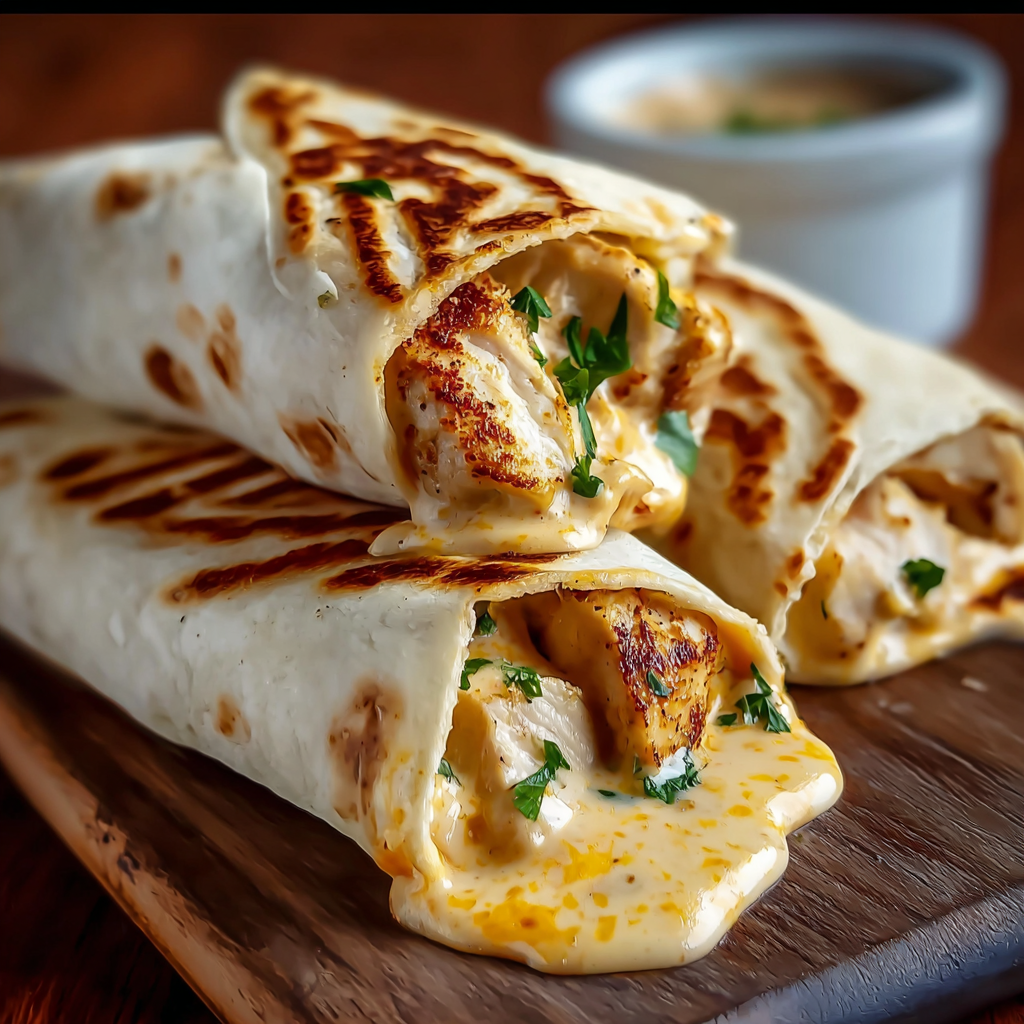
This Cheesy Garlic Chicken Wrap is my go-to when the day has been long and everyone wants something warm, satisfying, and fast. I first put this combination together one weekday evening when I had leftover roasted chicken and a jar of garlic aioli in the fridge. The result was unexpectedly comforting: creamy, garlicky chicken wrapped in a warm tortilla and brightened by the sharpness of cheddar. It’s become the recipe I turn to when I want something that feels homemade but comes together in a flash.
What makes this dish special is the balance between smooth garlic aioli and the stretchy, slightly salty cheddar melted into the shredded chicken. Texturally it’s a delight—juicy strands of chicken coated in silky sauce, melted cheese binding everything together, and a lightly toasted tortilla that adds gentle crunch. I’ve served these at casual get-togethers and quiet weeknight dinners alike; they disappear every time and kids, teens, and adults always ask for seconds.
I remember bringing a batch of these to a friend’s movie night; they became the unofficial snack of the evening. People kept saying they tasted like something from a diner but better because they were warm straight from the skillet. That positive feedback convinced me to refine timing and toasting technique until the tortilla was perfectly golden while the cheese inside was gooey.
The part I love most is how quickly the flavors come together. Once, I prepped a batch before a soccer game, and the team parents loved them so much they asked for the recipe. That remark reminded me why simple, honest ingredients are so reliable: they produce consistent, comforting results every time.
Refrigerate leftover filling in an airtight container for up to 48 hours. If you’ve grilled the wraps already, cool them to room temperature, wrap each tightly in foil or plastic wrap, and refrigerate for 2 to 3 days. For freezer storage, wrap individually in foil and place in a resealable freezer bag for up to 3 months. Reheat refrigerated wraps in a skillet over low heat to maintain crispness and allow the cheese to remelt; for frozen wraps thaw overnight in the refrigerator before reheating. Storing with a paper towel can absorb excess moisture and help tortillas stay crisp on reheating.
To lighten the wraps, swap garlic aioli for Greek yogurt mixed with a teaspoon of minced garlic and a squeeze of lemon. For dairy-free options use a plant-based mayonnaise and dairy-free shredded cheese, though melt and flavor will differ slightly. Replace flour tortillas with corn tortillas for a different texture and lower gluten content—note corn tortillas are less pliable and work best warmed. If you prefer a spicier note, substitute pepper jack for cheddar or add a few dashes of hot sauce to the filling. For added veg, fold in a handful of baby spinach or shredded cabbage before grilling.
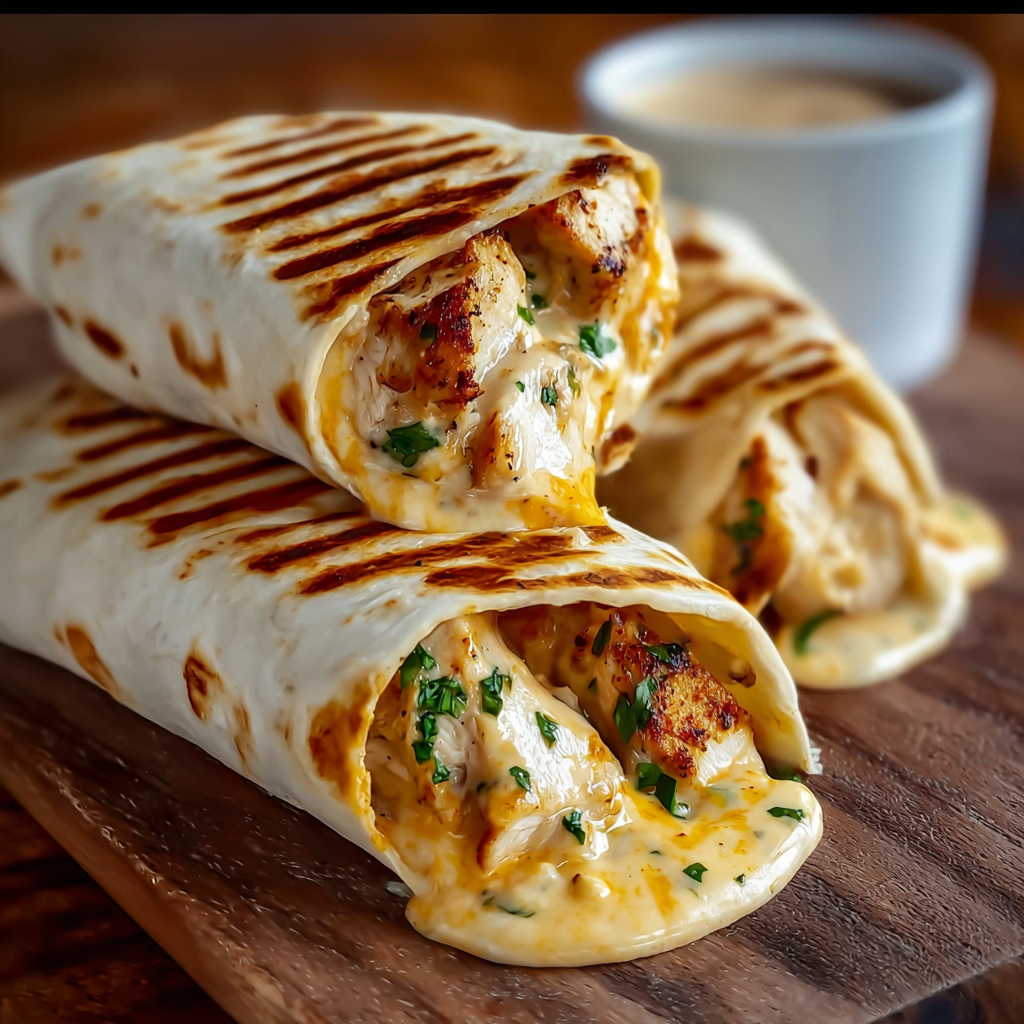
Serve these wraps whole or halved with a simple side salad for a light dinner, or pair with roasted sweet potato wedges for a heartier plate. Garnish with chopped fresh parsley or chives for color. For dipping offer extra garlic aioli, a tangy salsa verde, or a cooling cucumber-yogurt sauce. These wraps also work well at buffets—slice them into smaller pinwheels for finger food at parties and serve on a wooden board for rustic presentation.
While not rooted in a single traditional cuisine, the wrap concept borrows from global handheld traditions like Mediterranean flatbreads and Tex-Mex burritos. This version leans American in its use of cheddar and garlic aioli, reflecting the modern fusion approach at many home kitchens. The technique of shredding cooked poultry and marrying it with a creamy sauce is a classic comfort method found across cultures, adapted here into a handheld form that’s familiar and fast.
Summer: add crisp sliced cucumbers and ripe tomatoes for freshness. Fall and winter: fold in warmed roasted red peppers or caramelized onions for deeper flavor. Holiday twist: use leftover Thanksgiving turkey in place of the chicken and add a teaspoon of cranberry compote inside for a sweet-savory bite. Swap cheese types seasonally—use smoked cheddar for autumn or a milder Colby in warmer months.
Portion the shredded chicken and aioli into individual containers for grab-and-go lunches. Store cheese separately to prevent moisture migration. Assemble and grill in batches, then cool and refrigerate, reheating in a skillet or toaster oven to restore crispness. For office lunches, pack wraps cold with a small container of aioli to warm and assemble later, or bring a small pan to re-toast if you have access to a stovetop.
These wraps are proof that simple ingredients can produce memorable meals. They’re flexible, fast, and unfussy—perfect for weeknights, casual gatherings, or whenever you crave something warm, cheesy, and satisfying. Make them your own and enjoy the comfort of a well-made handheld.
Warm tortillas briefly in a dry skillet or microwave for 10 seconds to make them more pliable and easier to roll.
Shred chicken while slightly warm for easier coating with aioli and better texture.
Use freshly shredded cheese for a smoother melt and superior flavor compared with pre-shredded brands.
This nourishing cheesy garlic chicken wraps recipe is sure to be a staple in your kitchen. Enjoy every moist, high protein slice — it is perfect for breakfast or as a wholesome snack any time.
This Cheesy Garlic Chicken Wraps recipe makes perfectly juicy, tender, and flavorful steak every time! Serve with potatoes and a side salad for an unforgettable dinner in under 30 minutes.
In a mixing bowl combine 2 cups shredded chicken with 1/2 cup garlic aioli. Toss until evenly coated. Season with salt and pepper and adjust to taste. If chicken is cold, warm briefly to help the aioli coat evenly.
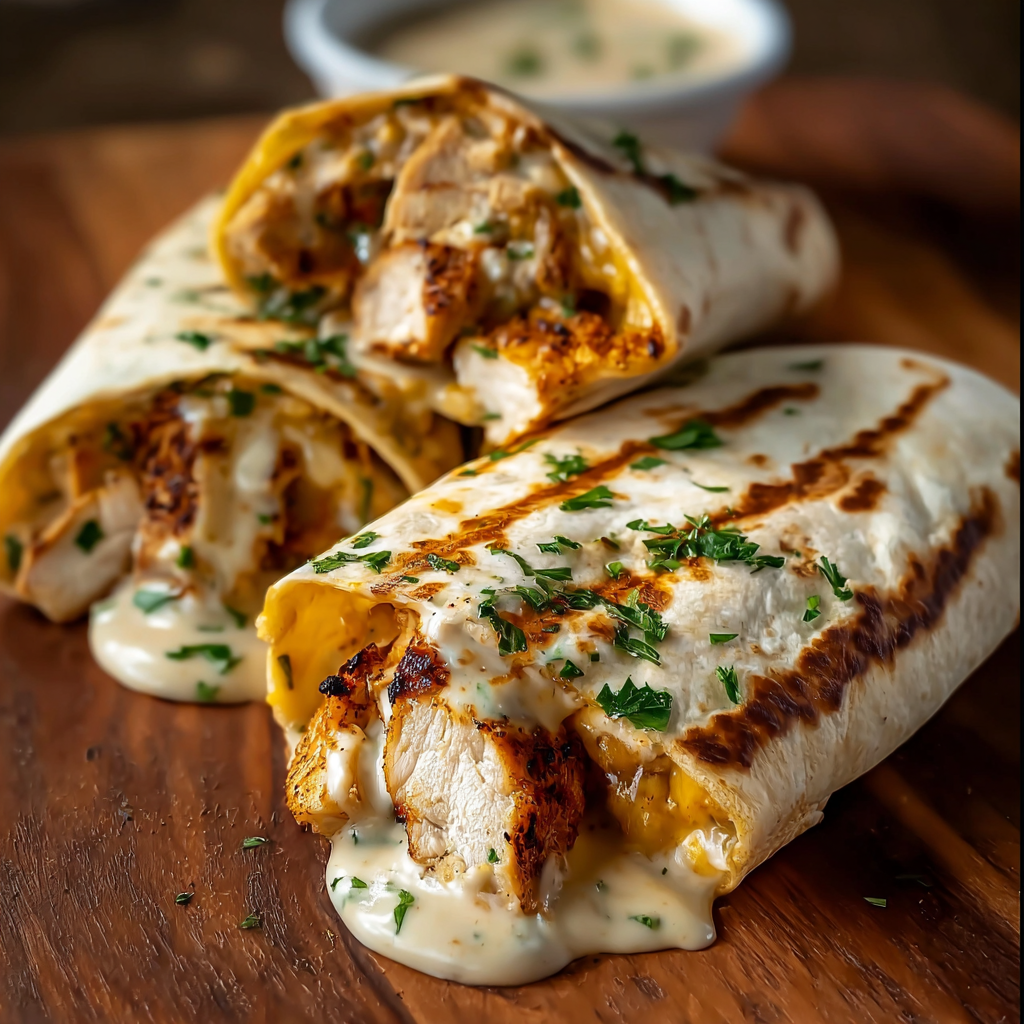
Lay a tortilla flat, place one quarter of the chicken mixture in the center, and sprinkle with 1/4 cup shredded cheddar. Distribute filling in a line for easier rolling.
Fold the bottom edge up, tuck sides in, and roll away from you to make a tight cylinder. Press gently to compact the filling and ensure a neat seam.
Heat a skillet over medium and add a light brush of oil or butter. Place wrap seam-side down and cook 2 to 3 minutes per side until golden brown and cheese is melted. Press lightly while cooking for even contact.
Remove from the skillet, let rest 1 minute, slice on the diagonal, and serve immediately with extra aioli or a fresh garnish.
Last Step: Please leave a rating and comment letting us know how you liked this recipe! This helps our business to thrive and continue providing free, high-quality recipes for you.
Leave a comment & rating below or tag
@galovicooking on social media!
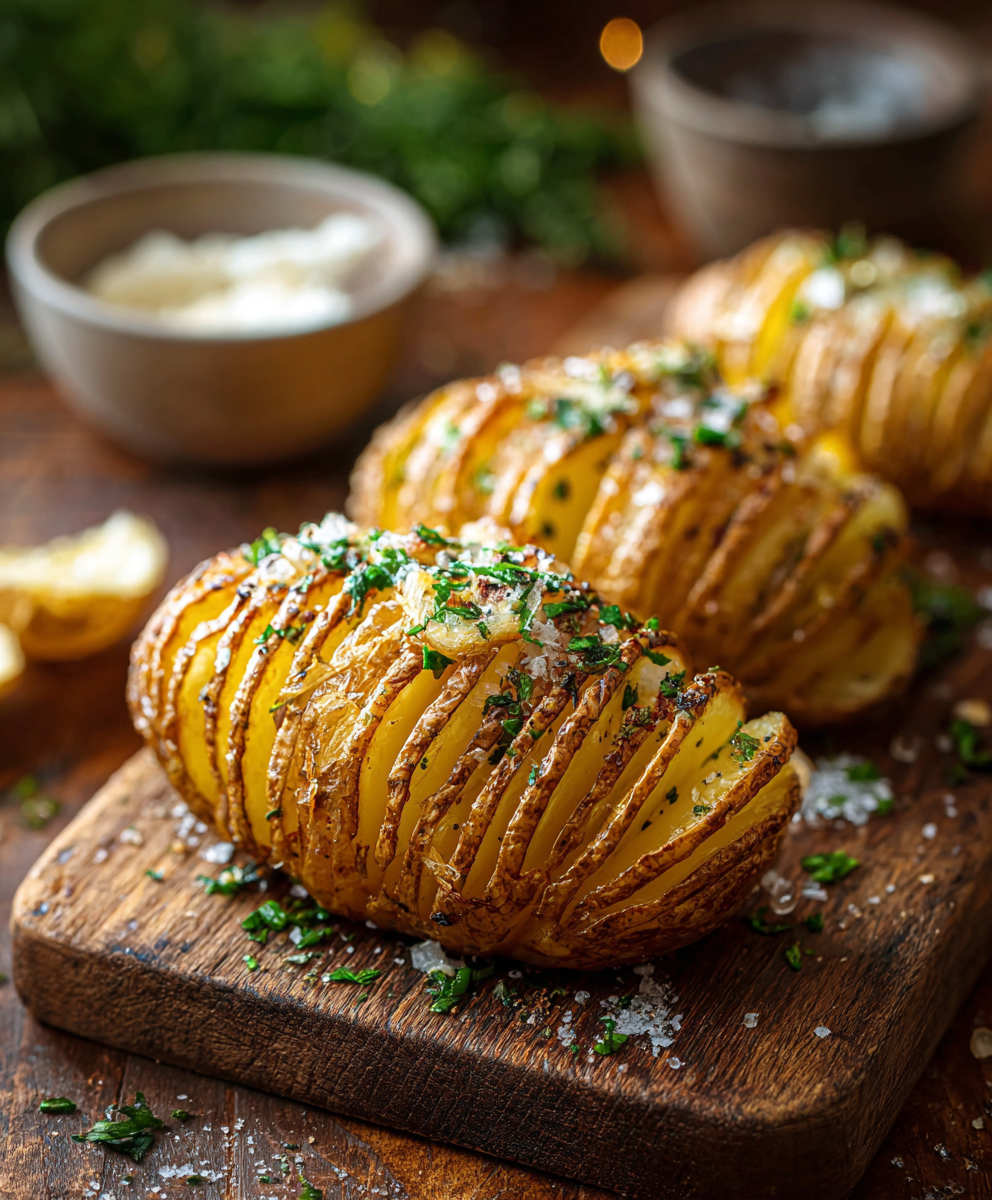
Crispy on the outside, tender inside: classic Hasselback potatoes brushed with melted butter and seasoned simply with kosher salt and pepper.
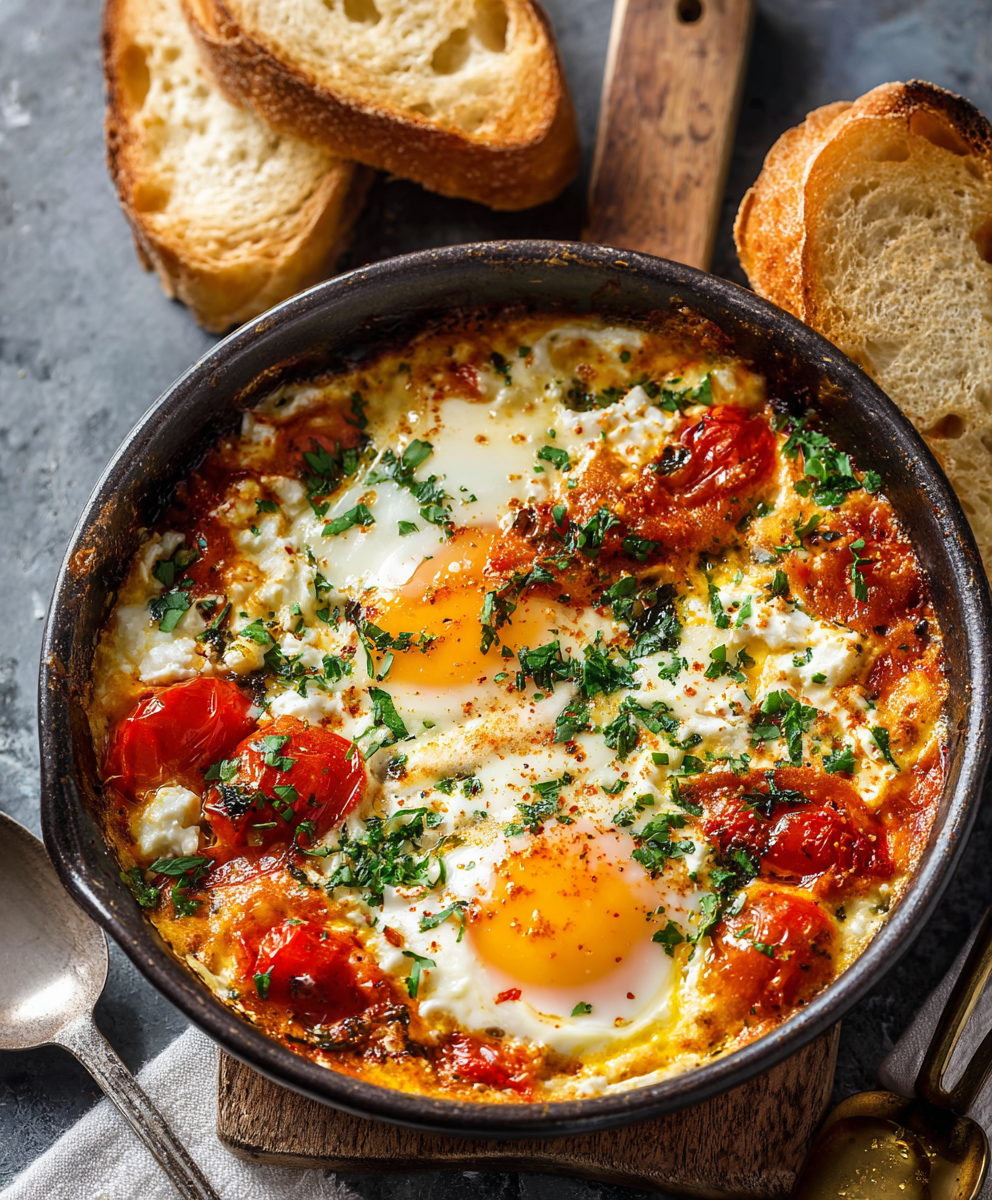
A comforting Mediterranean-inspired bake of roasted tomatoes, feta, spinach, and eggs — creamy, savory, and perfect for breakfast, brunch, or an easy weeknight meal.

A bright, tangy frozen treat that channels key lime pie in a protein-packed, freezer-ready bark — perfect for warm days, snack prep, and a lighter dessert.
Leave a comment & rating below or tag @galovicooking on social media!
Enjoyed this recipe? Share it with friends and family, and don't forget to leave a review!
This recipe looks amazing! Can't wait to try it.
Comments are stored locally in your browser. Server comments are displayed alongside your local comments.

Join to receive our email series which contains a round-up of some of our quick and easy family favorite recipes.