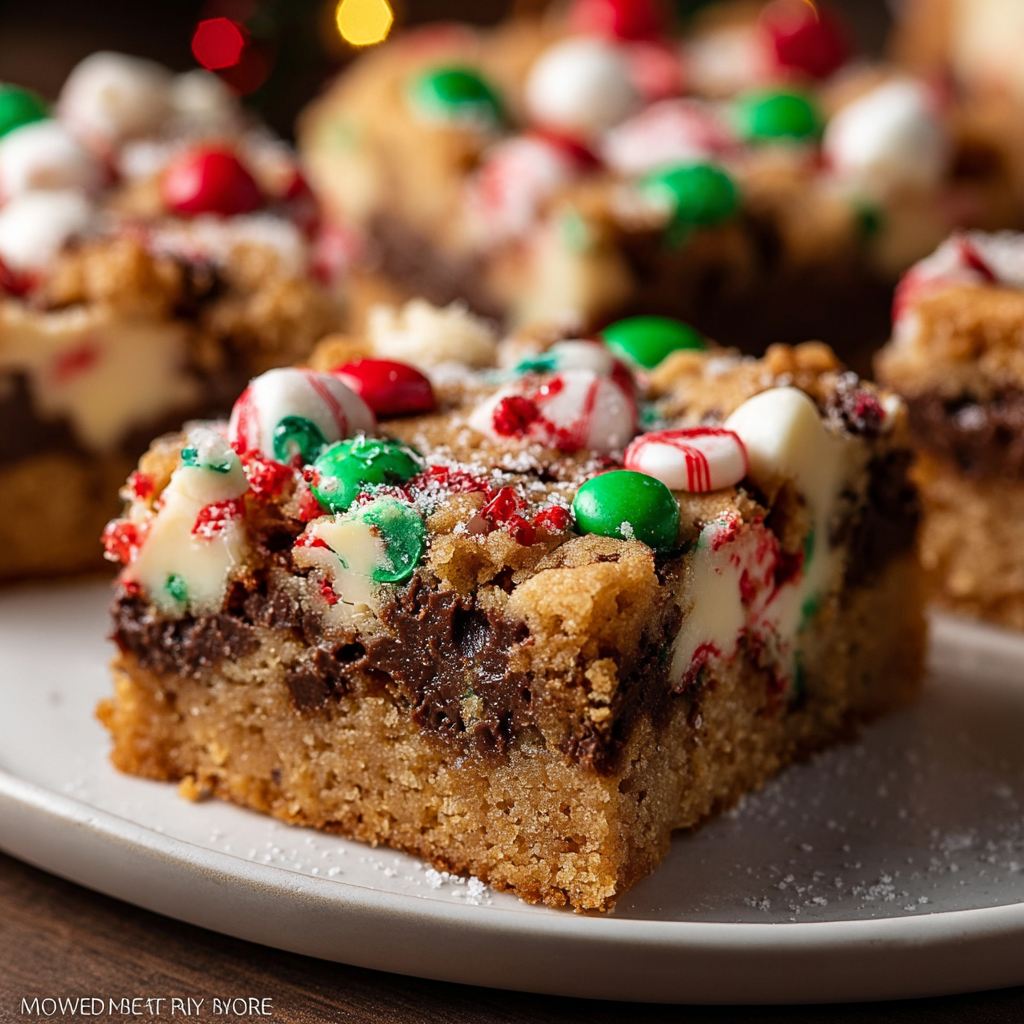
Christmas Cookie Bars

A festive, crowd-pleasing tray of buttery cookie bars studded with chocolate chips, optional nuts and topped with cheerful sprinkles — perfect for holiday baking and gifting.
This tray-baked cookie treat has become my favorite shortcut for holiday baking when I want all the comfort of a cookie plate without standing over the oven for hours. I first developed this formula the December my oven broke down two days before a cookie exchange; I needed something that baked evenly in a single pan, transported well, and still looked festive. The result was a thick, chewy bar with a buttery base, pockets of melted chocolate and a sprinkle-studded top that made everyone at the party smile.
What makes these bars special is the texture contrast: a slightly crisp edge, a tender, almost fudgy center and the occasional crunch from chopped nuts. The vanilla and the mix of granulated and brown sugar build depth, while the festive sprinkles give a cheerful holiday finish. Over the years I’ve tweaked timing and pan size to ensure consistent results and learned a few tricks—like chilling briefly before slicing—to achieve clean squares that hold together for gift boxes and potlucks.
Why You'll Love This Recipe
- One-pan convenience: everything bakes in a 9x13-inch pan so you save time on shaping and flipping individual cookies, and cleanup is minimal.
- Reliable texture: the combination of granulated and brown sugar delivers chewiness with a caramel depth; it’s forgiving for home bakers.
- Customizable mix-ins: use semisweet, milk, white or dark chocolate chips and add nuts or dried fruit to suit dietary preferences.
- Quick timeline: about 20 minutes active prep and 25 minutes baking — you can have warm bars ready in under an hour.
- Great for gifting and transport: bars slice neatly for boxes and won’t crumble like some fragile drop cookies.
- Uses pantry staples and is easily doubled for large gatherings or freezer storage.
In my household these bars turned into the go-to housewarming and holiday contribution — neighbors and family always ask for the recipe. I remember delivering a tin to my aunt who declared they tasted like a warm kitchen and a childhood Christmas, which is the highest compliment in my family.
Ingredients
- Unsalted butter (1 cup): Use high-quality butter for the best flavor. I prefer European-style butter like Plugrá for richness, but any unsalted stick butter at room temperature works; it gives a tender crumb and helps the bars set.
- Granulated sugar (1 cup): Adds sweetness and helps create a lightly crisp edge. For a slightly finer texture, make sure the sugar is evenly creamed into the butter.
- Brown sugar, packed (1 cup): Provides moisture and caramel notes; light brown sugar is traditional, but dark brown intensifies the molasses flavor.
- Eggs (2 large): Room-temperature eggs incorporate more easily and give structure; use large eggs for consistent texture.
- Vanilla extract (2 teaspoons): Use pure vanilla for the best aroma — it brightens the buttery flavors.
- All-purpose flour (3 cups): Measures by spooning into the cup and leveling for accuracy. The flour provides the structure needed for thick bars.
- Baking powder & baking soda (1 teaspoon each): A combination that gives just enough lift while keeping a dense, chewy interior.
- Salt (1/2 teaspoon): Enhances sweetness and balances the flavors — if using salted butter, reduce added salt slightly.
- Chocolate chips (2 cups): Semisweet chips are classic; you can mix chip sizes or chop a bar for irregular pockets of melt.
- Chopped nuts (1 cup, optional): Toasted walnuts or pecans add toasty flavor and crunch; omit for nut-free needs.
- Festive sprinkles (1/2 cup): Added after baking for a decorative finish; choose sturdy jimmies or nonpareils that hold color.
Instructions
Prepare the pan and oven: Preheat the oven to 350°F (175°C). Line a 9x13-inch pan with parchment, leaving an overhang for easy lifting, or grease the pan thoroughly. This ensures even baking and makes removing the bars simple. Cream butter and sugars: In a large bowl or stand mixer with the paddle attachment, beat 1 cup softened unsalted butter with 1 cup granulated sugar and 1 cup packed brown sugar on medium speed until light and slightly fluffy, about 2 to 3 minutes. Proper creaming incorporates air and helps with texture. Add eggs and vanilla: Beat in 2 large room-temperature eggs one at a time, mixing well after each addition, then stir in 2 teaspoons vanilla. The batter should be glossy and cohesive; scraping the bowl helps ensure even mixing. Combine dry ingredients: In a separate bowl whisk together 3 cups all-purpose flour, 1 teaspoon baking powder, 1 teaspoon baking soda, and 1/2 teaspoon salt. Whisking distributes the leaveners so the bars rise uniformly. Fold and mix: Gradually add the dry ingredients to the wet, mixing on low until just combined to avoid overworking the gluten. Fold in 2 cups chocolate chips and 1 cup chopped nuts if using. The batter will be thick — that’s normal for dense bars. Spread and bake: Press the batter evenly into the prepared 9x13 pan. Smooth the top with an offset spatula for even thickness. Bake at 350°F for 22 to 28 minutes, rotating the pan halfway through. Look for lightly golden edges and a set but slightly soft center; a toothpick should come out with a few moist crumbs, not raw batter. Cool and decorate: Remove from the oven and let cool in the pan on a wire rack for 15 minutes. While still warm, gently press 1/2 cup festive sprinkles into the surface so they adhere. Allow bars to cool completely in the pan — chilling in the refrigerator for 30 minutes makes slicing cleaner. Use the parchment overhang to lift the slab and slice into 16 squares.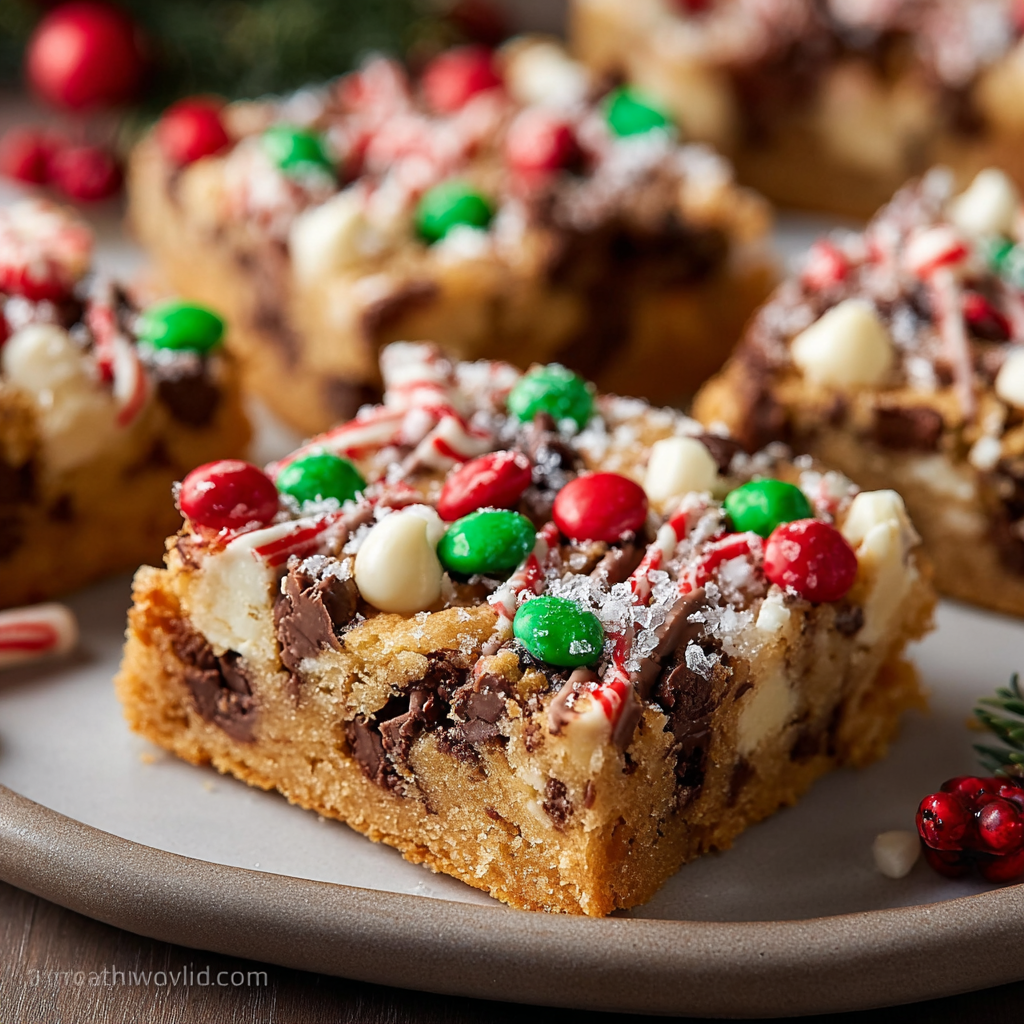
You Must Know
- Storage: Keep bars in an airtight container at room temperature for up to 4 days or freeze for up to 3 months; thaw overnight in the refrigerator before serving.
- Nutritional note: These are indulgent holiday treats — they provide quick energy from sugars and fats, and portions of 1 bar balance indulgence and sharing.
- Allergy tip: Omit nuts and use a nut-free chocolate if serving people with tree nut allergies; sprinkles sometimes contain trace allergens, so check labels.
- Baking benefit: Using parchment prevents sticking and makes lifting the slab easy for neat slices; chilling slightly before cutting prevents crumbly edges.
I love that these bars travel well — I’ve handed a tin across snowy sidewalks to neighbors and never once had the presentation suffer. The first time I packaged them in festive boxes I watched my children press their noses to the window until the recipients opened the lid; their delight was the most rewarding part of the baking.
Storage Tips
Store cooled bars in a single layer or separated with parchment sheets to prevent sticking. At room temperature, use an airtight tin or container for up to four days; refrigeration extends freshness to about a week but can firm the texture, so bring to room temperature before serving. For longer storage, wrap the cooled slab tightly in plastic and foil, then freeze up to three months. Thaw overnight in the refrigerator, then warm gently in a 300°F oven for 8 to 10 minutes to refresh the texture.
Ingredient Substitutions
If you need dairy-free options, substitute vegan stick butter in a 1:1 ratio and use dairy-free chocolate chips — expect a slightly different mouthfeel but similar flavor. For gluten-free, replace the all-purpose flour with a cup-for-cup gluten-free blend containing xanthan gum. To reduce sweetness, cut granulated sugar to 3/4 cup and brown sugar to 3/4 cup; the bars will be slightly less chewy but still delicious. Swap nuts for equal quantities of seeds for a nut-free crunch alternative.
Serving Suggestions
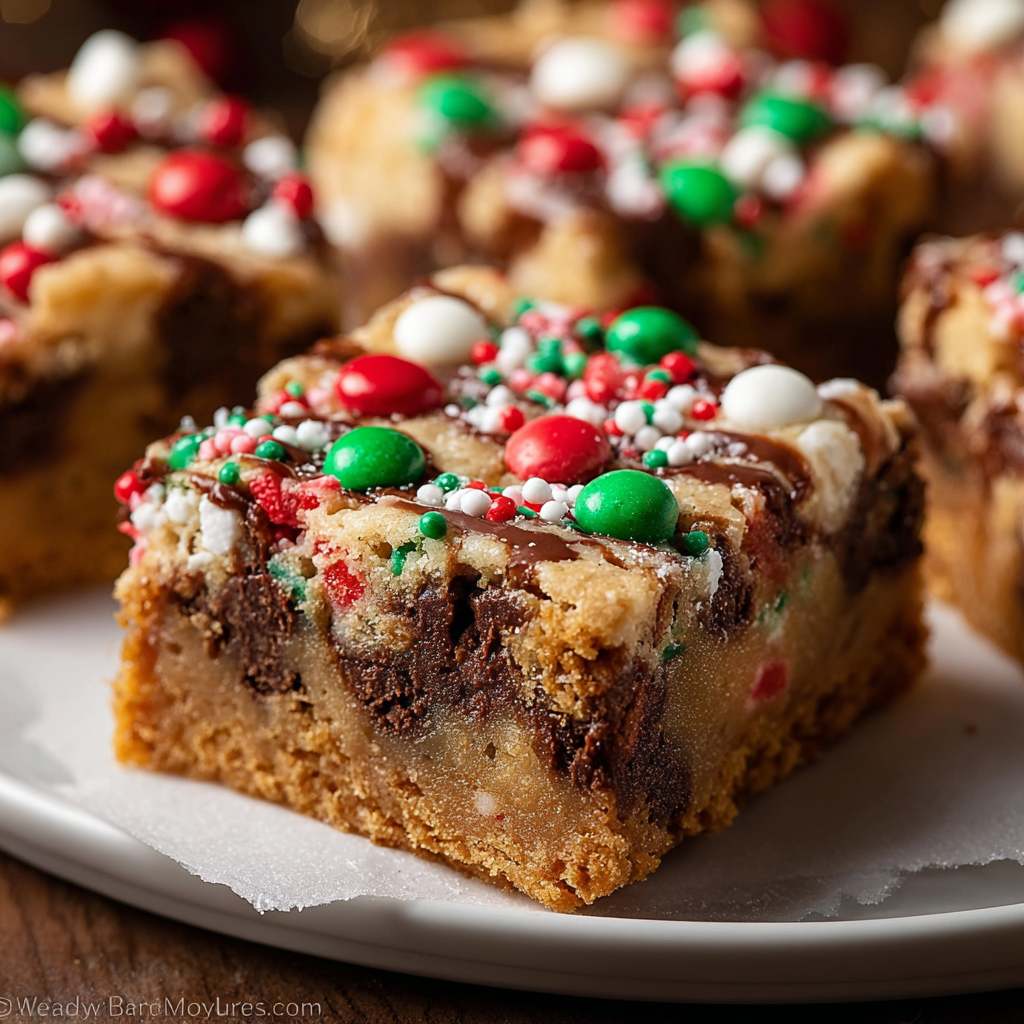
Serve squares on a festive platter with a dusting of powdered sugar or alongside spiced hot chocolate or mulled cider. For a dessert buffet, pair with citrusy shortbreads or ginger snaps to contrast the chocolate. These bars are also excellent warmed and topped with a scoop of vanilla ice cream for a simple party dessert, or cut into smaller bite-sized pieces for a cookie tray.
Cultural Background
Tray-baked cookie bars have roots in American home baking traditions where efficiency and hospitality meet. Compact and transportable, these slices echo classic drop cookies but are adapted for modern entertaining — they borrow from the cookie bar tradition popularized in mid-20th century cookbooks, when cooks leaned into one-bowl methods for practical holiday baking.
Seasonal Adaptations
For a winter twist, stir in 1 teaspoon ground cinnamon and 1/2 teaspoon nutmeg to the dry mix and swap sprinkles for crushed peppermint after baking. In summer, fold in 1 cup dried cherries and use white chocolate chips for a bright, tart contrast. For Thanksgiving-themed bars, add 1/2 cup pumpkin seeds and a pinch of ginger to the batter for seasonal warmth.
Meal Prep Tips
To bake ahead, prepare and bake the slab, cool completely, then wrap tightly and freeze. Slice from frozen if you need individual servings quickly; they slice more cleanly when slightly chilled. If you want portioned lunchbox treats, cut into squares and place each between parchment layers in a container. Reheat in a microwave for 10 to 15 seconds or 6 to 8 minutes in a 300°F oven for a warm, fresh-baked feel.
These bars are a reliable and joyful addition to holiday baking: forgiving, customizable and built to share. Whether you place them in a tin for a friend or keep a pan warm on the counter for family, they deliver comfort in every square — and they always bring people together.
Pro Tips
Measure flour by spooning into the cup and leveling for accuracy to avoid dense bars.
Chill the baked slab for 30 minutes before slicing to achieve clean edges.
Press sprinkles into the warm surface immediately after baking so they stick without melting.
This nourishing christmas cookie bars recipe is sure to be a staple in your kitchen. Enjoy every moist, high protein slice — it is perfect for breakfast or as a wholesome snack any time.
FAQs about Recipes
What pan size should I use and how do I know when they're done?
Use a 9x13-inch pan lined with parchment for best results; bake until edges are golden and center is set but slightly soft.
Can I make these ahead and freeze them?
Yes — store cooled bars in an airtight container at room temperature for up to 4 days or freeze up to 3 months.
Tags
Christmas Cookie Bars
This Christmas Cookie Bars recipe makes perfectly juicy, tender, and flavorful steak every time! Serve with potatoes and a side salad for an unforgettable dinner in under 30 minutes.
Ingredients
Base
Mix-ins
Decoration
Instructions
Prepare the pan and oven
Preheat oven to 350°F (175°C). Line a 9x13-inch pan with parchment or grease thoroughly for easy removal and even baking.
Cream butter and sugars
Beat 1 cup softened unsalted butter with 1 cup granulated sugar and 1 cup packed brown sugar until light and slightly fluffy, about 2-3 minutes.
Add eggs and vanilla
Add 2 large eggs one at a time, mixing well after each addition, then stir in 2 teaspoons vanilla until glossy and cohesive.
Mix dry ingredients
Whisk together 3 cups all-purpose flour, 1 teaspoon baking powder, 1 teaspoon baking soda, and 1/2 teaspoon salt, then add to wet ingredients on low speed until just combined.
Fold in mix-ins
Fold in 2 cups chocolate chips and 1 cup chopped nuts if using, ensuring even distribution throughout the thick batter.
Bake and cool
Press batter into prepared pan and bake at 350°F for 22-28 minutes until edges are golden and center is set. Cool 15 minutes in the pan, press sprinkles into the warm surface, then cool completely and chill before slicing.
Last Step: Please leave a rating and comment letting us know how you liked this recipe! This helps our business to thrive and continue providing free, high-quality recipes for you.
Nutrition
Did You Make This?
Leave a comment & rating below or tag
@galovicooking on social media!
Categories:
You might also like...
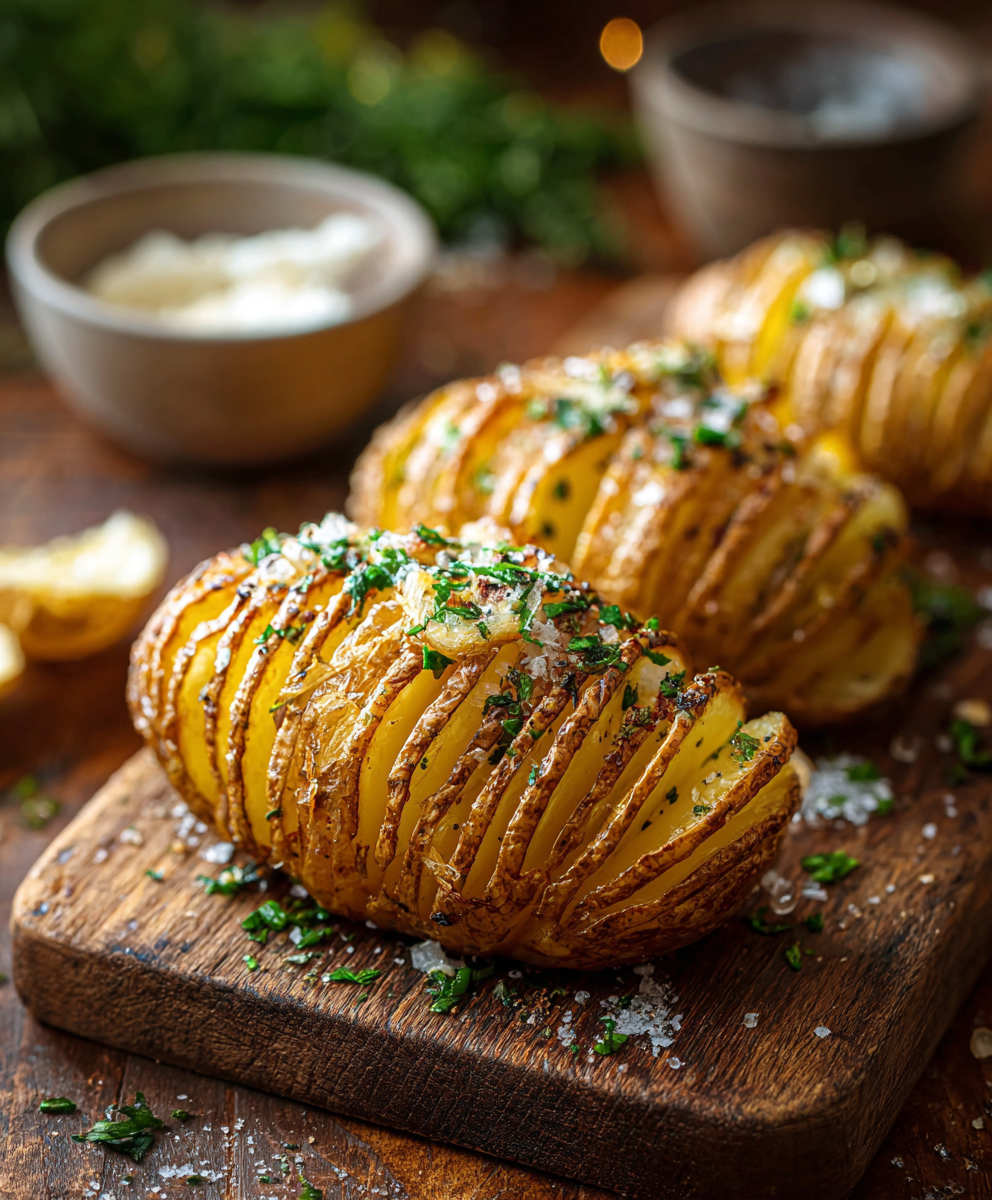
Classic Hasselback Potatoes
Crispy on the outside, tender inside: classic Hasselback potatoes brushed with melted butter and seasoned simply with kosher salt and pepper.
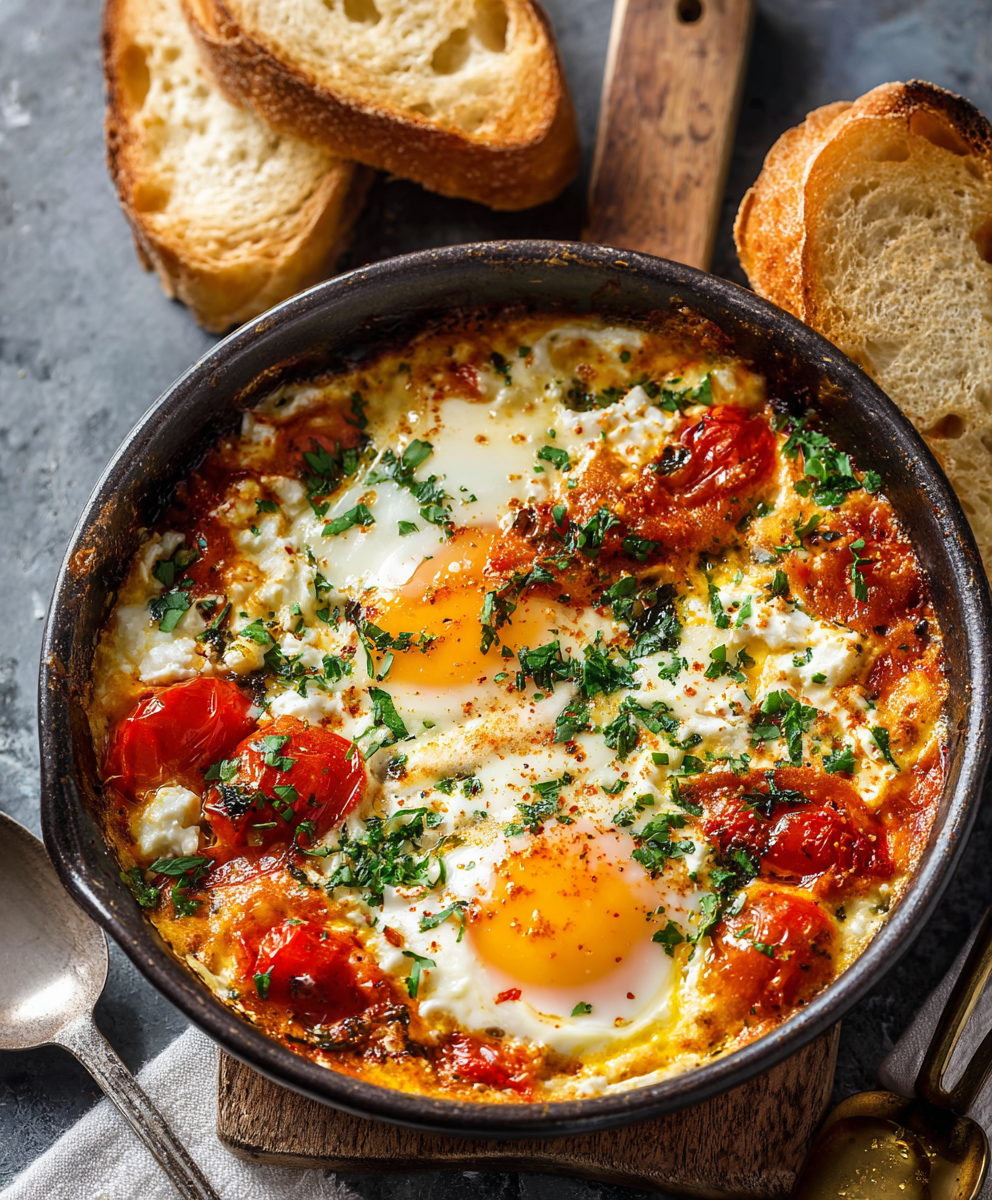
Baked Feta Eggs
A comforting Mediterranean-inspired bake of roasted tomatoes, feta, spinach, and eggs — creamy, savory, and perfect for breakfast, brunch, or an easy weeknight meal.

Key Lime Pie Yogurt Bark
A bright, tangy frozen treat that channels key lime pie in a protein-packed, freezer-ready bark — perfect for warm days, snack prep, and a lighter dessert.
Did You Make This?
Leave a comment & rating below or tag @galovicooking on social media!
Rate This Recipe
Share This Recipe
Enjoyed this recipe? Share it with friends and family, and don't forget to leave a review!
Comments (1)
This recipe looks amazing! Can't wait to try it.
Comments are stored locally in your browser. Server comments are displayed alongside your local comments.

Hi, I'm Ava!
What's Popular
30-Minute Meals!
Join to receive our email series which contains a round-up of some of our quick and easy family favorite recipes.