>>
30-MINUTE MEALS! Get the email series now →


Sweet, translucent candied orange slices simmered in simple syrup then dried to a tender, chewy finish — perfect for gifting, snacking, or decorating desserts.
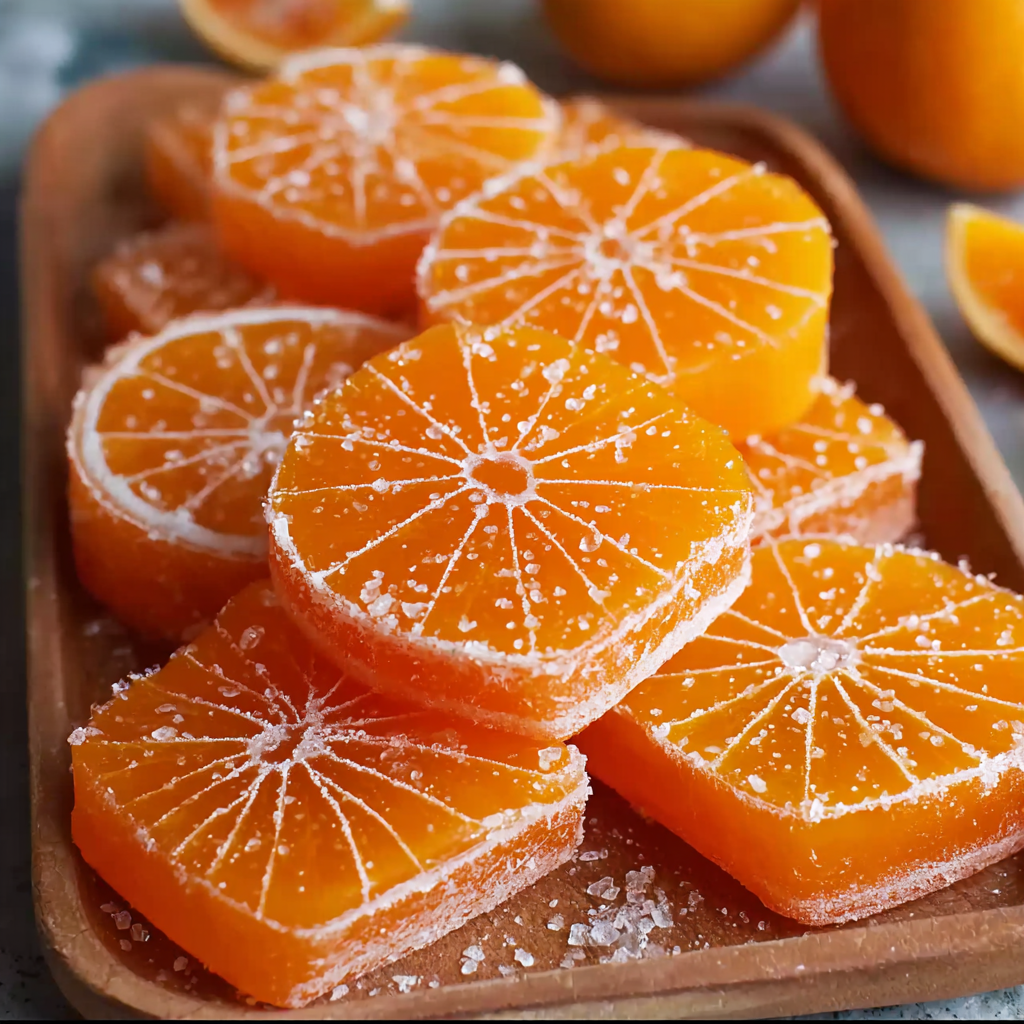
In my experience, the easiest way to get consistent slices is to use a very sharp knife or a mandoline set to about 1/4 inch. Family reactions to the finished candies have ranged from delighted surprise to immediate requests for seconds. Once I introduced a batch at a potluck, guests asked for the recipe, and several people came back later that evening to buy a jar from me. It really is that crowd-pleasing.

My favorite aspect of this method is its versatility. I started making a double batch one winter and used the slices to decorate cakes, garnish cocktails, and pack small jars as hostess gifts. The texture is always a talking point: tender peel with a concentrated citrus tang. A friend told me she keeps a jar on the counter and pulls out a slice whenever she needs a little pick-me-up; it felt like a culinary hug.
Store fully dried slices in an airtight container layered with parchment paper to prevent sticking. At room temperature they keep well for 1–2 weeks; refrigeration will extend life to 3–4 weeks but can slightly change the chewiness. For longer storage, flash-freeze slices in a single layer on a tray for an hour, then transfer to a freezer-safe bag for up to three months. When thawing, let slices come to room temperature on a rack so condensation does not make them sticky. If slices become too sticky, lightly dust with granulated sugar and air-dry for a few hours.
If you prefer less sugar, reduce the syrup ratio slightly to 2 1/2 cups sugar and 3 cups water; expect a softer set and more tackiness. For a deeper flavor, substitute 1/4 cup of the water with freshly squeezed orange juice to intensify citrus notes. Meyer lemons or blood oranges make beautiful variations — adjust simmer time based on peel thickness. Use light corn syrup in place of a small portion of sugar to keep slices extra glossy, though this alters texture slightly. If avoiding refined sugar, experiment with coconut sugar, but color and flavor will change.

Serve slices as a simple confection with coffee or tea, or use them as elegant garnishes for cakes, tarts, and ice cream. Chocolate-dipped slices pair especially well with shortbread or a nutty biscotti. For cocktail presentation, float a single slice in a glass of sparkling wine or use as a rim decoration. For a dessert board, pair with roasted nuts, dark chocolate squares, and fresh citrus wedges for contrast. Presentation tip: sprinkle with finely chopped toasted pistachios when using as a cake decoration for color and texture contrast.
Candied fruit is a preservation method with centuries of history across many cultures, from Mediterranean candied citrus peel to Asian preserved fruits. In Europe, citrus was candied and used in festive baking and confectionery, often signifying luxury because sugar and citrus were once costly. This simple technique preserves citrus flavor while creating a shelf-stable sweet that became associated with winter celebrations and gifting. These orange coins feel like a small heirloom tradition to pass along at holiday time.
In winter, use blood oranges or Cara Cara for dramatic color and slightly sweeter flesh. Spring citrus like Meyer lemons gives a floral, softer flavor ideal for delicate desserts. For autumn, add a cinnamon stick to the simmering syrup for warm spice notes or a star anise pod for aniseed complexity. For holiday batches, fold a pinch of finely grated orange zest into the rolling sugar for an extra aromatic layer when finishing.
Make a double batch and portion into small jars for gifts or quick dessert accents. Dry slices on multiple wire racks stacked with baking sheets beneath to catch drips, rotating racks halfway through the drying period. If short on time, partially dry in a low oven set to 150°F (65°C) for 30–60 minutes, watching closely to avoid browning. For consistent results, label jars with the date and intended use (snacking, baking, decorating).
These candied orange slices embody the kind of home cooking that feels both artisanal and accessible. They reward patience and offer a simple, beautiful way to preserve citrus. Share a jar, garnish a cake, or save them for the next cozy afternoon tea — whatever you choose, these little jewels bring brightness and charm to any table.
Use thin, uniform 1/4-inch slices so all pieces cook evenly and dry consistently.
Maintain a gentle simmer to avoid toughening the peel; a too-rapid boil will make the texture leathery.
Place slices on a wire rack over a baking sheet to allow air circulation and catch syrup drips during drying.
If slices stick together in storage, separate with parchment paper and store in an airtight container.
For shiny results, avoid stirring slices while they are cooking—turn gently with tongs to keep them intact.
This nourishing classic homemade orange candy recipe is sure to be a staple in your kitchen. Enjoy every moist, high protein slice — it is perfect for breakfast or as a wholesome snack any time.
Drying time varies by humidity; expect 24–48 hours at room temperature. In a humid climate, drying can take closer to 48 hours or more.
Slices can be rolled in extra granulated sugar for a frosted effect, or dipped in melted dark chocolate and sprinkled with flaky salt after drying.
This Classic Homemade Orange Candy recipe makes perfectly juicy, tender, and flavorful steak every time! Serve with potatoes and a side salad for an unforgettable dinner in under 30 minutes.
Wash fruit thoroughly and slice crosswise into 1/4-inch rounds using a sharp knife or mandoline, aiming for even thickness to ensure consistent cooking.
Combine 3 cups sugar and 3 cups water in a saucepan. Heat over medium until sugar dissolves, then bring to a gentle simmer.
Add slices in a single layer and simmer gently for 45–60 minutes, turning occasionally. Cook until peel is translucent and flesh is tender but intact.
Transfer slices to a wire rack placed over a baking sheet to catch drips. Leave uncovered at room temperature to dry 24–48 hours until tacky but set.
Roll in extra sugar or dip in melted chocolate and sprinkle with flaky salt if desired. Store in an airtight container between parchment layers for up to two weeks.
Last Step: Please leave a rating and comment letting us know how you liked this recipe! This helps our business to thrive and continue providing free, high-quality recipes for you.
Leave a comment & rating below or tag
@galovicooking on social media!
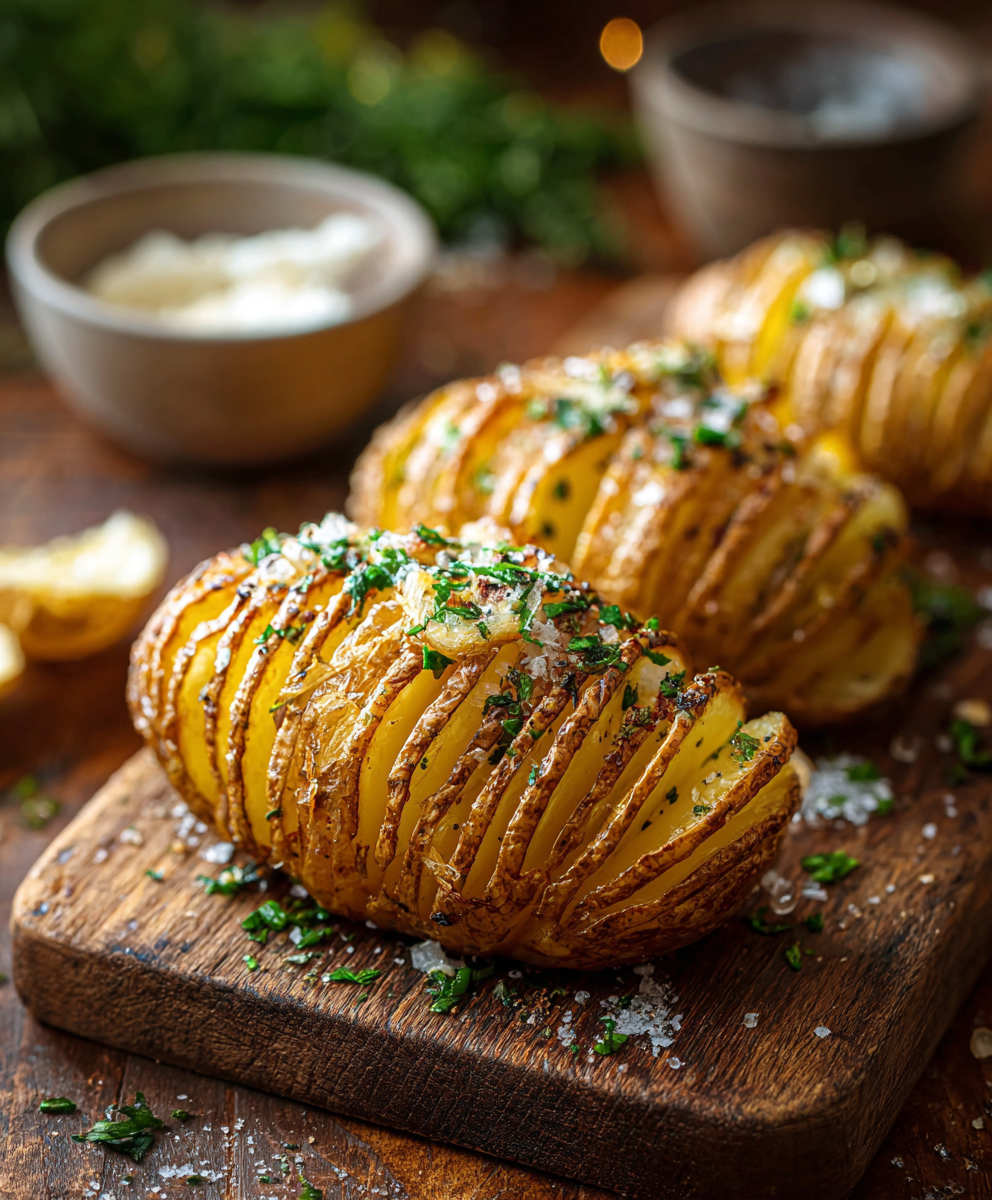
Crispy on the outside, tender inside: classic Hasselback potatoes brushed with melted butter and seasoned simply with kosher salt and pepper.

A comforting Mediterranean-inspired bake of roasted tomatoes, feta, spinach, and eggs — creamy, savory, and perfect for breakfast, brunch, or an easy weeknight meal.
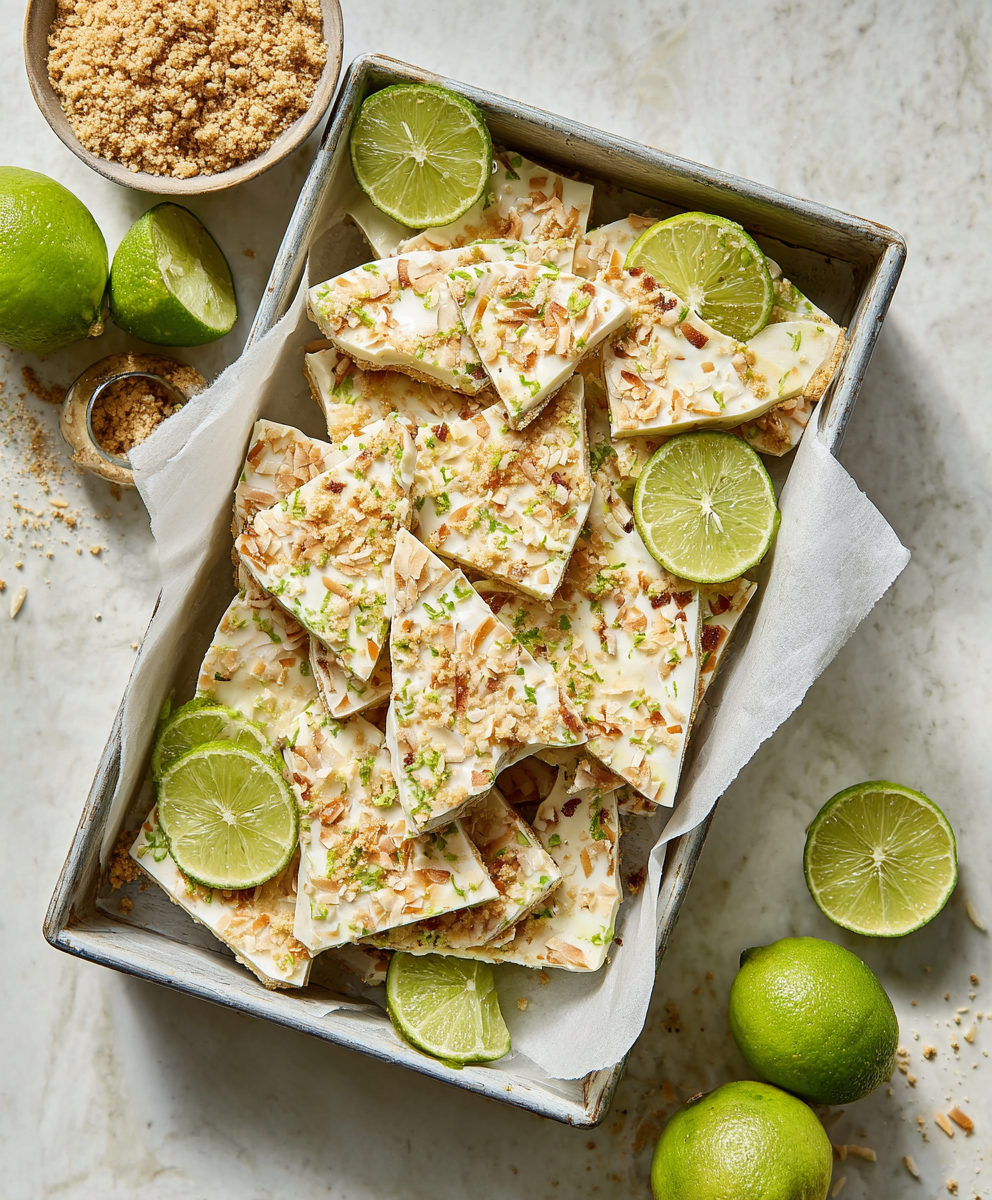
A bright, tangy frozen treat that channels key lime pie in a protein-packed, freezer-ready bark — perfect for warm days, snack prep, and a lighter dessert.
Leave a comment & rating below or tag @galovicooking on social media!
Enjoyed this recipe? Share it with friends and family, and don't forget to leave a review!
This recipe looks amazing! Can't wait to try it.
Comments are stored locally in your browser. Server comments are displayed alongside your local comments.

Join to receive our email series which contains a round-up of some of our quick and easy family favorite recipes.