Crispy Chicken Taquitos

Golden, crunchy taquitos filled with a creamy, spiced shredded chicken mixture that bakes to perfection. Easy weeknight crowd-pleaser with simple pantry ingredients and quick assembly.
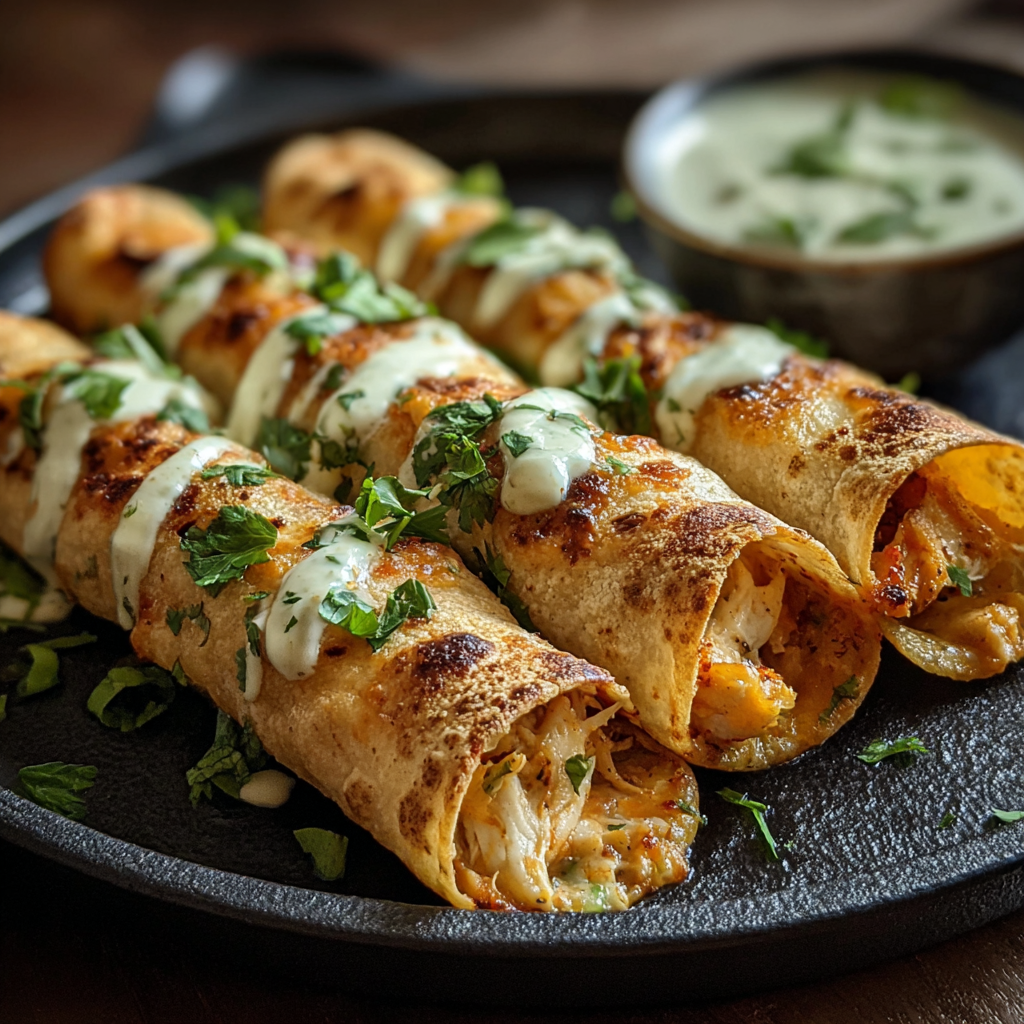
This recipe for Crispy Chicken Taquitos has been my kitchen lifesaver for informal gatherings, busy weeknights, and those evenings when everyone wants something crunchy and comforting. I first developed this version after picking up a rotisserie chicken at the market and wanting to turn it into something exciting without spending hours. The combination of softened cream cheese, sharp cheddar or Mexican blend, bright salsa, and warm spices wraps into small tortillas and bakes until perfectly crisp. The result is a satisfying contrast between the creamy interior and the crisp, golden exterior, which has become a staple at my table.
I remember the first time I brought these to a neighborhood potluck. They disappeared faster than I could count, with neighbors complimenting the balance of flavors and the easy handling as finger food. These taquitos are reliably adaptable. Use flour or corn tortillas depending on preference or dietary needs. They freeze well, reheat beautifully in an oven or air fryer, and are forgiving when it comes to filling ratios. If you like heat, choose a spicy salsa. If you prefer milder flavors, a smooth mild salsa keeps everything balanced while still delivering classic taquito satisfaction.
Why You'll Love This Recipe
- Ready with about 35 minutes total time, including 15 minutes of hands-on preparation, perfect for busy evenings and last-minute guests.
- Uses pantry-friendly and store-bought shortcuts such as rotisserie chicken and jarred salsa so you can assemble quickly while keeping fresh flavor.
- Oven-baked methods deliver crispiness without deep frying so you get crunch with less oil and easier cleanup.
- Highly flexible filling that accepts substitutions like Greek yogurt for part of the cream cheese or shredded rotisserie turkey for chicken.
- Make-ahead friendly: fill and freeze before baking, bake straight from frozen with a slightly longer cook time, ideal for meal prep or stocking the freezer.
- Crowd-pleasing and portable, these are easy to serve at parties, tailgates, or weeknight family dinners with simple toppings like chopped cilantro, guacamole, and sour cream.
In my experience these taquitos have become the unofficial request for gatherings from friends who normally avoid dairy. I started offering a dairy-reduced version and they still love it. The texture contrast is what keeps people coming back for more, and it is always rewarding to hear someone say they never thought store-bought shortcuts could taste homemade.
Ingredients
- Cooked shredded chicken 2 cups. Rotisserie chicken is ideal since it is tender and flavorful, but leftover roasted chicken or poached chicken breast works well. Aim for small, even shreds for easy rolling.
- Cream cheese 4 ounces, softened. Full fat gives the creamiest texture and a rich mouthfeel. Let it sit at room temperature for 20 minutes before mixing for smooth incorporation.
- Shredded cheddar or Mexican blend 1/2 cup. Use a sharper cheese if you want more pronounced flavor. Freshly shredded cheese melts better than pre-shredded varieties that contain anti-caking agents.
- Salsa 1/4 cup, mild or spicy. A tomato-based salsa with visible cilantro and onion gives brightness and moisture. Avoid extremely chunky salsas that make rolling difficult.
- Garlic powder 1/2 teaspoon, chili powder 1/2 teaspoon, and cumin 1/2 teaspoon. These spices add warmth and classic Mexican-inspired notes. Toast the cumin lightly in a dry pan if using whole seeds to intensify aroma before grinding.
- Salt and black pepper to taste. Start with 1/4 teaspoon salt and adjust after mixing because cheese and salsa can add sodium.
- Tortillas 8 small 6-inch flour or corn tortillas. Corn tortillas give a more traditional taquito and are naturally gluten-free when made from masa harina. Lightly warming tortillas improves pliability and reduces cracking while rolling.
- Cooking spray or oil for brushing. An oil with a neutral flavor such as vegetable or avocado oil helps the exterior crisp without imparting strong flavors.
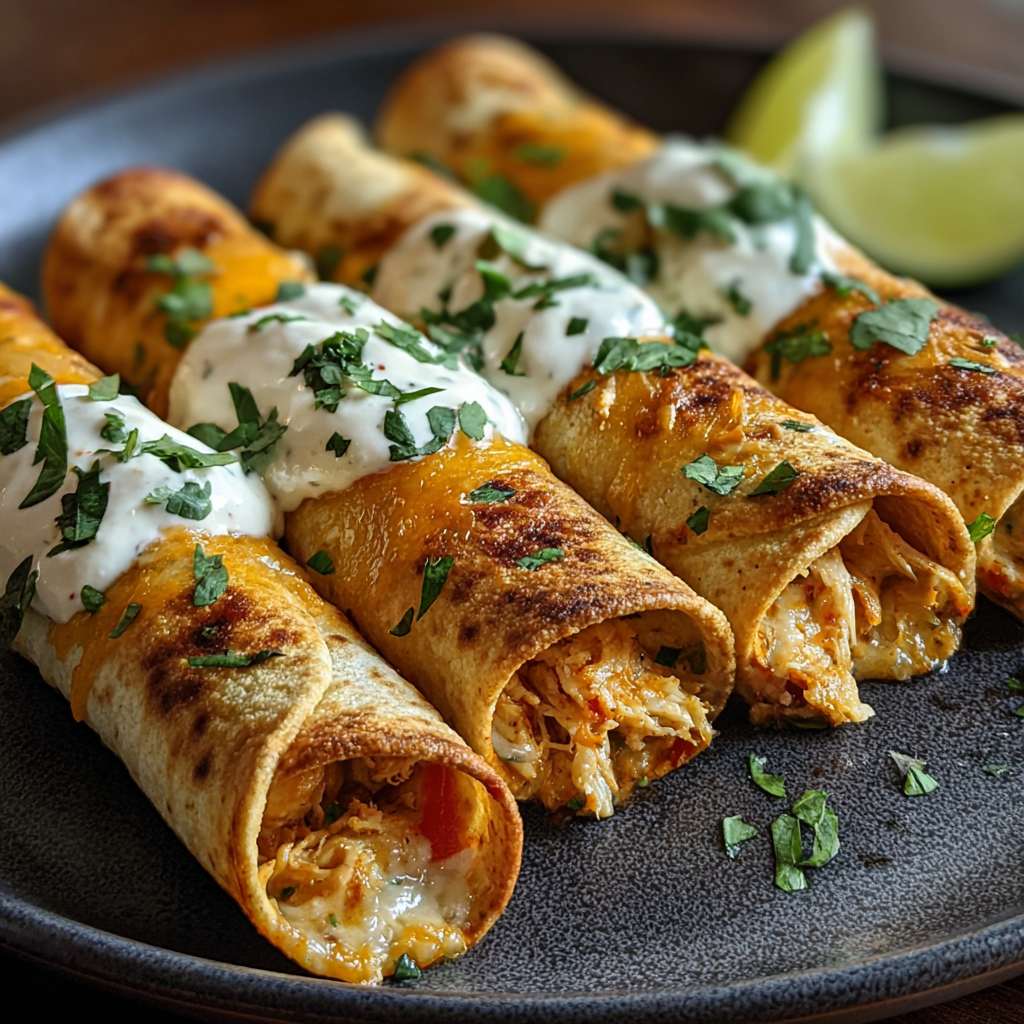
- Optional toppings chopped cilantro, sour cream, guacamole, extra shredded cheese. These add freshness and cooling contrasts to the warm, spiced filling.
Instructions
Preheat and prepare baking surfacePreheat the oven to 425 degrees Fahrenheit. Line a rimmed baking sheet with parchment paper or lightly grease it to prevent sticking. A rimmed sheet helps contain any cheese that melts out. Position a wire rack on the sheet if you like extra crispness, as air circulation around the taquitos will brown them evenly.Mix the fillingIn a large bowl combine 2 cups shredded chicken, 4 ounces softened cream cheese, 1/2 cup shredded cheddar or Mexican blend, 1/4 cup salsa, 1/2 teaspoon garlic powder, 1/2 teaspoon chili powder, 1/2 teaspoon cumin, and salt and black pepper to taste. Use a fork or rubber spatula to work the cream cheese into the shredded chicken until the mixture is uniformly creamy and slightly loose but not runny. Taste and adjust seasoning; a squeeze of lime can brighten the filling.Warm the tortillasHeat the tortillas briefly in the microwave in a damp paper towel for about 20 seconds or warm them on a dry skillet for 10 to 20 seconds per side. Warming prevents cracking and allows tight rolling. Keep them covered until you are ready to fill to retain pliability.Assemble the taquitosSpoon 2 to 3 tablespoons of the filling along one side of each warmed tortilla. Roll tightly and place seam-side down on the prepared baking sheet. Space them evenly to allow hot air to circulate, which helps crisp the exterior.Oil and bakeLightly brush each taquito with oil or spray with cooking spray to promote browning. Bake for 15 to 20 minutes at 425 degrees Fahrenheit until golden brown and crispy. For an extra crunchy finish, switch the oven to broil for 1 to 2 minutes while watching closely to avoid burning.Serve and garnishRemove from the oven and let rest for two minutes before serving. Serve warm with chopped cilantro, sour cream, guacamole, and extra shredded cheese. Provide lime wedges for an acidic lift.
You Must Know
- Storage: These keep in the refrigerator for up to three days and freeze well for up to three months when wrapped airtight. Reheat from frozen in a 400 degree Fahrenheit oven for about 10 to 12 minutes.
- Protein and texture: Using cooked shredded chicken ensures tender filling and avoids overcooking lean meat during baking. Cream cheese binds and keeps the filling moist.
- Make-ahead: You can fill and roll taquitos, place them on a sheet pan, flash freeze until firm, then transfer to a freezer bag. Bake straight from frozen, adding 4 to 6 minutes to the baking time.
- Nutrition note: Each serving with two taquitos will contain protein and a moderate amount of fat from cream cheese and cheese. Use lower fat cheese and reduced fat cream cheese if reducing calories is a priority.
My favorite aspect is how forgiving this preparation is. Once I started assembling an extra pan and freezing it, they became my go-to for sudden guests or athletic snacks. Family members appreciate the crunchy bite and creamy interior and I love that small changes in salsa heat or cheese choice transform the flavor profile easily.
Storage Tips
Store cooled taquitos in an airtight container in the refrigerator for up to three days. For freezing, arrange rolled taquitos on a tray lined with parchment and freeze until solid, then transfer to a freezer-safe bag with as much air removed as possible. Label with the date and freeze for up to three months. When reheating, avoid the microwave for best texture. Use a 400 degree Fahrenheit oven or an air fryer at 375 degrees Fahrenheit to restore crispness, 8 to 12 minutes from thawed and 12 to 16 minutes from frozen.
Ingredient Substitutions
For a dairy-reduced version, substitute half the cream cheese with plain Greek yogurt; this reduces fat while preserving creaminess. For heat control, swap regular salsa for green tomatillo salsa or pico de gallo. To make these gluten-free, use corn tortillas made from masa harina and warm them carefully to prevent cracking. If you prefer a lighter protein, use shredded turkey or canned white chicken, and balance moisture by reducing cream cheese slightly and adding a tablespoon of plain yogurt or sour cream if needed.
Serving Suggestions
Serve with bright, cooling sides. A simple cabbage slaw tossed with lime and a pinch of salt cuts through the richness. Offer small bowls of guacamole, sour cream, crumbled queso fresco, and chopped cilantro for guests to customize. For a full meal, pair with Mexican-style rice and refried beans or a crisp green salad. For snack platters, include pickled jalapeños, sliced radishes, and lime wedges to add acidity and color.
Cultural Background
Taquitos trace their roots to classic Mexican rolled tacos designed for portability and easy frying. Variations exist regionally, often named tacos dorados when fried. Baked versions emerged as a lighter alternative, preserving the rolled shape while reducing oil. The flavors in this version reflect a Tex-Mex influence, combining cream cheese and shredded cheddar with traditional spices like cumin and chili powder to create a crowd-pleasing hybrid that is popular across North America.
Seasonal Adaptations
In summer, use fresh pico de gallo for a brighter filling and top with grilled corn salsa for a seasonal crunch. In autumn, incorporate roasted poblano peppers and swap cheddar for a smoked cheese to deepen flavors. For winter entertaining, bake multiple pans and serve the taquitos hot from the oven at a buffet style setup so guests can enjoy warm, freshly crisped bites. Adjust salsa heat and garnishes to suit the season and your menu.
Meal Prep Tips
To streamline weeknight dinners, shred two rotisserie chickens and portion filling into airtight containers for the week. Roll taquitos in advance and freeze on trays. On busy evenings, bake directly from the freezer and prepare quick sides like a bagged slaw and microwaveable rice. Keep garnishes prepped in small containers so plating takes minutes. Use a silicone basting brush to oil the taquitos uniformly for even browning and less mess.
These taquitos are simple to adapt and always reward a little attention to temperature and timing. I hope they become a dependable option for your weeknight repertoire and a hit at your next gathering. Enjoy the crunch and those bright finishing touches.
Pro Tips
Warm tortillas briefly before rolling to prevent cracking and ensure tight rolls.
Use rotisserie chicken to save time and maximize flavor with minimal effort.
Brush or spray oil evenly to get a uniform golden crisp without deep frying.
Toast whole cumin seeds and grind for more aromatic spice if you have the time.
This nourishing crispy chicken taquitos recipe is sure to be a staple in your kitchen. Enjoy every moist, high protein slice — it is perfect for breakfast or as a wholesome snack any time.
FAQs about Recipes
Can I freeze these before baking?
Yes. Arrange filled taquitos on a sheet tray without oil, freeze until firm, then transfer to a freezer bag. Bake from frozen adding about 4 to 6 minutes to the time.
Are these gluten-free?
Use corn tortillas for a gluten-free option. Ensure the corn tortillas are labeled gluten-free and warm them to prevent cracking while rolling.
Tags
Crispy Chicken Taquitos
This Crispy Chicken Taquitos recipe makes perfectly juicy, tender, and flavorful steak every time! Serve with potatoes and a side salad for an unforgettable dinner in under 30 minutes.
Ingredients
Filling
Assembly
Optional toppings
Instructions
Preheat and prepare
Preheat oven to 425 degrees Fahrenheit. Line a rimmed baking sheet with parchment or lightly grease it. Arrange a wire rack on the sheet if you prefer extra crispness.
Combine filling
In a large bowl mix 2 cups shredded chicken, 4 ounces softened cream cheese, 1/2 cup shredded cheese, 1/4 cup salsa, garlic powder, chili powder, ground cumin, and salt and black pepper to taste until uniformly combined.
Warm tortillas
Warm tortillas in the microwave wrapped in a damp paper towel for about 20 seconds or heat on a dry skillet briefly to improve pliability and reduce cracking while rolling.
Assemble taquitos
Place 2 to 3 tablespoons of filling along one side of each warmed tortilla, roll tightly and place seam-side down on the prepared baking sheet.
Brush and bake
Brush with oil or spray lightly. Bake for 15 to 20 minutes at 425 degrees Fahrenheit until golden and crisp. Optionally broil 1 to 2 minutes for additional browning while watching closely.
Serve
Allow to rest for two minutes then serve with chopped cilantro, sour cream, guacamole, extra cheese and lime wedges for brightness.
Last Step: Please leave a rating and comment letting us know how you liked this recipe! This helps our business to thrive and continue providing free, high-quality recipes for you.
Nutrition
Did You Make This?
Leave a comment & rating below or tag
@galovicooking on social media!
Categories:
You might also like...
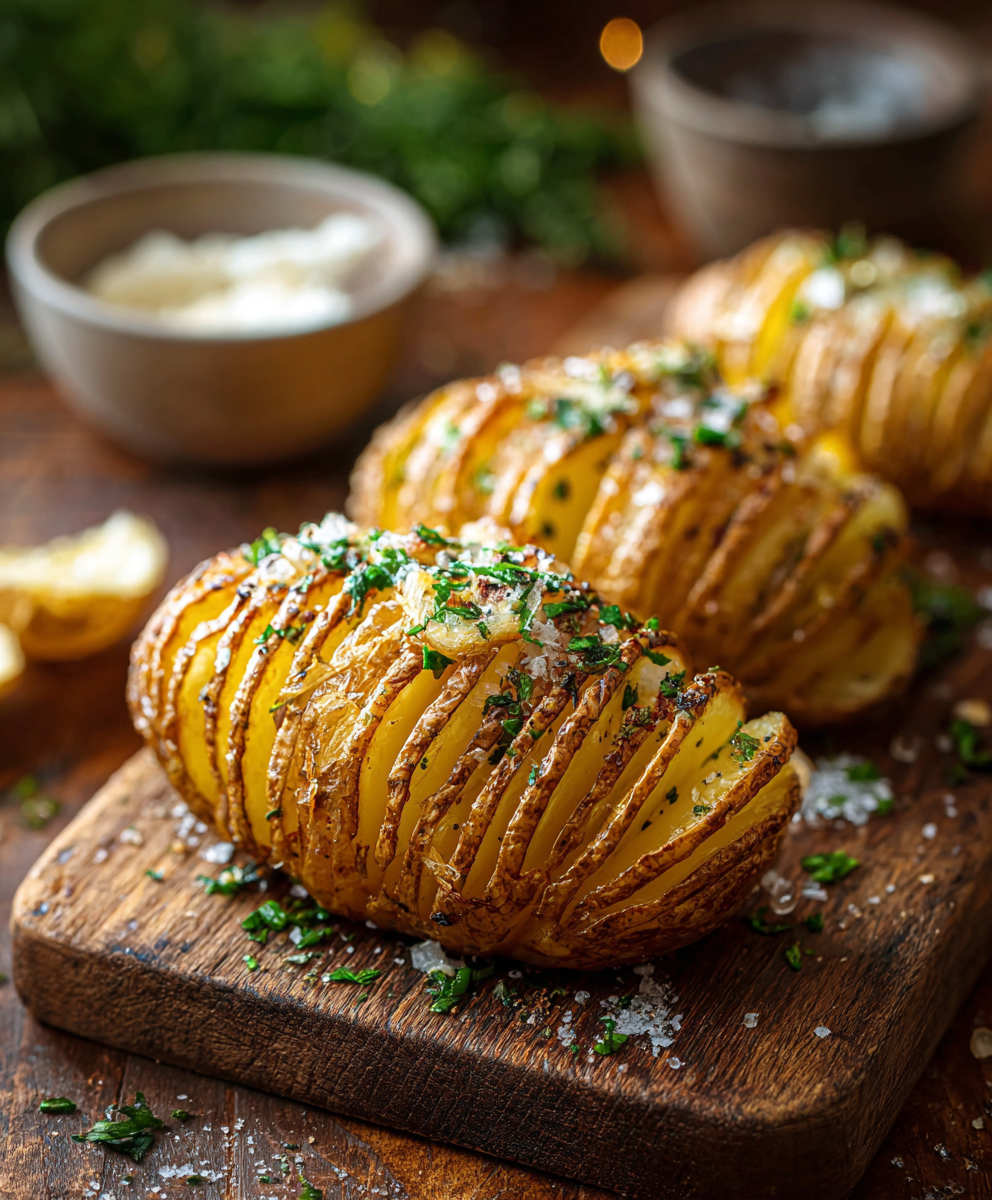
Classic Hasselback Potatoes
Crispy on the outside, tender inside: classic Hasselback potatoes brushed with melted butter and seasoned simply with kosher salt and pepper.
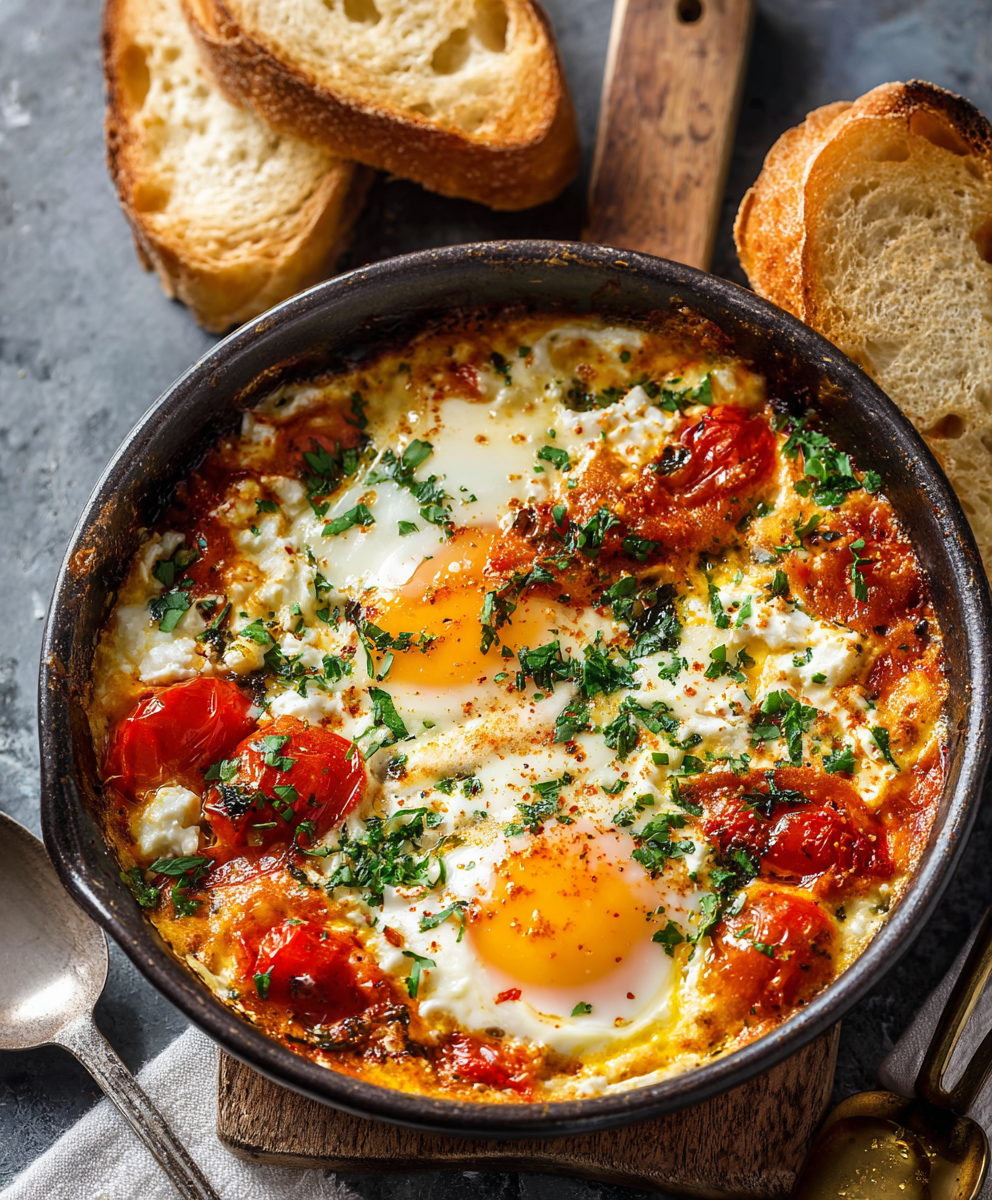
Baked Feta Eggs
A comforting Mediterranean-inspired bake of roasted tomatoes, feta, spinach, and eggs — creamy, savory, and perfect for breakfast, brunch, or an easy weeknight meal.

Key Lime Pie Yogurt Bark
A bright, tangy frozen treat that channels key lime pie in a protein-packed, freezer-ready bark — perfect for warm days, snack prep, and a lighter dessert.
Did You Make This?
Leave a comment & rating below or tag @galovicooking on social media!
Rate This Recipe
Share This Recipe
Enjoyed this recipe? Share it with friends and family, and don't forget to leave a review!
Comments (1)
This recipe looks amazing! Can't wait to try it.
Comments are stored locally in your browser. Server comments are displayed alongside your local comments.

Hi, I'm Ava!
What's Popular
30-Minute Meals!
Join to receive our email series which contains a round-up of some of our quick and easy family favorite recipes.