>>
30-MINUTE MEALS! Get the email series now →

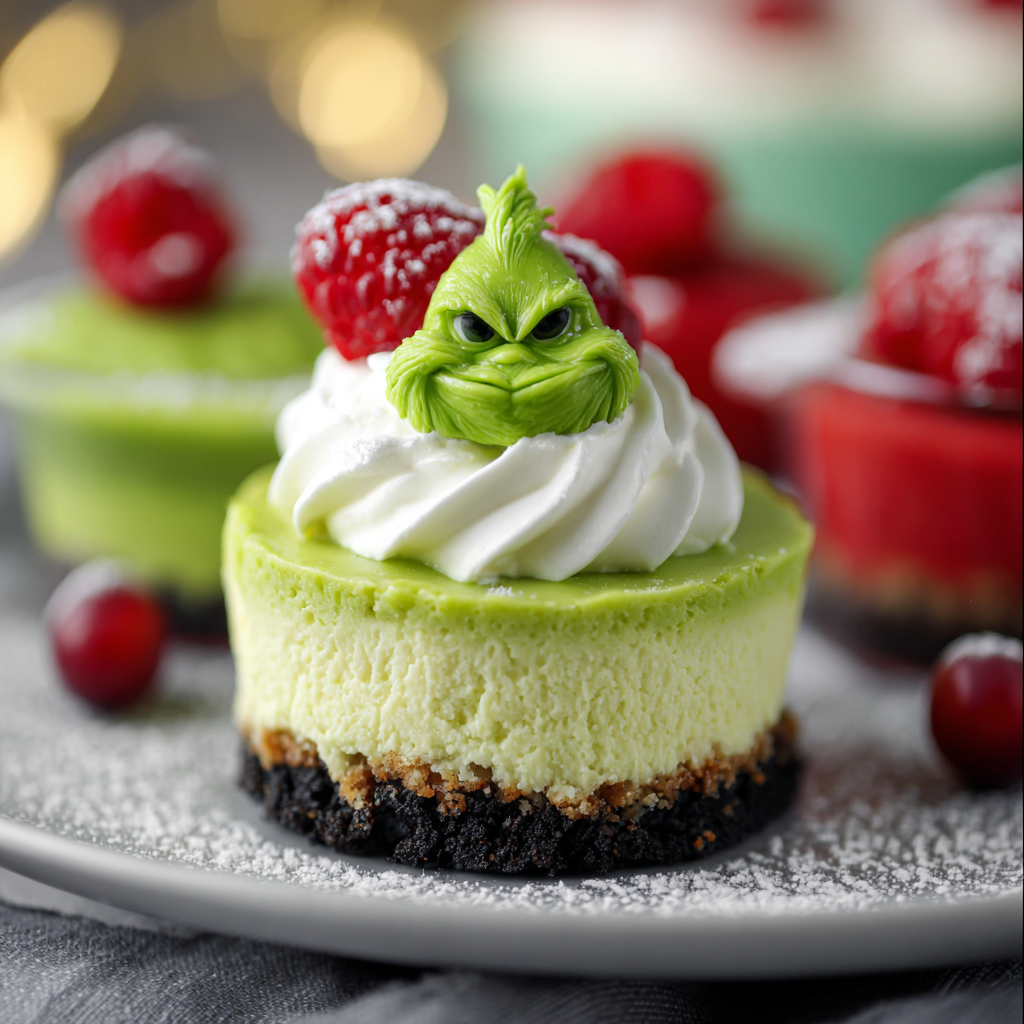
Tiny, festive cheesecakes dyed bright neon green for a playful Grinch inspired treat that is easy to make and perfect for holiday parties.

This Grinch Mini Cheesecake has been my favorite holiday trick for turning a simple dessert into an instant conversation starter. I first made these during a last minute holiday cookie swap when I realized I had more people than plates. The bright neon green filling looked so mischievous and cheerful on the table that it became the first thing everyone reached for. The texture is luxuriously creamy while the Oreo crumb base adds a gentle crunch that balances the silky filling. Each tiny cake is bite size but big on flavor which makes them perfect for parties, school events, or a playful family treat.
I discovered the exact ratios in a hurried afternoon of experimenting with mini tins. After a few small adjustments to sugar and bake time I found a sweet spot where the centers finish slightly jiggly and then set up perfectly after chilling. These are forgiving to make and scale well. You can use boxed cookies if you prefer, but pulsing whole Oreos in a food processor gives the best crust texture. The neon green color is optional but it brings a theatrical note that kids and adults both enjoy. I love that they can be made a day ahead so the host is calm and the desserts are picture perfect.
When I first served these to my family they gathered around like kids at story time. Even my most picky cousin who rarely eats anything green asked for seconds. The children loved calling them Grinch bites and the adults appreciated how easy they were to transport to holiday gatherings. Over several seasons this version has become our go to because it is quick, dependable, and always evokes smiles.

My favorite part about serving these is watching the surprise when guests bite into something so bright and find the familiar cream cheese flavor. One year my toddler proclaimed them the best Grinch gifts ever and insisted on taking two to bed. These moments are what make the small effort feel like a big payoff. The making and sharing of small playful desserts like this has become part of our holiday ritual.
Store chilled in an airtight container in the refrigerator for up to 3 days. To layer them without crushing top decorations use parchment paper between layers. For longer storage freeze the cakes on a tray until firm then transfer to a freezer safe box for up to 1 month. Thaw in the fridge for several hours before serving and refresh whipped cream just before presenting. Use containers that seal tightly to avoid absorbing other refrigerator odors and to maintain the delicate texture of the filling.
If you need to avoid gluten swap the Oreos for a gluten free sandwich cookie or use a simple graham style gluten free cracker. For a lower sugar option reduce sugar to 1/3 cup and add a teaspoon of lemon zest to brighten the flavor. If dairy is a concern try a cream cheese alternative labeled for baking but note the texture will be different and may require additional binder such as one tablespoon cornstarch per block of cream cheese.
Serve these on a platter with contrasting elements such as fresh raspberries or a drizzle of chocolate sauce to offset the bright green color. Add a small mint leaf for an elegant look and to play on the Grinch theme. These are ideal for holiday buffets, cookie exchanges, or classroom parties where single serve portions are appreciated. Use festive liners to match your party decor for an effortless presentation.
Though they are perfect for a holiday table you can adapt the color and toppings for other seasons. Use pastel color for spring celebrations and top with edible flowers. For autumn change the crust to gingersnaps and tint the filling a pale orange with natural pumpkin puree and a touch of cinnamon. The basic method works year round and lends itself to playful color changes for any occasion.
Prepare the crust and filling a day ahead and keep both chilled separately. Press crust into liners then cover and refrigerate. Mix the filling and store in a covered bowl overnight. On the day of the event assemble and bake, then chill for at least two hours. This staged approach reduces day of stress and allows you to finish with fresh whipped cream right before serving for maximum visual appeal.
These small cakes have a way of making gatherings feel celebratory and effortless. They are playful, dependable, and wonderful for sharing. I hope you make them your own and create a few joyful moments around the table.
Bring cream cheese and eggs to room temperature for a smoother filling and less beating time.
Use a 1/4 cup measure to portion filling evenly to ensure uniform bake time across all minis.
Do not overbake. Centers should be slightly jiggly when removed; they will firm while chilling.
Pulse cookies in a food processor until fine and add melted butter in small increments for a stable crust.
This nourishing grinch mini cheesecake recipe is sure to be a staple in your kitchen. Enjoy every moist, high protein slice — it is perfect for breakfast or as a wholesome snack any time.
Yes. Use gluten free sandwich cookies for the crust and verify your food coloring is gluten free.
Chill at least 2 hours; overnight gives the best texture. Bring to fridge temperature to serve cold.
This Grinch Mini Cheesecake recipe makes perfectly juicy, tender, and flavorful steak every time! Serve with potatoes and a side salad for an unforgettable dinner in under 30 minutes.
Preheat oven to 350 degrees Fahrenheit and line a 12 cup muffin pan with paper liners. Proper preheat ensures even cooking.
Pulse 10 to 11 whole Oreo cookies in a food processor until they become fine crumbs then add melted butter and pulse until combined.
Divide the crumb mixture evenly among the liners and press firmly to form compact bases using the back of a spoon or small measuring cup.
Beat softened cream cheese with sugar until smooth, add eggs one at a time, stir in vanilla and color with neon green food coloring to desired shade.
Spoon about 1/4 cup of filling into each prepared crust and bake at 350 degrees Fahrenheit for 15 to 17 minutes until the edges are set and centers are slightly jiggly.
Cool completely in the pan on a wire rack then refrigerate for at least 2 hours or overnight until firm before topping and serving.
Last Step: Please leave a rating and comment letting us know how you liked this recipe! This helps our business to thrive and continue providing free, high-quality recipes for you.
Leave a comment & rating below or tag
@galovicooking on social media!
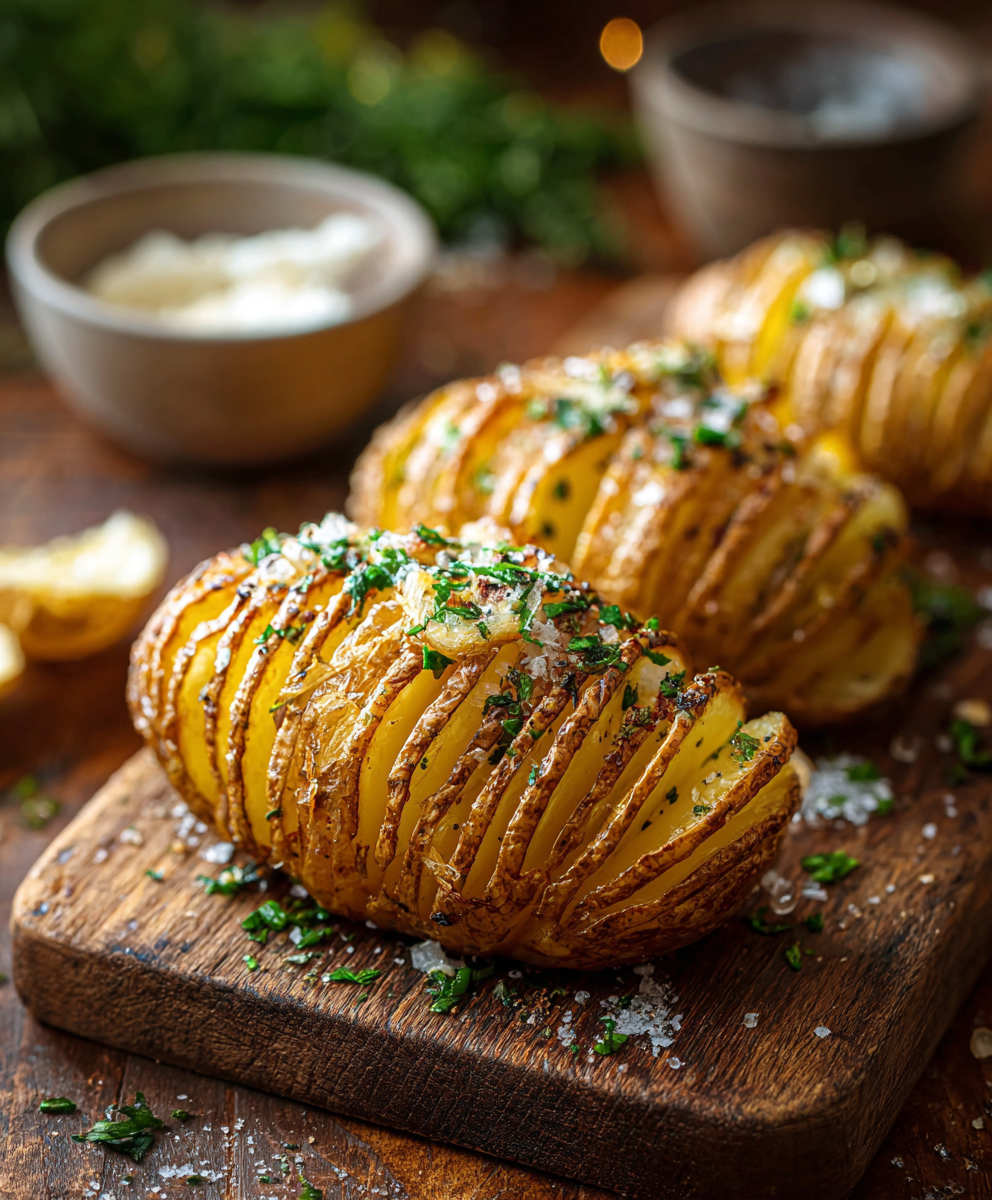
Crispy on the outside, tender inside: classic Hasselback potatoes brushed with melted butter and seasoned simply with kosher salt and pepper.
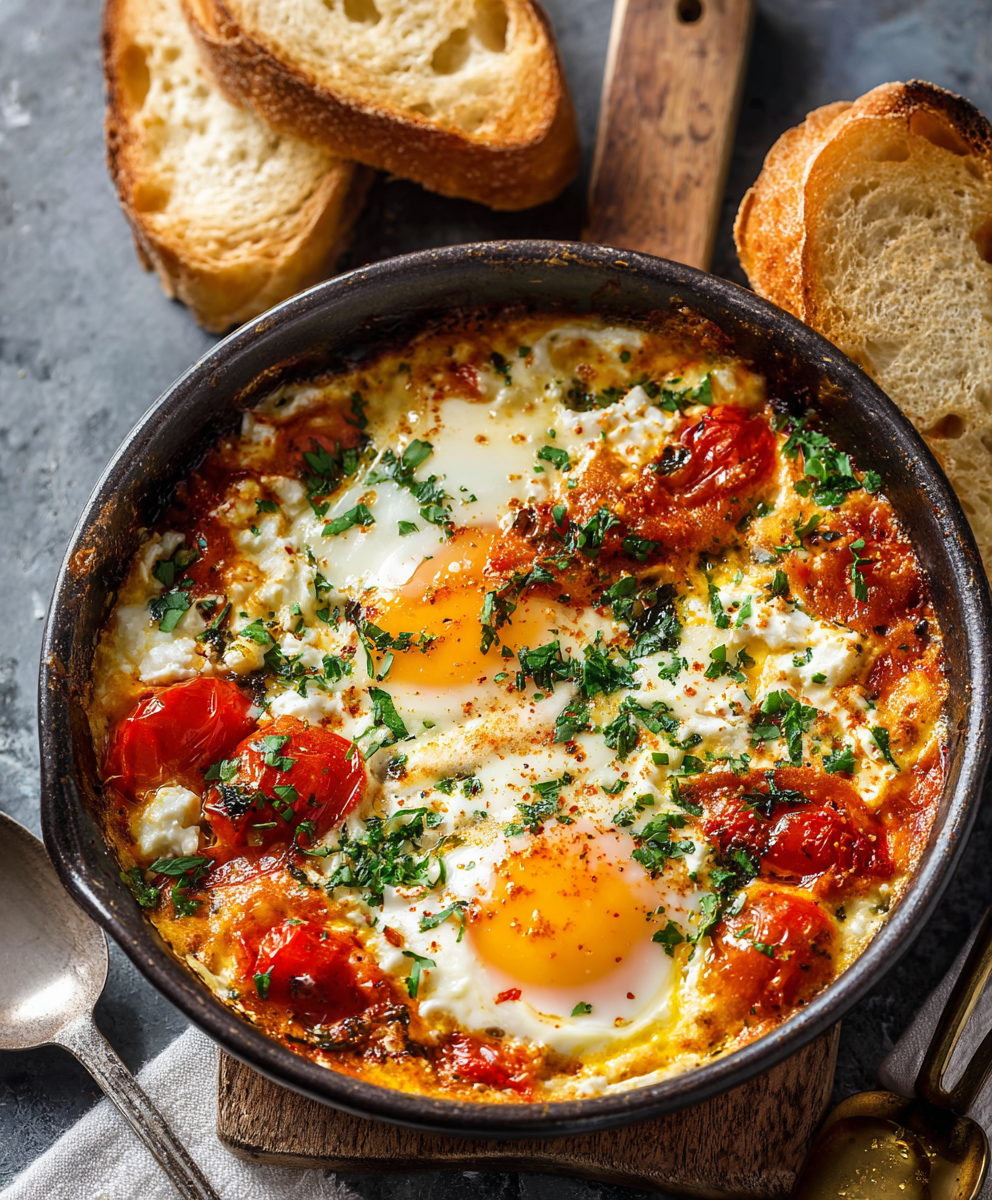
A comforting Mediterranean-inspired bake of roasted tomatoes, feta, spinach, and eggs — creamy, savory, and perfect for breakfast, brunch, or an easy weeknight meal.

A bright, tangy frozen treat that channels key lime pie in a protein-packed, freezer-ready bark — perfect for warm days, snack prep, and a lighter dessert.
Leave a comment & rating below or tag @galovicooking on social media!
Enjoyed this recipe? Share it with friends and family, and don't forget to leave a review!
This recipe looks amazing! Can't wait to try it.
Comments are stored locally in your browser. Server comments are displayed alongside your local comments.

Join to receive our email series which contains a round-up of some of our quick and easy family favorite recipes.