>>
30-MINUTE MEALS! Get the email series now →

Buttery, flaky croissants made at home with classic lamination technique. Step-by-step guidance, timing, and professional tips to help you achieve bakery-quality results.

I remember my family gathered around the table while I pulled the first batch from the oven; the kitchen filled with warm, buttery aroma and everyone reached for one before the glaze had fully set. That moment—watching a complicated technique translate into something loved by everyone—is why I keep returning to these croissants whenever I want to celebrate a slow morning.

My favorite part of this process is the small victories—the first clean fold where butter stays put, the satisfying crack of the crust when you pull a warm croissant apart, and the way everyone pauses, mid-bite, to savor the layered interior. Over time I learned that careful chilling and patient folding turn a simple dough into something almost magical.
Store croissants at room temperature in an airtight container for up to 48 hours to preserve flakiness. For longer storage, place cooled croissants in a freezer-safe bag and freeze for up to three months. To reheat, preheat oven to 325°F, bake frozen or room-temperature croissants for 5 to 10 minutes until warmed through and crisp on the outside. Avoid microwaving as it makes layers soggy. If you baked from frozen, let them rest 5 minutes on the counter before serving to allow the interior steam to redistribute.

If you prefer richer flavor, substitute part of the milk with heavy cream up to 1/3 cup to add tenderness. For a lighter loaf, use a lower-fat milk but expect less browning. Instant yeast works fine—reduce to 3/4 tablespoon and add directly to flour. If you only have salted butter, reduce added salt by half. Gluten-free and vegan versions require major changes in technique and ingredients, and will not laminate the same way due to lack of gluten and dairy; consider laminated puff pastry made with vegan butter as an alternative.
Serve plain croissants warm, halved with high-quality butter and jam, or transform them into sandwiches with ham, gruyère, and Dijon mustard for a savory brunch. For a sweet treat, fill with pastry cream and dust with powdered sugar, or melt dark chocolate on the inside before shaping for pain au chocolat. Pair with coffee, café au lait, or fresh fruit for a balanced breakfast service. Presentation tip: glaze immediately after baking for a glossy finish and sprinkle coarse sea salt if making a ham and cheese version.
Croissants originated in Austria as a crescent-shaped roll and were later popularized in France where lamination and butter became central to the technique. The modern croissant evolved through 19th-century Parisian bakers who refined the roll into the laminated pastry we recognize today. Regional variations include filled viennoiserie in France and laminated doughs adapted around the world with local fats and flavors, showcasing how a simple concept can be interpreted broadly in baking traditions.
In colder months, add a seasonal twist by folding in a small amount of spiced walnut paste or using blood orange marmalade as a filling. Summer takes to lighter fillings like apricot jam or whipped ricotta and honey. For holiday gatherings, brush with an orange-honey glaze and sprinkle toasted nuts. Adapt resting times seasonally since warm kitchens speed fermentation; monitor proofing visually rather than strictly by time.
Prepare the dough and complete the lamination on day one, then shape and freeze unproofed croissants on a tray. Transfer frozen shapes to a bag for baking later. On baking day, place frozen croissants on a parchment-lined tray, thaw and proof about 90 minutes in a warm spot, then bake as directed. This split approach makes croissants feasible for entertaining and ensures fresh-from-oven results without the full-day commitment.
Making croissants at home is a practice in patience and precision, but the rewards are unmistakable: buttery aroma, layered crispness, and the satisfaction of mastering a classic technique. Give yourself time and a cool workspace, and these croissants will become a ritual you return to again and again.
Keep all ingredients and your work surface cool; warmth causes butter to leak and layers to collapse.
Use a ruler to cut even triangles and make a small notch at the base to help rolling create tension for better lift.
If butter squeezes out during rolling, stop and chill the dough for 15 to 30 minutes before continuing.
Proof until nearly doubled but not fully overproofed; overproofing results in weak structure and poor oven spring.
This nourishing homemade french croissants recipe is sure to be a staple in your kitchen. Enjoy every moist, high protein slice — it is perfect for breakfast or as a wholesome snack any time.
This Homemade French Croissants recipe makes perfectly juicy, tender, and flavorful steak every time! Serve with potatoes and a side salad for an unforgettable dinner in under 30 minutes.
Mix flour, sugar, and salt. Proof yeast in warm milk until foamy then add to dry ingredients with melted butter. Knead briefly to a smooth, slightly tacky dough. Shape into a rectangle and chill 30 minutes to relax gluten.
Soften and shape 1 cup cold butter into a 7 by 7 inch square between parchment, then chill until cold but pliable. A firm, even block ensures clean laminations.
Roll dough to about 10 by 14 inches, place butter on one half, fold over and seal. Roll gently to a long rectangle and fold into thirds. This is one turn. Chill 30 to 45 minutes.
Repeat the roll and fold two more times for a total of three turns, chilling between each to firm the butter and relax the dough. Use even pressure to avoid tearing.
Roll final dough to 1/4 inch thickness, trim edges, cut into triangles about 4 inches wide at the base, notch the base and roll to the tip with gentle tension. Place seam-side down to proof.
Proof at room temperature until nearly doubled, brush with egg wash, and bake at 400°F for 12 to 18 minutes until deep golden. Rotate halfway through for even browning.
Last Step: Please leave a rating and comment letting us know how you liked this recipe! This helps our business to thrive and continue providing free, high-quality recipes for you.
Leave a comment & rating below or tag
@galovicooking on social media!

Crispy on the outside, tender inside: classic Hasselback potatoes brushed with melted butter and seasoned simply with kosher salt and pepper.
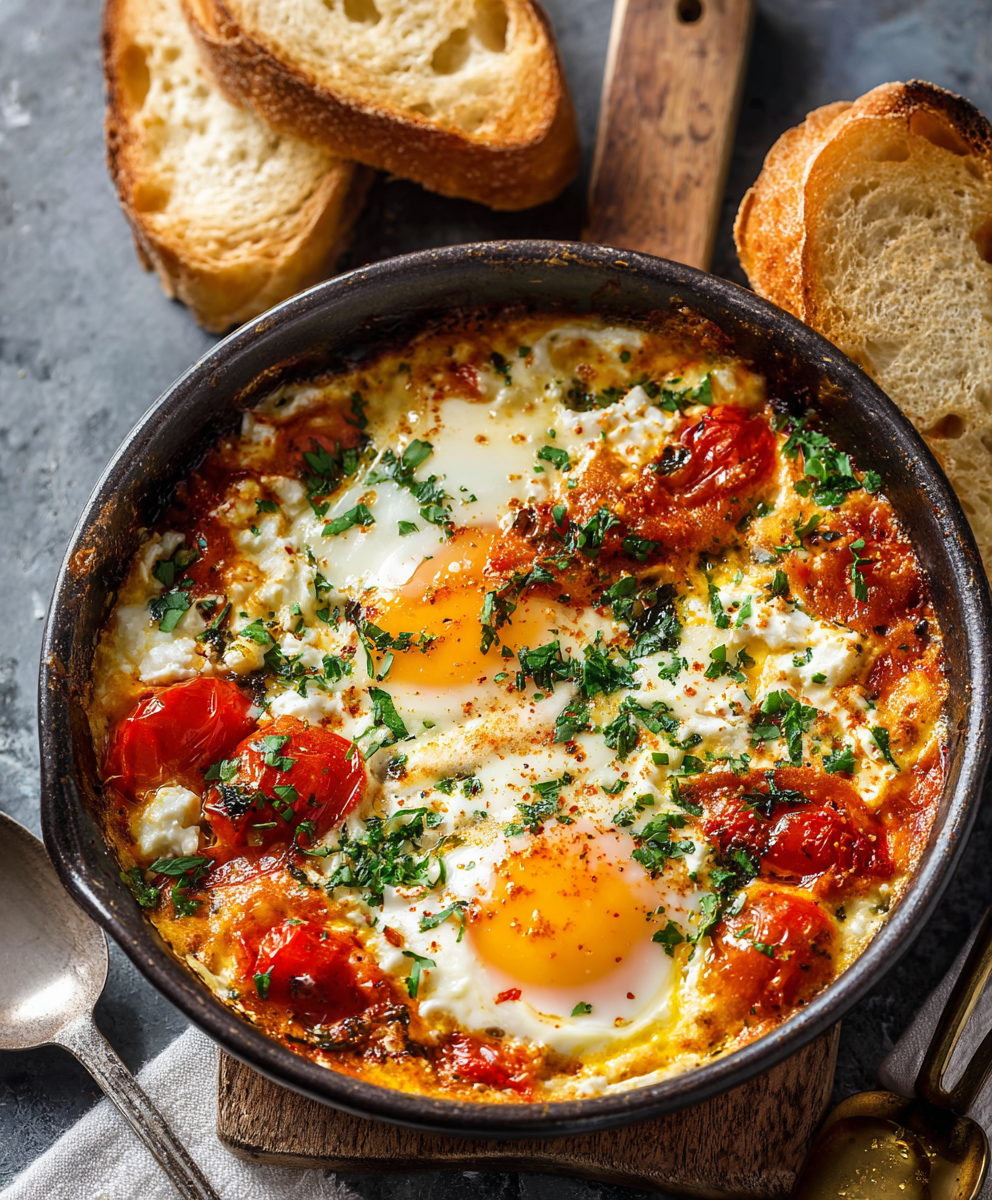
A comforting Mediterranean-inspired bake of roasted tomatoes, feta, spinach, and eggs — creamy, savory, and perfect for breakfast, brunch, or an easy weeknight meal.

A bright, tangy frozen treat that channels key lime pie in a protein-packed, freezer-ready bark — perfect for warm days, snack prep, and a lighter dessert.
Leave a comment & rating below or tag @galovicooking on social media!
Enjoyed this recipe? Share it with friends and family, and don't forget to leave a review!
This recipe looks amazing! Can't wait to try it.
Comments are stored locally in your browser. Server comments are displayed alongside your local comments.

Join to receive our email series which contains a round-up of some of our quick and easy family favorite recipes.