>>
30-MINUTE MEALS! Get the email series now →

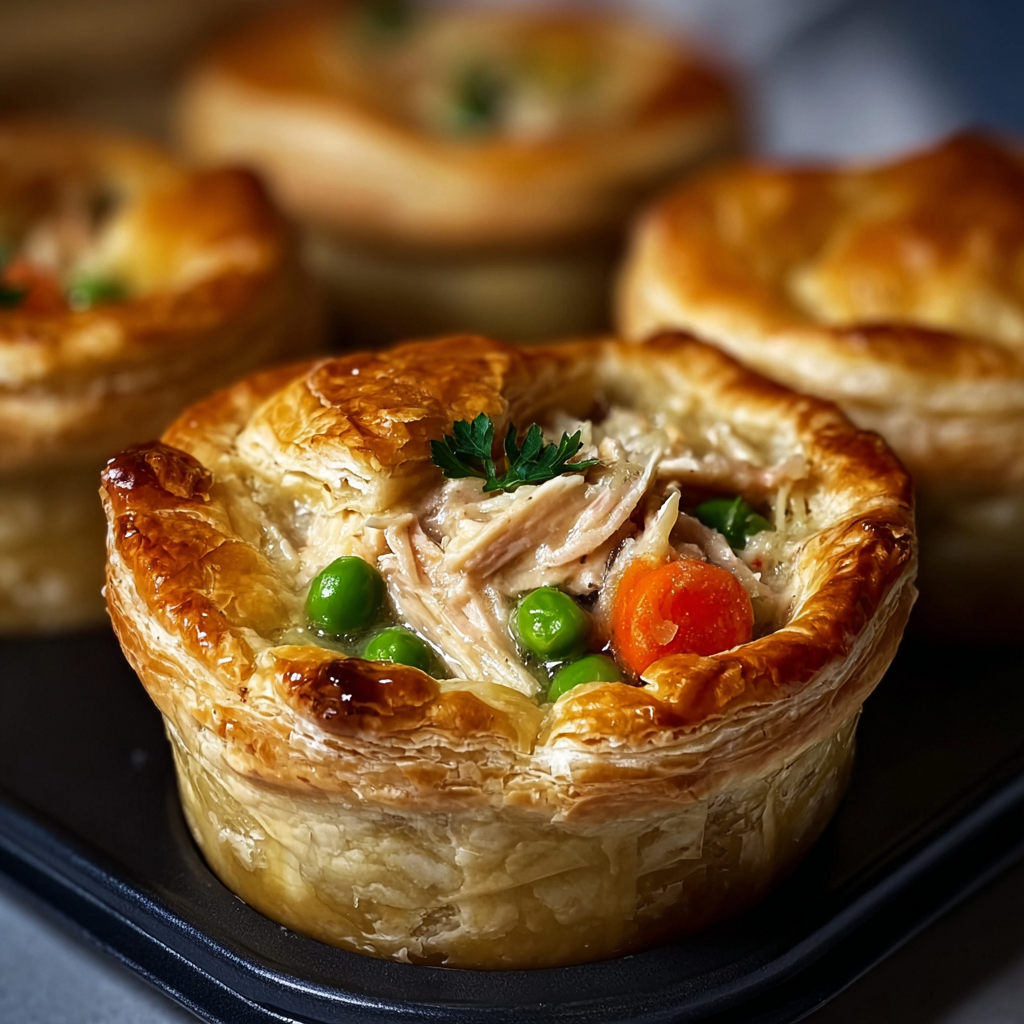
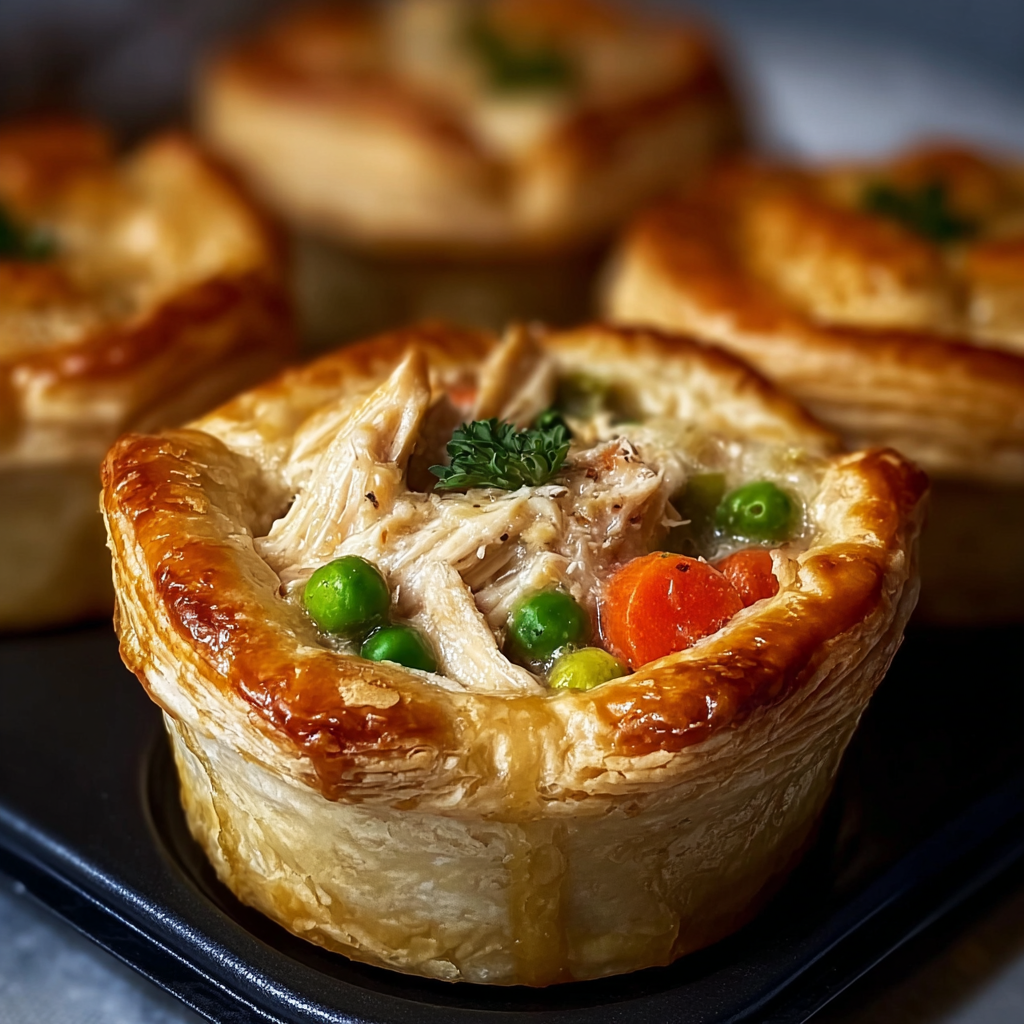
Golden, hand-sized chicken and vegetable pies made with flaky biscuit crusts and a creamy filling—perfect for weeknight dinners, potlucks, and picky eaters.
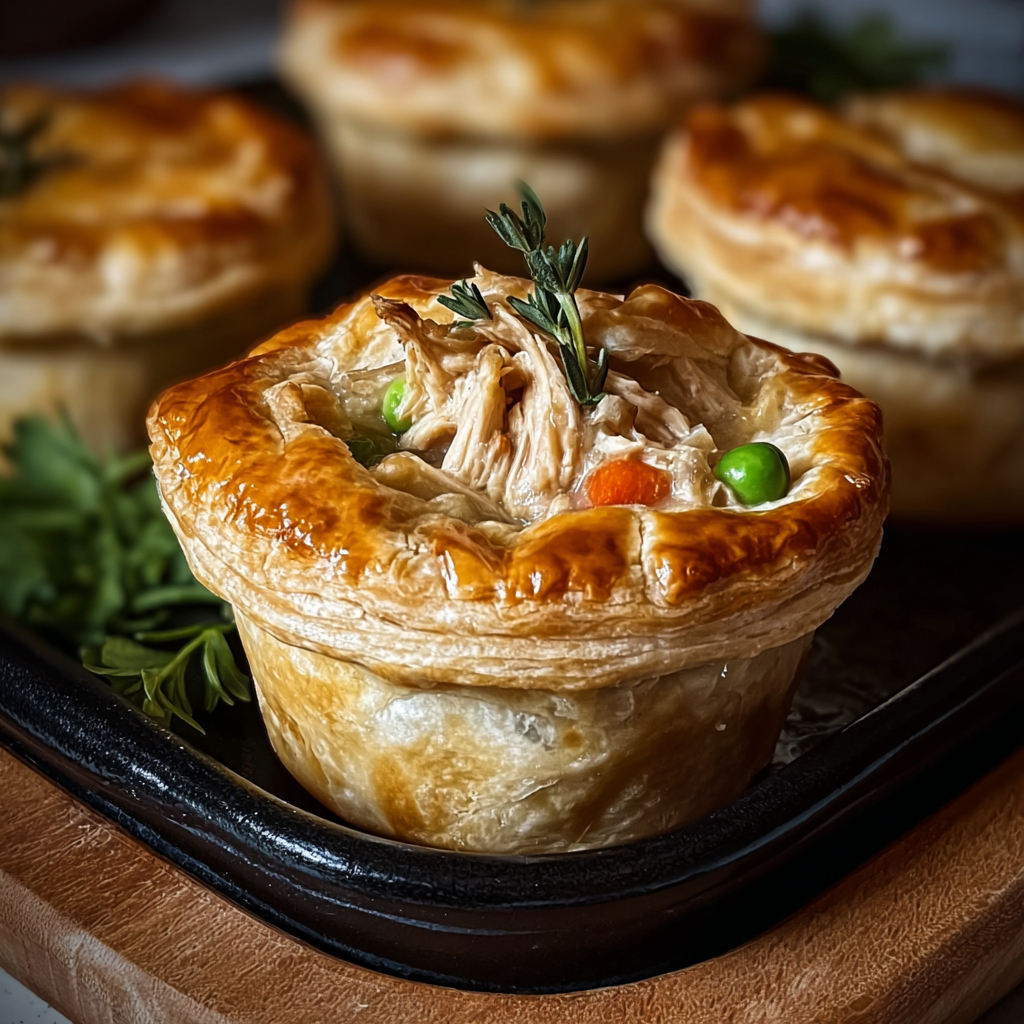
When I first served these at a casual family gathering, my niece declared them “the best tiny pies ever” and reached for a second before the first was cold. Their portability makes them ideal for potlucks, and I love how they travel well—just reheat in a 350°F (175°C) oven for 8–10 minutes to freshen the crust. Over time I’ve learned small tweaks—brushing an egg wash for shine, or stirring in a splash of milk if the filling seems thick—that make the outcome consistently excellent.
My favorite part of this dish is how many different memories it carries—game nights, school bake sales, and quiet weeks when the oven warms the whole house. I remember a rainy Sunday when my partner and I shipped a batch to a friend recovering from surgery; she called the pies “tiny bites of home.” That little validation turned this throw-together dinner into a staple I make on purpose, not just when I’m juggling a busy week.
Store cooled pies in an airtight container in the refrigerator for up to 3 days. For best texture, reheat on a baking sheet at 350°F (175°C) until warmed through and the crust crisps, about 8–10 minutes. For freezing, place baked pies on a parchment-lined tray and freeze until firm, then transfer to a freezer bag; they keep well for up to 3 months. Reheat from frozen at 350°F (175°C) for 18–22 minutes, or thaw overnight in the refrigerator and reheat for 10–12 minutes. Avoid microwaving if you want the crust to remain flaky—microwaves make the biscuit soggy.
If you want a fresher base, substitute the canned soup with 1 cup homemade white sauce (1 tablespoon butter, 1 tablespoon flour, 1 cup milk, salt and pepper to taste). Swap canned chicken for about 2 cups shredded roasted chicken or turkey for improved texture and flavor. Use fresh vegetables like diced carrots, peas, and corn—blanch briefly or sauté until just tender—if you prefer. For a gluten-free version, use store-bought gluten-free biscuit dough or small gluten-free pie crusts in a lined muffin tin, and choose a gluten-free condensed soup alternative.
These mini pies are lovely served with a crisp green salad dressed in lemon vinaigrette for contrast, or alongside a cup of tomato soup for a cozy meal. For a weekend brunch, pair them with roasted potatoes and a tangy coleslaw. Garnish with a sprinkle of chopped parsley or chives to brighten the plate. For a heartier presentation, serve 2–3 pies per person with steamed greens or a light grain salad.
Handheld savory pies have roots across many cuisines—British meat pies, American pot pies, and French hand pies all reflect the simple notion of encasing a savory filling in pastry. The modern American pot pie evolved as a practical way to use leftover roasted meats and vegetables. Using canned soup as a creamy binder is a mid-20th-century convenience adaptation that became widespread for easy home cooking. These miniature versions are a playful take on that tradition—single-serving, portable, and perfect for mixing old-school convenience with higher-quality fresh ingredients when desired.
In winter, swap the mixed vegetables for roasted root vegetables and add fresh thyme and rosemary. In spring and summer, use fresh peas, new carrots, and tender zucchini; lighten the base by using a single cup of milk thinned with 2 tablespoons of cornstarch if you want a less rich filling. For holiday gatherings, fold in sautéed mushrooms and a handful of grated gruyère for a more celebratory flavor profile.
To meal-prep, make the filling ahead and refrigerate for up to 2 days. When ready to bake, press the biscuit cups the morning of service and fill just before baking to avoid soggy crusts. If you plan to freeze for grab-and-go lunches, bake the pies completely, freeze until firm, and individually wrap them for easy reheating. Use labeled freezer bags and include reheating instructions so everyone can enjoy a consistent result.
These mini pies are an invitation to make the recipe your own—keep the core method, swap ingredients to match the season, and enjoy how quickly a few pantry staples become a memorable meal. Share them, freeze them, and don’t be afraid to experiment—every family puts their spin on comfort food.
If the filling seems too thick before baking, stir in 1–2 tablespoons of milk to reach a spoonable consistency.
Brush the biscuit edges with beaten egg for a glossy, golden finish and improved browning.
To avoid soggy bottoms, preheat the muffin pan in the oven for 5 minutes before pressing in the biscuits (careful handling).
Rotate the pan halfway through baking if your oven has hot spots to ensure even browning.
Let pies cool for 5 minutes in the pan to set the filling; this prevents splitting when you remove them.
This nourishing mini chicken pot pies recipe is sure to be a staple in your kitchen. Enjoy every moist, high protein slice — it is perfect for breakfast or as a wholesome snack any time.
Yes—bake at 350°F (175°C) for 18–22 minutes from frozen, or thaw overnight and reheat for 8–10 minutes until hot and crusty.
Use a clean knife to loosen edges and lift with a small offset spatula; let rest 5 minutes first to let filling set.
This Mini Chicken Pot Pies recipe makes perfectly juicy, tender, and flavorful steak every time! Serve with potatoes and a side salad for an unforgettable dinner in under 30 minutes.
Preheat the oven to 400°F (200°C) and position a rack in the center for even browning.
In a large bowl combine the cream of chicken soup, shredded or canned chicken, thawed mixed vegetables, thyme, garlic powder, salt, and pepper. Stir until evenly combined; add 1–2 tablespoons milk if the mixture seems too thick.
Flatten each biscuit into a 3–4 inch disk and press into the wells of a greased 12-cup muffin pan to form a small crust cup.
Spoon the filling into each biscuit cup about three-quarters full. Brush exposed dough with egg wash if desired for a golden finish.
Bake at 400°F (200°C) for 18–22 minutes until the biscuits are deep golden and the filling is hot and bubbling. Let rest 5 minutes before removing from the pan.
Last Step: Please leave a rating and comment letting us know how you liked this recipe! This helps our business to thrive and continue providing free, high-quality recipes for you.
Leave a comment & rating below or tag
@galovicooking on social media!
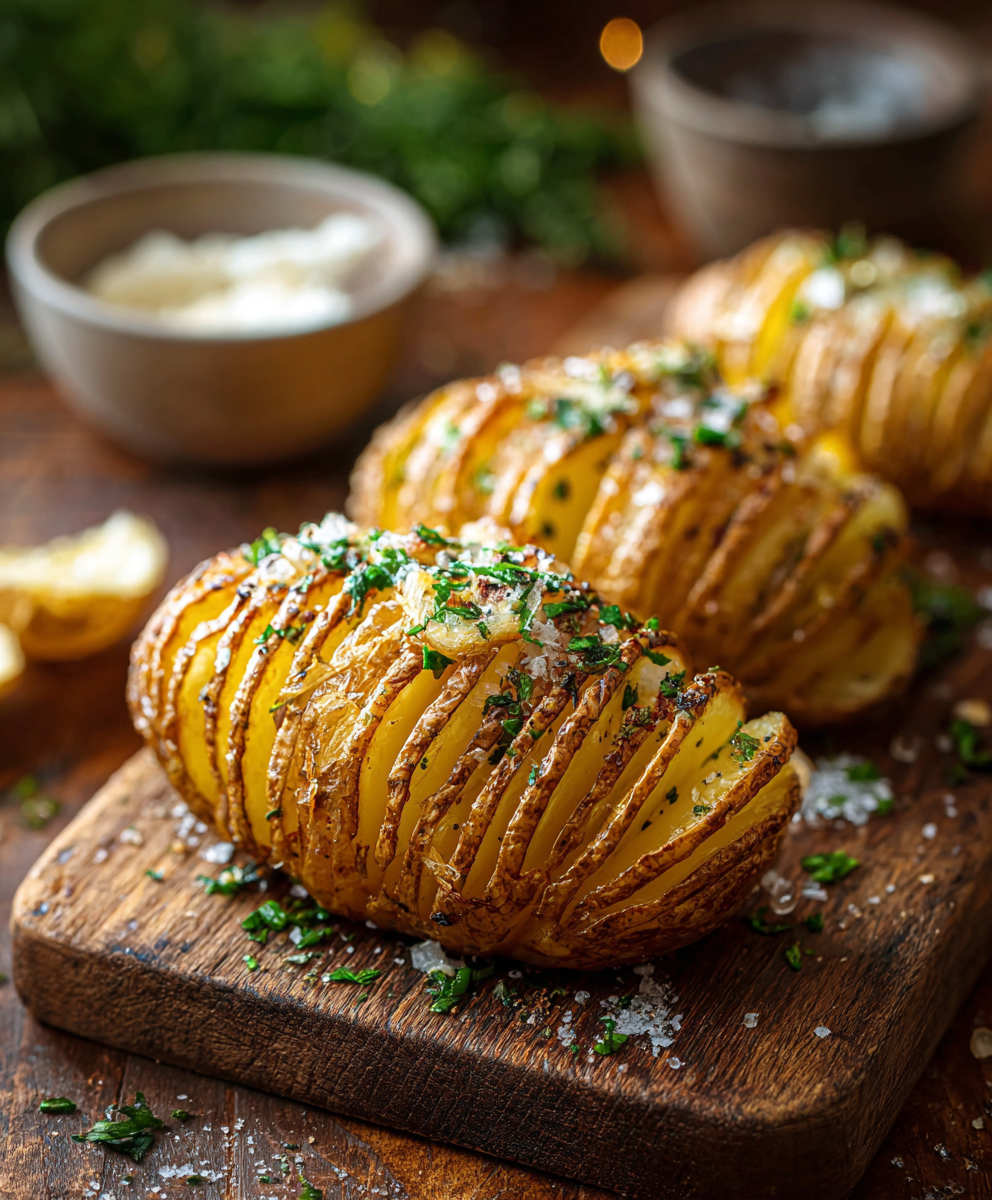
Crispy on the outside, tender inside: classic Hasselback potatoes brushed with melted butter and seasoned simply with kosher salt and pepper.
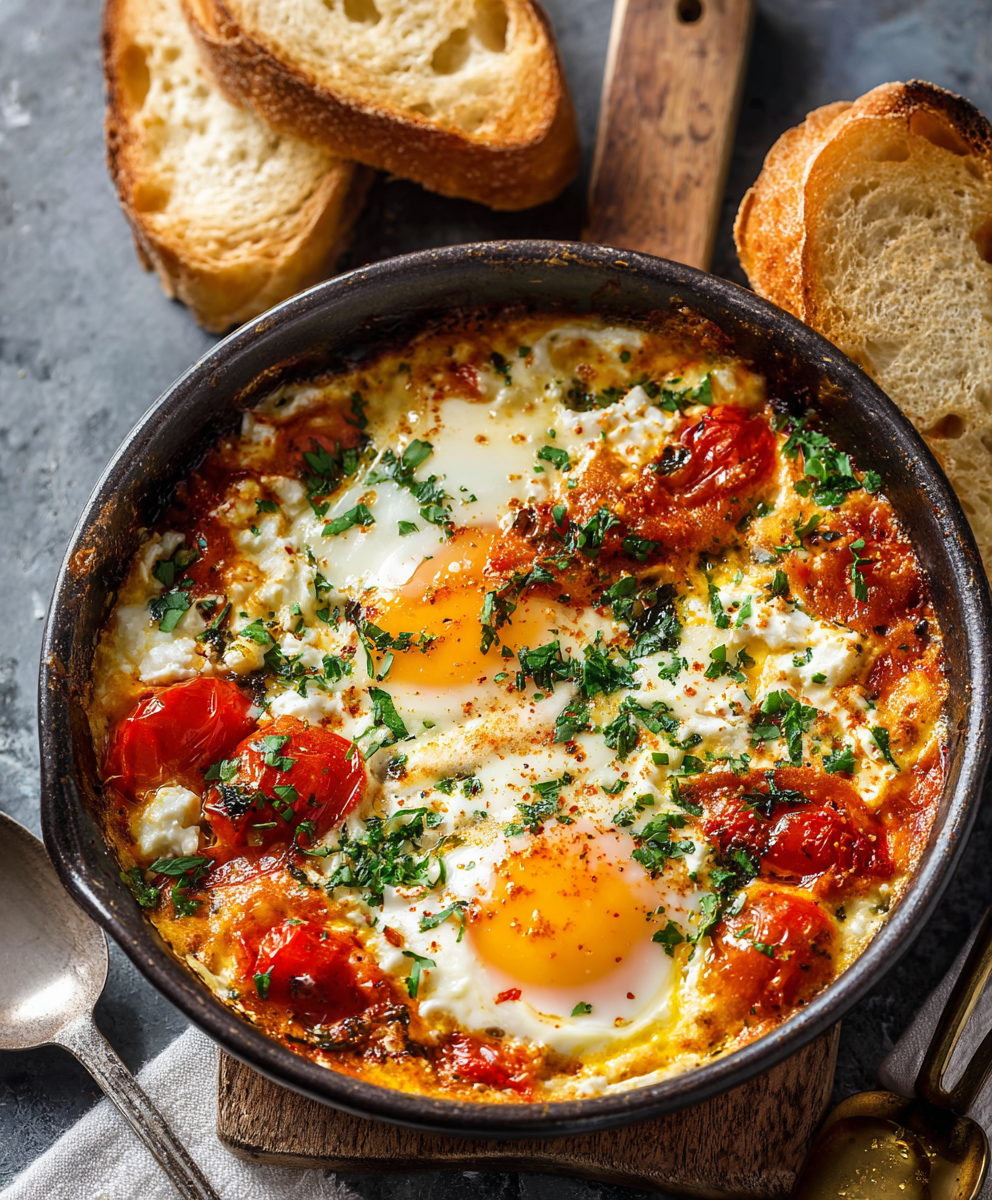
A comforting Mediterranean-inspired bake of roasted tomatoes, feta, spinach, and eggs — creamy, savory, and perfect for breakfast, brunch, or an easy weeknight meal.

A bright, tangy frozen treat that channels key lime pie in a protein-packed, freezer-ready bark — perfect for warm days, snack prep, and a lighter dessert.
Leave a comment & rating below or tag @galovicooking on social media!
Enjoyed this recipe? Share it with friends and family, and don't forget to leave a review!
This recipe looks amazing! Can't wait to try it.
Comments are stored locally in your browser. Server comments are displayed alongside your local comments.

Join to receive our email series which contains a round-up of some of our quick and easy family favorite recipes.