
Pink Velvet Cake

A tender, moist pink velvet layer cake finished with a silky cream cheese frosting — a joyful, show-stopping dessert perfect for celebrations and everyday indulgence.
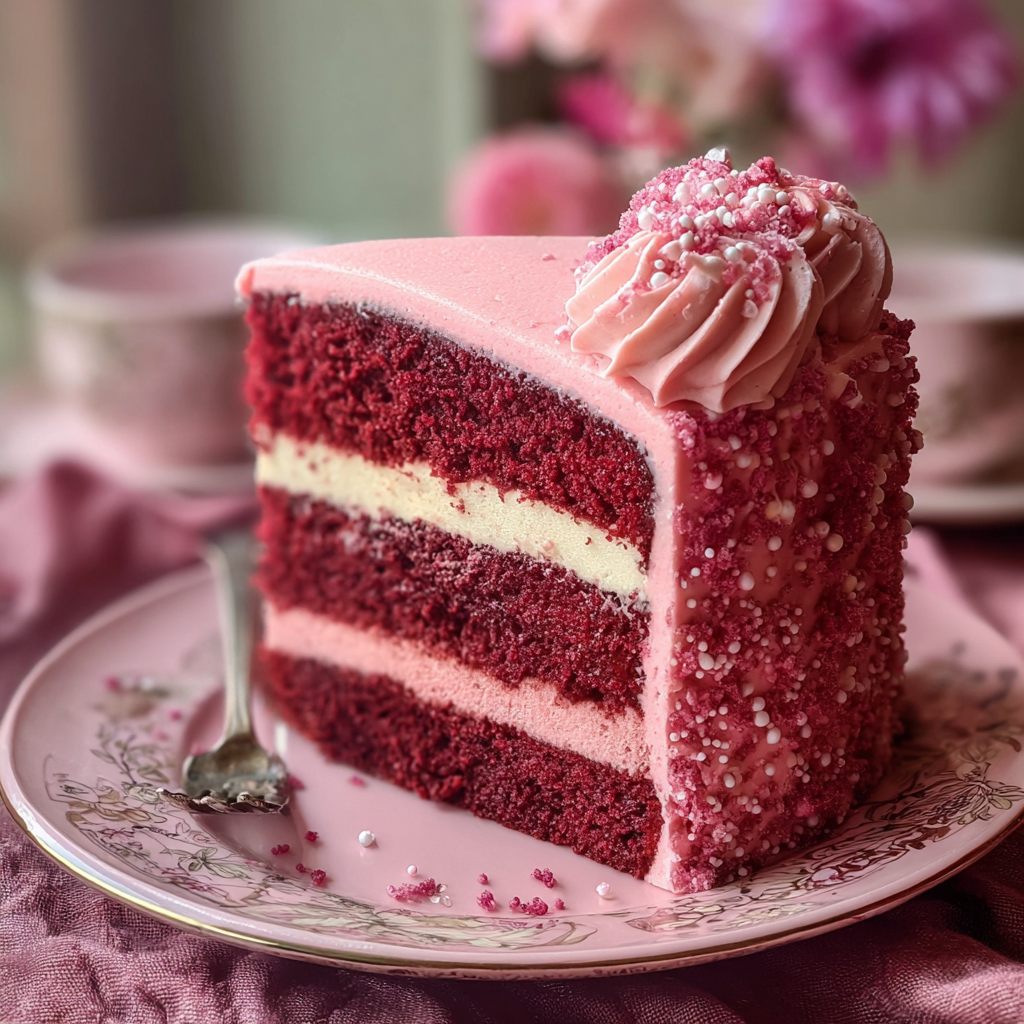
This pink velvet cake began as a playful experiment the first time I wanted a color-driven dessert that tasted as good as it looked. I was hosting a small garden party in late spring and wanted something floral and fun, but not overly sweet or gimmicky. The result was a pair of light, tender layers with a delicate crumb and just the right hint of tang from cultured dairy. The cakes baked up with a velvety texture reminiscent of classic red velvet, but with a softer, more delicate strawberry hue that made everyone pause before taking a bite. My sister declared it "the prettiest cake I've ever seen," and my partner insisted we make it for every birthday from then on.
What makes this version special is the balance: the cake is soft and moist without being greasy, and the frosting is creamy and tangy without overpowering the cake. I learned to dial down the sugar and use sour cream plus buttermilk for moisture; the combination gives structure while keeping the crumb pillowy. This recipe is flexible — you can tint it deeper for a dramatic look or keep it pale for an elegant pastel finish. It's approachable for confident beginners and satisfying for seasoned bakers who want reliable technique and beautiful results.
Why You'll Love This Recipe
- Visually stunning: the natural pink tint and smooth cream cheese finish make it show-ready for showers, birthdays, or a simple weekend treat.
- Quick to assemble: from mixing to oven in about 25 minutes of active prep time — perfect for last-minute celebrations.
- Pantry-friendly: uses common staples like flour, sugar, eggs, and butter with easy-to-find dairy additions like buttermilk and sour cream.
- Moist and tender crumb: a combination of buttermilk and sour cream ensures a soft, even texture that slices cleanly.
- Make-ahead friendly: layers can be baked and frozen, frosting made a day ahead — assemble when needed to save time.
- Customizable: adjust tint and flavoring (vanilla, almond, or a touch of strawberry extract) to suit your occasion.
I first served this at a small family gathering and watched as three generations lingered over slices, comparing which edge had the best crust and swapping tips about frosting technique. That evening taught me how presentation and flavor together create memory — the cake looked festive yet tasted familiar, which is exactly the combination I aim for in every dessert I make.
Ingredients
- All-purpose flour: 2 1/2 cups — Use a good-quality brand like King Arthur for consistent protein and even crumb. Spoon and level into the cup for accuracy; too much flour makes the cake dense.
- Granulated sugar: 1 3/4 cups — Regular white sugar provides structure and sweetness without adding moisture that would upset the crumb.
- Unsalted butter: 1/2 cup (1 stick), softened — Room temperature butter creams with sugar to incorporate air; avoid using melted butter or the texture will change.
- Large eggs: 3 — Use eggs at room temperature to improve emulsion and volume in the batter.
- Buttermilk: 1 cup — Adds acidity and moisture; if unavailable, use 1 cup milk plus 1 tablespoon white vinegar and rest 5 minutes.
- Sour cream: 1/2 cup — Contributes tang and tenderness; full-fat yields best mouthfeel.
- Baking powder and baking soda: 1 teaspoon baking powder and 1/2 teaspoon baking soda — Leavening balance ensures rise without large air pockets.
- Salt: 1/2 teaspoon — Enhances flavor and balances sweetness.
- Vanilla extract: 2 teaspoons — Use pure extract for depth of flavor; a hint of almond extract (1/4 teaspoon) is optional.
- Red or pink gel food coloring: 1–2 teaspoons depending on desired intensity — Gel color gives vivid tone without altering batter consistency. Alternatively, use 2 teaspoons concentrated strawberry puree for natural color and flavor.
- Cream cheese: 8 ounces, softened — For the frosting; use full-fat for stability and creaminess.
- Powdered sugar: 3 to 3 1/2 cups — Sift before use to prevent lumps in the frosting; adjust to taste for firmness.
- Heavy cream: 2 to 4 tablespoons — Adjust frosting consistency for spreading or piping.
Instructions
Prepare pans and preheat: Preheat the oven to 350°F. Grease two 8-inch round pans and line the bottoms with parchment. Lightly flour the sides or spray with a flour-containing baking spray. Allow pans to come to room temperature before filling so batter spreads evenly. Cream butter and sugar: In a stand mixer fitted with the paddle or in a large bowl with a hand mixer, beat the softened butter and granulated sugar on medium speed until pale and fluffy, about 3 minutes. This step incorporates air for lift; scrape the bowl once to ensure even creaming. Add eggs and extracts: Add eggs one at a time, beating briefly after each addition. Mix in vanilla and optional almond extract. If the batter begins to look curdled, add 1 tablespoon of flour to stabilize the emulsion before proceeding. Combine dry ingredients: Whisk together the flour, baking powder, baking soda, and salt in a medium bowl. Sifting is optional but helps break up clumps for a silkier crumb. Alternate dry and wet: With the mixer on low, add the dry ingredients in three additions alternating with buttermilk and sour cream (dry, wet, dry, wet, dry). Mix until just combined; overmixing develops gluten and toughens the cake. Fold in the gel color until evenly distributed. Divide and bake: Divide batter evenly between prepared pans (use a scale or measuring cups for consistency). Smooth the tops and bake 22–26 minutes, until a toothpick inserted in the center comes out with a few moist crumbs and the cakes spring back lightly to the touch. Rotate pans halfway through for even browning. Cool completely: Cool cakes in the pans for 10 minutes, then invert onto a cooling rack. Remove parchment and cool completely before frosting; warming will melt the frosting and create sliding layers. Make frosting and assemble: Beat softened cream cheese and 1/4 cup softened butter until smooth. Gradually add powdered sugar, then add heavy cream 1 tablespoon at a time to reach spreading consistency. Place one layer on your serving plate, spread a thin crumb coat of frosting, add the second layer, then apply the final coat. Chill briefly to set and smooth with an offset spatula.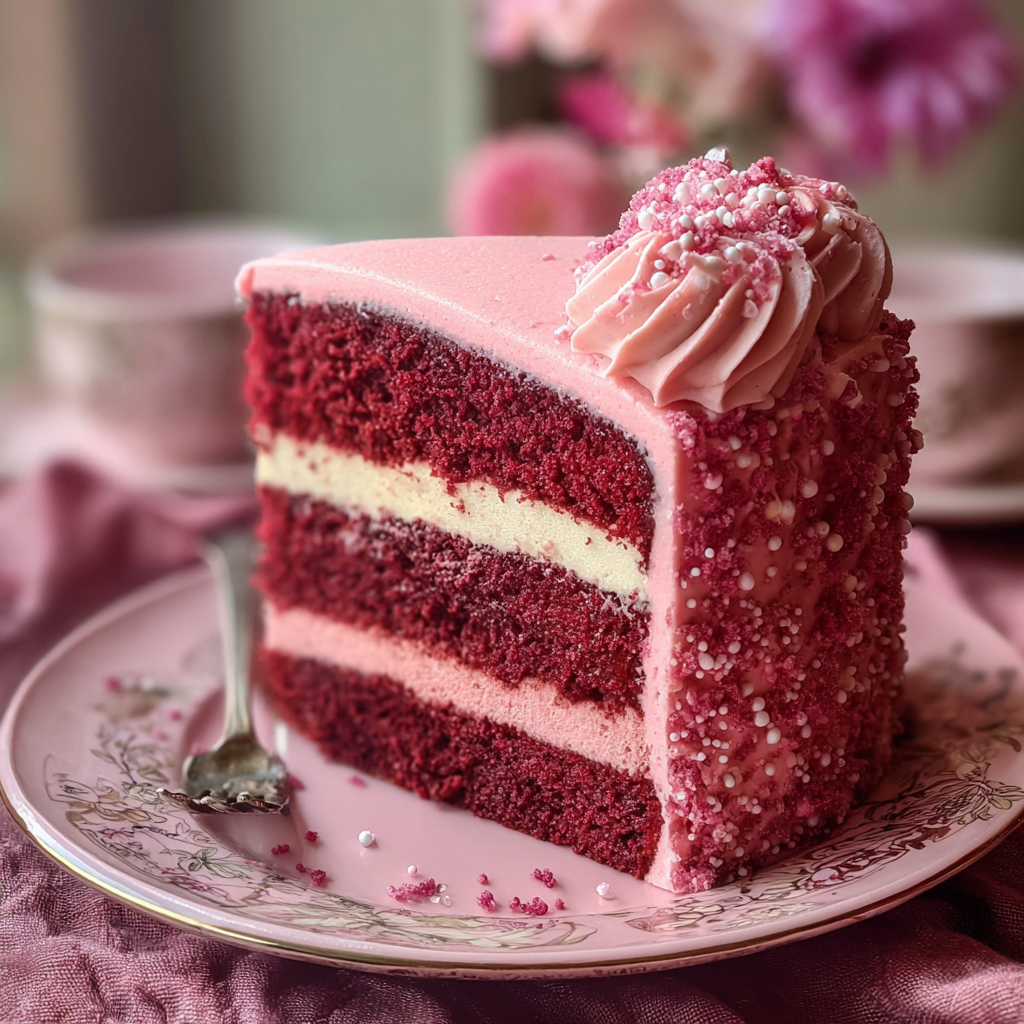
You Must Know
- The cake freezes well: wrap cooled layers tightly in plastic and freeze up to 3 months; thaw overnight in the refrigerator before frosting.
- This dessert is high in calories per slice; serving size control helps balance indulgence with nutrition.
- Leftovers keep in the refrigerator under a cake dome for 3 to 4 days; bring to room temperature before serving for best texture.
- For a lighter finish, reduce powdered sugar in the frosting and increase lemon zest for brightness.
- Use gel color sparingly — a little goes a long way and won’t affect batter moisture.
My favorite part is the crumb edge where the cake meets the frosting — it’s where textures merge and you can see the difference that proper cooling and a gentle crumb coat make. Family members often argue about who gets the edge piece, which always makes me laugh. It’s those small moments that remind me dessert is as much about togetherness as it is about taste.
Storage Tips
Store the cake covered in the refrigerator for up to 4 days. If you need longer storage, freeze individual unfrosted layers tightly wrapped in plastic and aluminum foil for up to 3 months; thaw overnight in the refrigerator and bring to room temperature before applying frosting. For short-term storage at room temperature, keep the frosted cake under a cake dome away from direct sunlight for up to one day. Use airtight containers for leftover slices to prevent drying, and reheat gently in a warm oven (250°F for 8–10 minutes) if you prefer a warm bite.
Ingredient Substitutions
If you’re avoiding dairy, replace buttermilk with a plant-based milk plus 1 tablespoon lemon juice and use dairy-free sour cream and cream cheese alternatives; be aware texture and tang will differ. For an egg-free version, use a commercial egg replacer or a chia-egg (1 tablespoon chia seeds + 3 tablespoons water per egg), but expect a slightly denser crumb. Whole wheat pastry flour can replace up to half the white flour for added nuttiness, but reduce mixing and increase moisture slightly to maintain tenderness.
Serving Suggestions
Serve slices with lightly macerated berries, a drizzle of berry coulis, or a scoop of vanilla bean ice cream. For celebrations, top with edible flowers or fresh strawberries arranged on the top layer. Pair with a lightly brewed tea, classic coffee, or a sparkling rosé for balance. Cut slices using a heated knife (dip in hot water and wipe dry between cuts) for clean, elegant portions. Individual mini versions also make charming favors for showers or afternoon tea.
Cultural Background
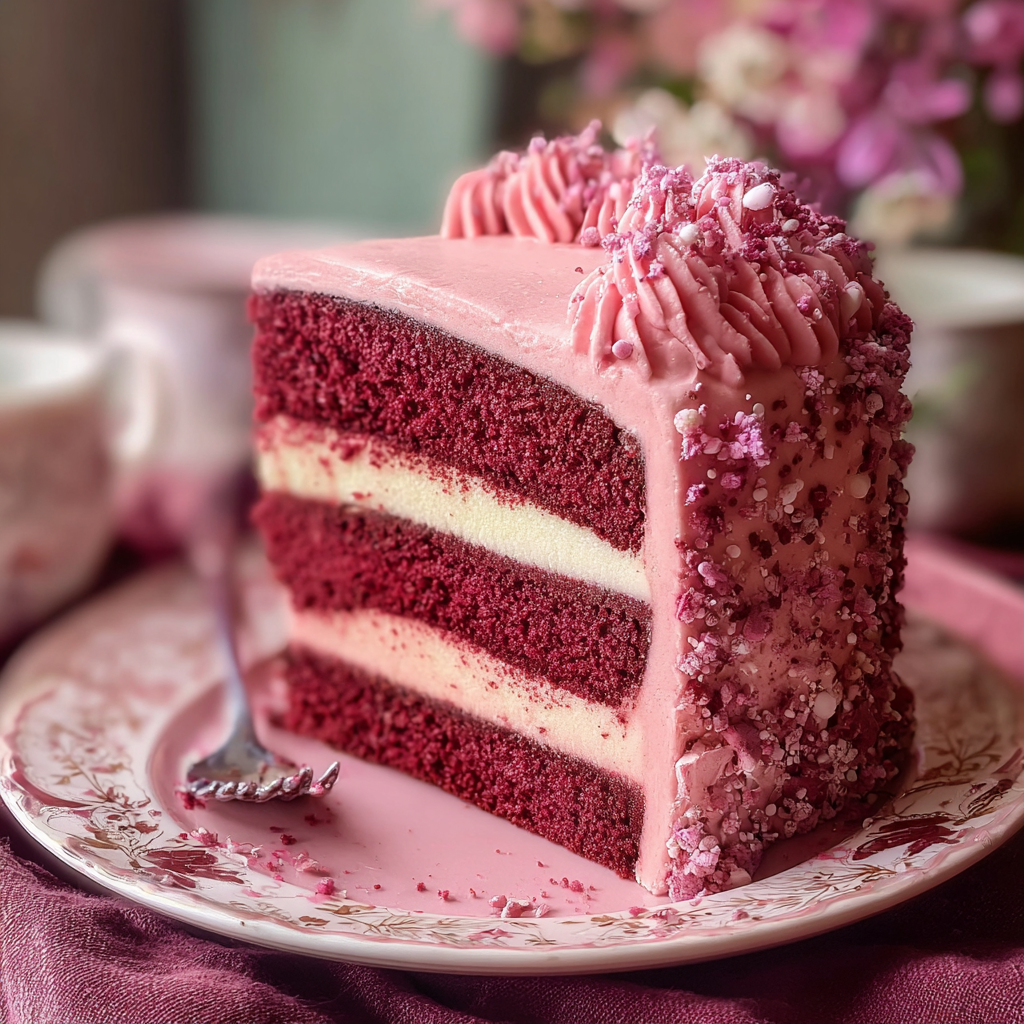
The classic red velvet cake has roots in early 20th-century American baking, often associated with the American South and popularized through hotel dining rooms and classic cookbooks. Pink versions are a playful modern reinterpretation — keeping the soft crumb and tangy frosting while swapping color and sometimes flavor to match contemporary palettes. While red velvet’s signature comes from a reaction between cocoa and acidic dairy, pink velvet leans more on aesthetic appeal and subtle flavor adjustments like strawberry or raspberry accents.
Seasonal Adaptations
In spring and summer, incorporate fresh strawberry puree into the batter or pastry cream layers for a bright, seasonal twist. For autumn, swap in a tablespoon of pumpkin purée and a pinch of warm spices, then finish with a maple cream cheese frosting. Winter gatherings work well with a deeper tint and toasted nuts for contrast. Adjust baking times slightly when adding moist purees — reduce liquid elsewhere and monitor doneness with a toothpick.
Meal Prep Tips
Plan ahead by baking layers 1–2 days before serving and storing them wrapped in the refrigerator. Make frosting a day ahead and beat briefly before using to restore spreadability. For easy assembly the day of, label layers and stack them on cardboard cake rounds to move the cake without damage. Use a chilled offset spatula for a smooth finish and refrigerate for 20 minutes between crumb coat and final coat to set the structure.
Take a deep breath before you frost — the first coat is about catching crumbs, not perfection. With a little patience, this cake becomes a centerpiece of any table and a recipe you’ll return to whenever you want something pretty and reliably delicious. Enjoy the process; the best cakes come from a combination of technique and heart.
Pro Tips
Bring eggs and dairy to room temperature before mixing to improve emulsification and rise.
Use gel food coloring for vivid color without altering batter hydration.
Chill layers briefly before final frosting to make smoothing easier.
This nourishing pink velvet cake recipe is sure to be a staple in your kitchen. Enjoy every moist, high protein slice — it is perfect for breakfast or as a wholesome snack any time.
Tags
Pink Velvet Cake
This Pink Velvet Cake recipe makes perfectly juicy, tender, and flavorful steak every time! Serve with potatoes and a side salad for an unforgettable dinner in under 30 minutes.
Ingredients
Cake
Frosting
Assembly
Instructions
Preheat and Prepare Pans
Preheat oven to 350°F. Grease two 8-inch round pans, line bottoms with parchment, and lightly flour the sides or use baking spray. This ensures even rise and clean release.
Cream Butter and Sugar
Beat softened butter and granulated sugar on medium speed until pale and fluffy, about 3 minutes. This creates the aeration needed for a tender crumb.
Add Eggs and Flavor
Add eggs one at a time, mixing briefly after each. Stir in vanilla and optional almond extract. If the batter looks curdled, add a tablespoon of flour to stabilize.
Combine Dry Ingredients
Whisk flour, baking powder, baking soda, and salt together in a bowl. Sift if you prefer a finer texture.
Alternate Dry and Wet
Add dry ingredients in three parts alternating with buttermilk and sour cream. Mix on low until just combined and fold in food coloring until uniform.
Bake and Cool
Divide batter evenly and bake 22–26 minutes until a toothpick shows moist crumbs. Cool in pans 10 minutes then transfer to a rack to cool completely before frosting.
Make Frosting and Assemble
Beat cream cheese and butter until smooth. Gradually add powdered sugar and heavy cream to reach desired consistency. Frost cooled layers with a thin crumb coat, chill, then apply final coat and garnish.
Last Step: Please leave a rating and comment letting us know how you liked this recipe! This helps our business to thrive and continue providing free, high-quality recipes for you.
Nutrition
Did You Make This?
Leave a comment & rating below or tag
@galovicooking on social media!
Categories:
You might also like...
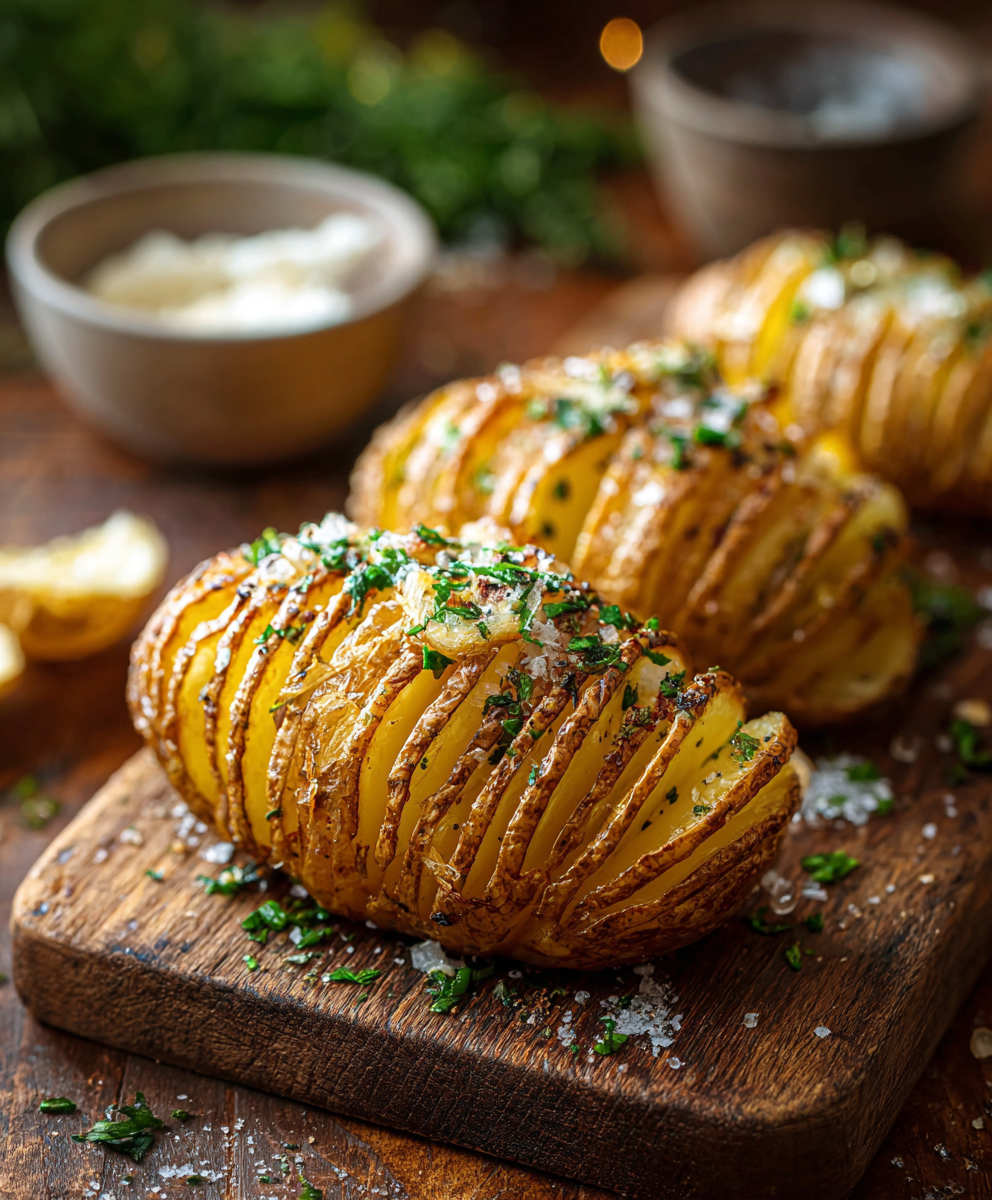
Classic Hasselback Potatoes
Crispy on the outside, tender inside: classic Hasselback potatoes brushed with melted butter and seasoned simply with kosher salt and pepper.
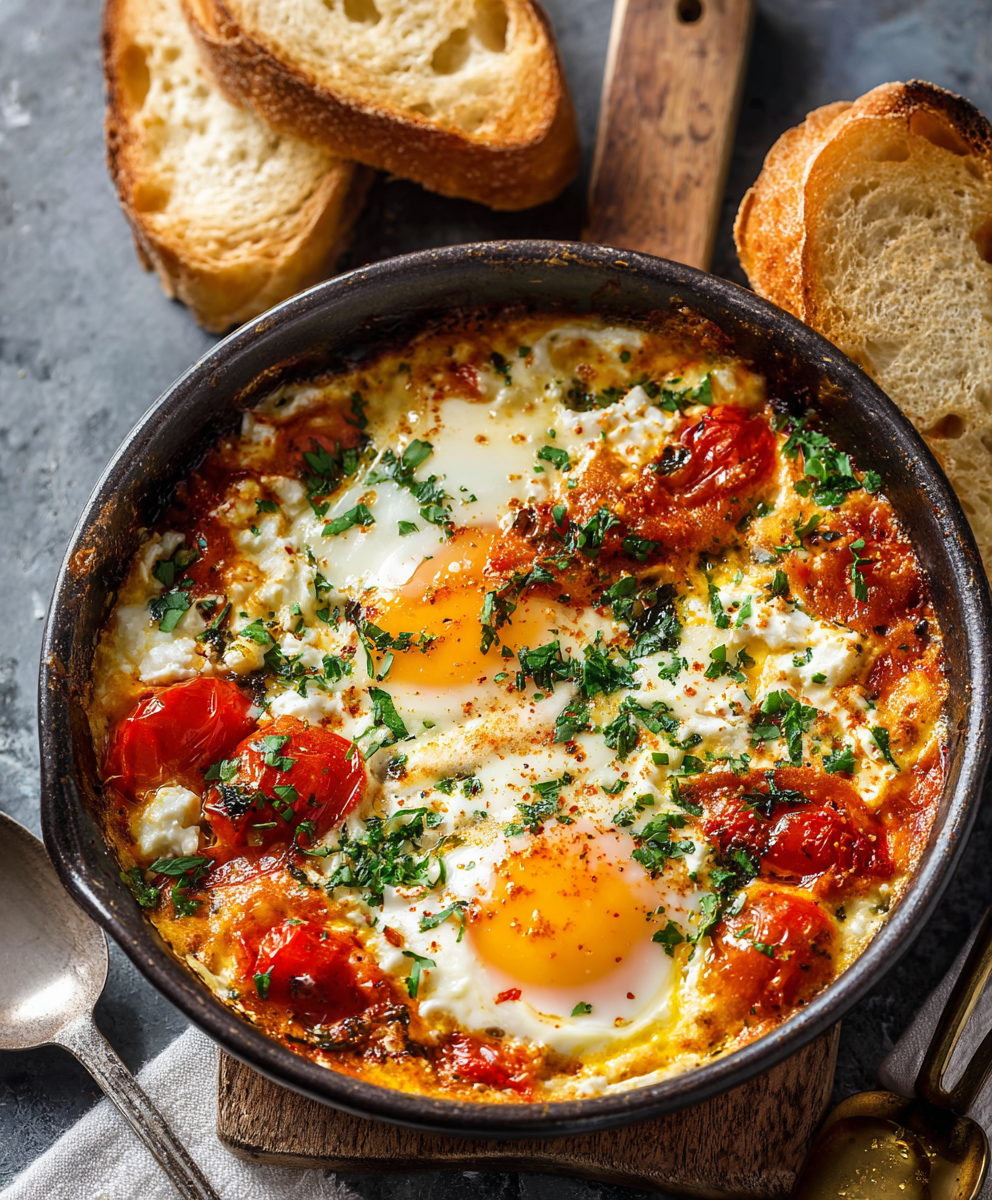
Baked Feta Eggs
A comforting Mediterranean-inspired bake of roasted tomatoes, feta, spinach, and eggs — creamy, savory, and perfect for breakfast, brunch, or an easy weeknight meal.
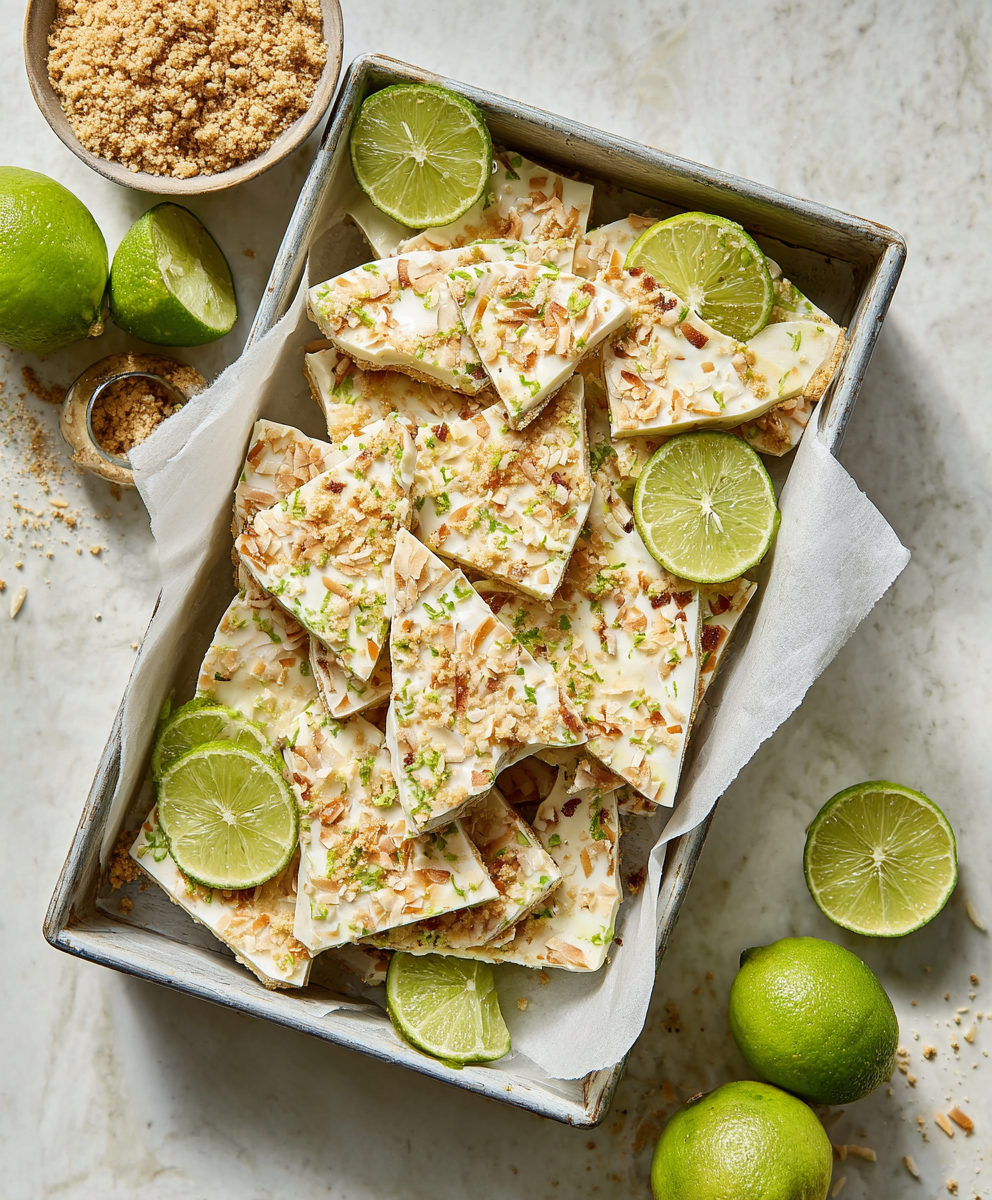
Key Lime Pie Yogurt Bark
A bright, tangy frozen treat that channels key lime pie in a protein-packed, freezer-ready bark — perfect for warm days, snack prep, and a lighter dessert.
Did You Make This?
Leave a comment & rating below or tag @galovicooking on social media!
Rate This Recipe
Share This Recipe
Enjoyed this recipe? Share it with friends and family, and don't forget to leave a review!
Comments (1)
This recipe looks amazing! Can't wait to try it.
Comments are stored locally in your browser. Server comments are displayed alongside your local comments.

Hi, I'm Ava!
What's Popular
30-Minute Meals!
Join to receive our email series which contains a round-up of some of our quick and easy family favorite recipes.