>>
30-MINUTE MEALS! Get the email series now →


Tender, melt-in-your-mouth peppermint creams with festive stripes — an easy make-ahead holiday sweet you can shape, color, and gift.
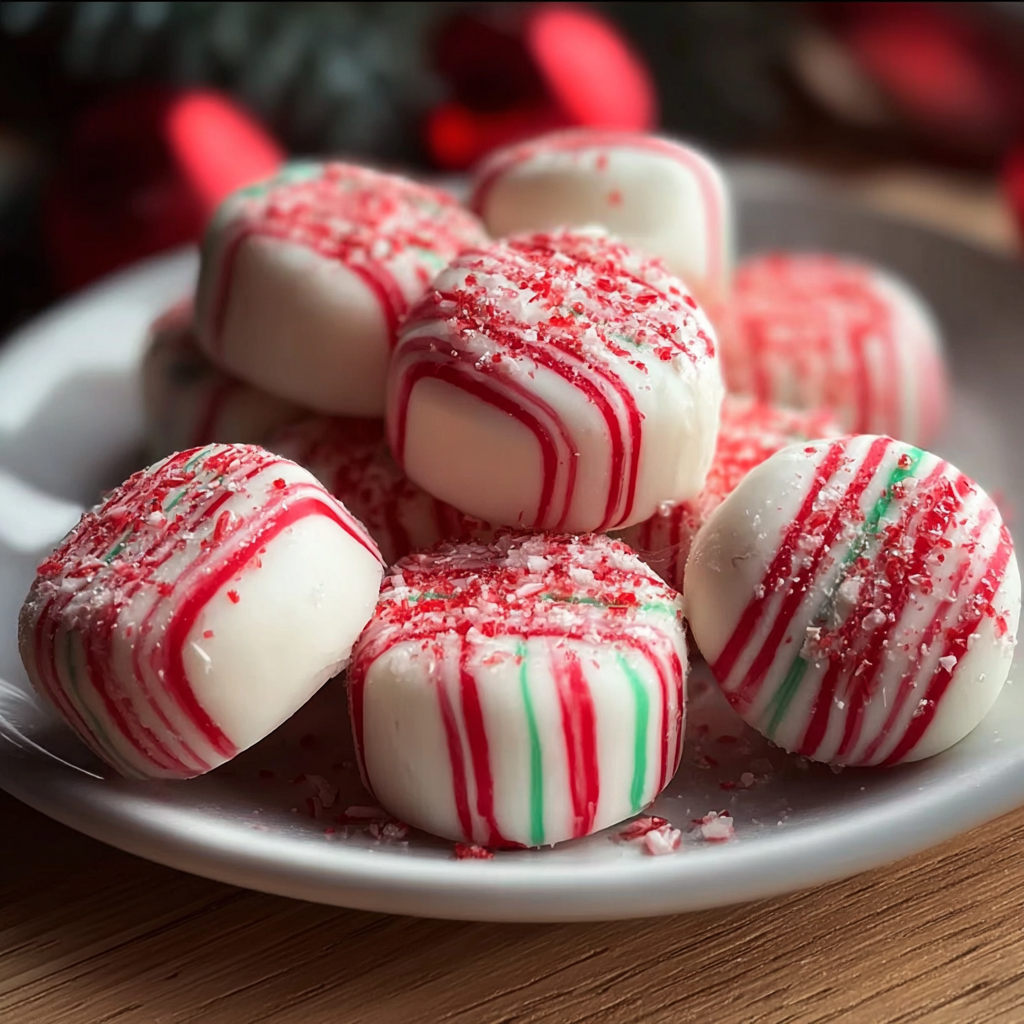
This year I made Soft Christmas Peppermints for the first time thinking they'd be a quick novelty for cookie plates — they became the star of our holiday spread. I discovered this combination during a last-minute pantry raid the week before Christmas when I wanted something bright, pepperminty and soft rather than the usual hard candy. The result was a delicate, pillowy center that melts on the tongue, with a cool peppermint finish and cheerful red and green ribbons. My kids arranged them into little wreaths and insisted we save a few for Santa in a separate dish; they were gone before dessert.
I love these because they're forgiving: no candy thermometer, no long boiling, and no tempering. The base is a simple sugar-and-fluff dough that you knead like cookie dough, then shape and decorate. Texture is everything here — you want a soft, slightly springy center that yields easily to a bite. Flavor-wise, the peppermint extract keeps them lively without being harsh; a little corn syrup gives chew and a glossy finish. I've tested them with white chocolate dips, with crushed candy cane sprinkles, and plain dusted with extra powdered sugar — each variation brings a different holiday personality.
Personally, the first time I made them I took a small bowl to my elderly neighbor — she closed her eyes after one bite and said they reminded her of a candy she loved as a child. That memory made them more than a sweet; they became a way to connect across generations. In our house they reappear every December now, in colors that match the tree and plate stacks that always shrink faster than I expect.
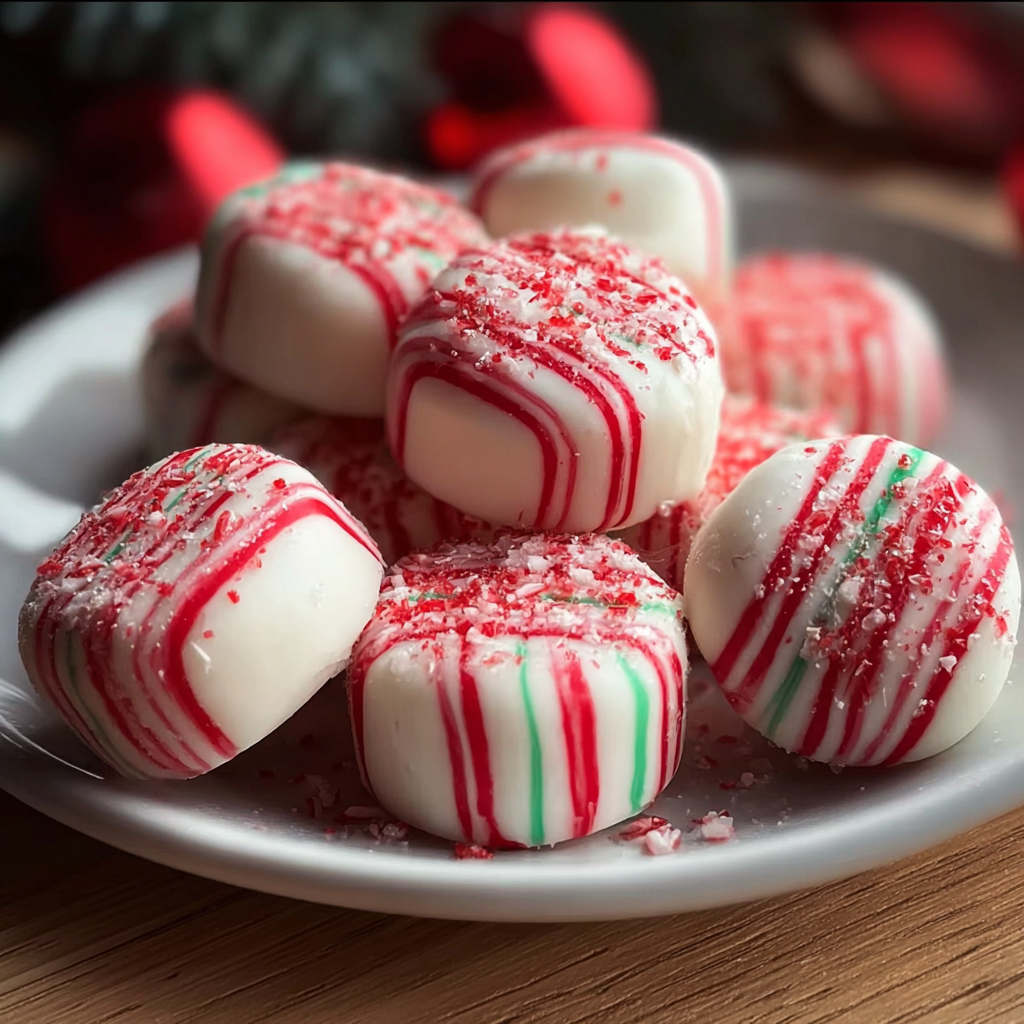
What I love most is how portable these are. I package them in small boxes layered with parchment and add ribbon for neighbors. When I bring them to a potluck, the bright stripes always catch someone's eye. The kids adore making the colored ropes, and it's a great crash course in gentle handling — too much kneading warms the dough and changes the ribbon effect.
Store the peppermint creams in a single layer or separated by parchment in an airtight container. At room temperature they stay nice for up to 48 hours in a cool kitchen, but refrigeration extends shelf life to 10 days. For longer storage, freeze in a sealed freezer container for up to 3 months; thaw in the refrigerator overnight before serving to avoid condensation. If coated in white chocolate, refrigerate to set the coating and place small pieces of parchment between layers to prevent sticking. Check for graininess or excessive stickiness as signs that moisture has been introduced — discard if texture changes dramatically.
If you need a dairy-free version, omit the heavy cream and use a tablespoon of neutral oil or more corn syrup to maintain softness. For a vegan option, check labels carefully: many marshmallow fluffs contain egg whites, so use a vegan marshmallow cream alternative or make a simple vegan fondant with powdered sugar and aquafaba. If you prefer less sugar, halve the amount of confectioners' sugar and chill the dough thoroughly — note that texture will be softer and less structured. For a stronger peppermint profile, substitute half the extract with finely grated peppermint oil (use sparingly).
Arrange the candies on a decorative platter dusted with a light sprinkling of powdered sugar and tuck in a few fresh mint sprigs for aroma. They pair beautifully with a mug of hot cocoa, spiced cider, or coffee. For holiday parties, place them around the rims of small dessert cups or use mini cupcake liners to create a colorful array. If gifting, stack layers separated by parchment and tie with a ribbon — add a small tag describing flavors and any allergens. These scale well for cookie trays or as a sweet note in holiday boxes.
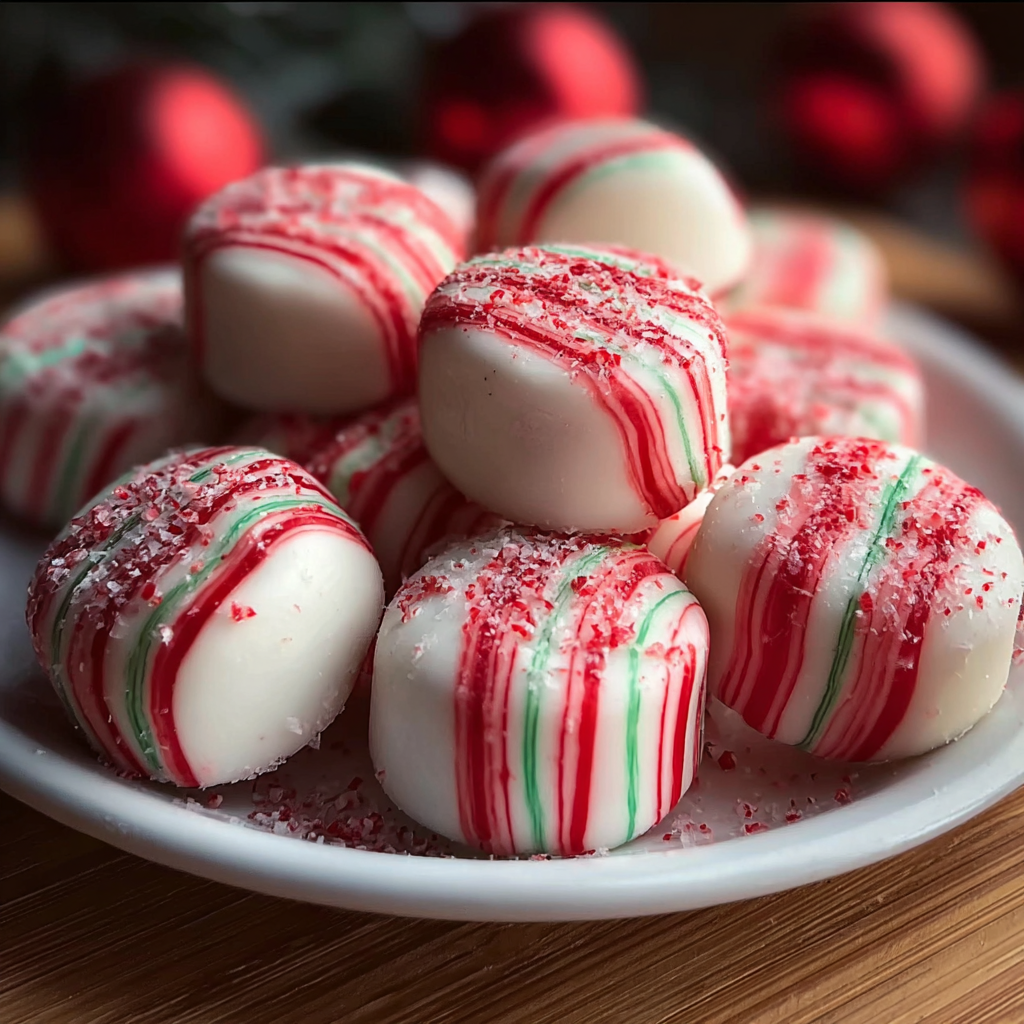
Peppermint-flavored sweets have long been associated with winter holidays in many Western traditions, from candy canes to peppermint creams. Soft peppermint confections are a more modern, home-kitchen adaptation of classical fondant-based candies popular in Victorian-era confectionery. The use of marshmallow fluff as a base reflects mid-20th-century convenience trends that simplified candy-making for home cooks. Across regions, similar soft creams are dressed in colors and shapes that reflect local festivities — in our family, green and red stripes became the unofficial emblem of holiday cheer.
For winter, stick to classic peppermint and red/green ribbons. In spring, swap peppermint for lemon extract and use pastel colors like pink and yellow. For Halloween, tint with orange and black and add a touch of cinnamon for warmth. At Valentine’s Day, make mini heart shapes and dip in dark chocolate, using rose or vanilla extract instead of peppermint. Adjust the extract by 1/4 to 1/2 teaspoon per directional change to keep flavor balanced and avoid overpowering the sugar matrix.
Make a double batch and portion candies into small jars for quick gifting. The dough stores well in the refrigerator for 48 hours wrapped in plastic; bring to room temperature for 10–15 minutes before shaping. If you're preparing for a party, shape them the day before and dip in chocolate the morning of the event so coatings are fresh. Keep a small sifter of confectioners' sugar handy to revive slightly tacky pieces before serving. Use shallow, airtight containers to avoid crushing delicate stripes.
These soft Christmas peppermints are a small tradition that delivers big joy — bright, tender, and endlessly adaptable. Make them with company, package them with care, and enjoy how a simple homemade candy can create new memories around the holidays.
Sift powdered sugar before adding to avoid lumps and ensure a silky texture.
Work with slightly chilled hands to prevent warming the dough and losing ribbon effects.
Use gel food coloring for bright stripes without changing dough consistency.
If making ahead, shape the candies and refrigerate; dip in chocolate on the day of serving for best appearance.
This nourishing soft christmas peppermints recipe is sure to be a staple in your kitchen. Enjoy every moist, high protein slice — it is perfect for breakfast or as a wholesome snack any time.
Yes. Store in an airtight container in the refrigerator for up to 10 days. For longer storage, freeze for up to 3 months and thaw in the fridge.
If the dough is too sticky, dust with additional sifted powdered sugar and chill for 10–15 minutes before shaping.
Yes, you can dip them in melted white chocolate. Chill the candies first so the coating sets quickly and stays smooth.
This Soft Christmas Peppermints recipe makes perfectly juicy, tender, and flavorful steak every time! Serve with potatoes and a side salad for an unforgettable dinner in under 30 minutes.
Line a baking sheet with parchment and dust lightly with powdered sugar. Have a second bowl ready for colored portions and keep extra sugar nearby for dusting hands and work surface.
In a stand mixer bowl combine marshmallow fluff, corn syrup, peppermint extract, heavy cream (if using), and salt. Beat on low until smooth and glossy, about 30–45 seconds, ensuring a cohesive mixture.
With the mixer on low, add sifted powdered sugar 1 cup at a time. Scrape and continue until the mixture pulls away and forms a soft dough. Adjust with up to 1/2 cup more sugar if too sticky.
Turn dough onto a sugared mat and knead lightly. Divide into three parts, tint small portions with gel color, and knead to create ribboned or fully colored pieces depending on preference.
Roll the plain portion into a 1/2-inch-thick log, cut into 1-inch pieces, and add colored ropes as ribbons. Slightly flatten or leave rounded, then place on prepared sheet and dust with sugar.
Cover loosely with plastic wrap and refrigerate at least 30 minutes to firm. If dipping, chill first, dip in melted white chocolate, and sprinkle with crushed candy cane before coating sets.
Last Step: Please leave a rating and comment letting us know how you liked this recipe! This helps our business to thrive and continue providing free, high-quality recipes for you.
Leave a comment & rating below or tag
@galovicooking on social media!
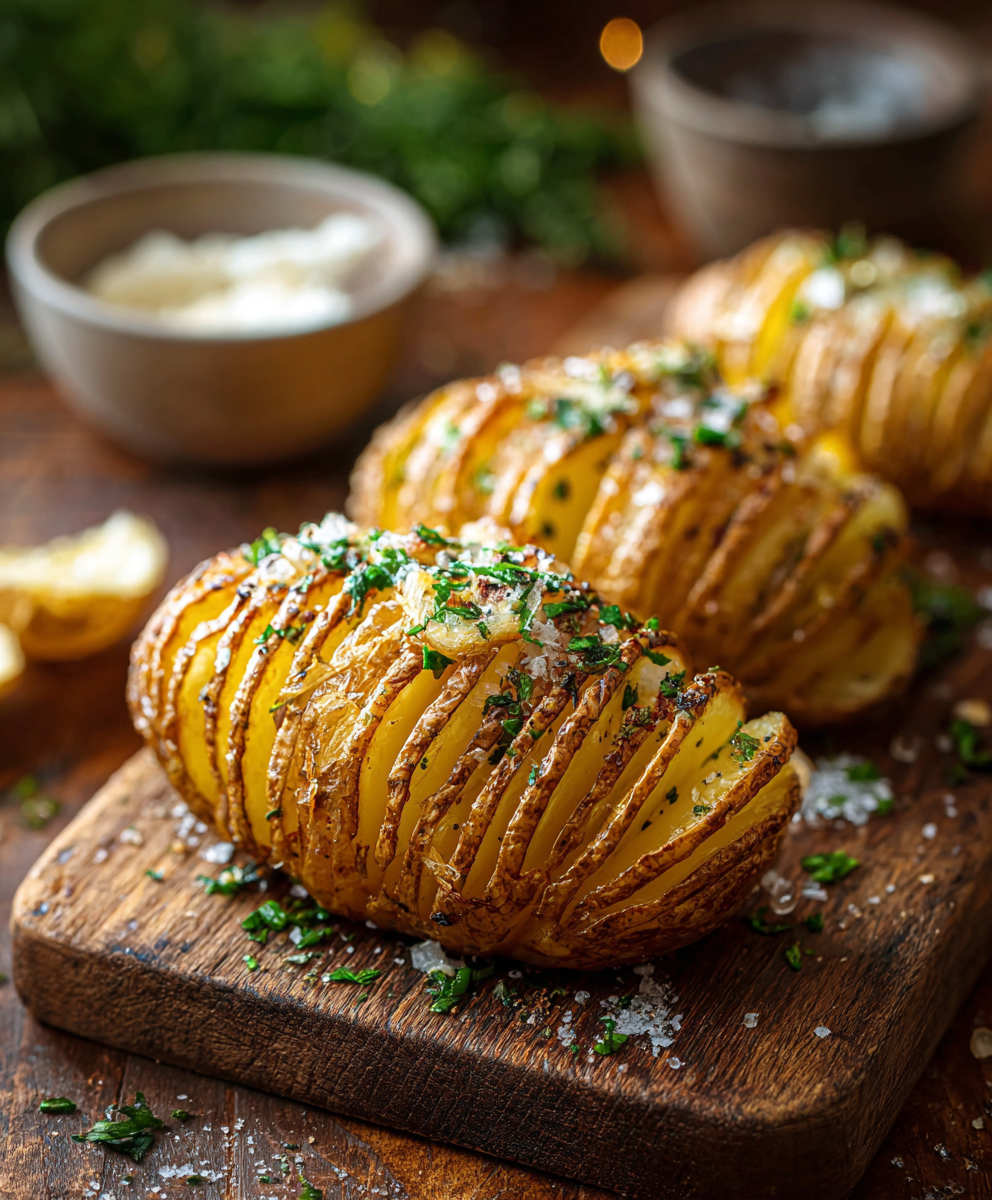
Crispy on the outside, tender inside: classic Hasselback potatoes brushed with melted butter and seasoned simply with kosher salt and pepper.

A comforting Mediterranean-inspired bake of roasted tomatoes, feta, spinach, and eggs — creamy, savory, and perfect for breakfast, brunch, or an easy weeknight meal.
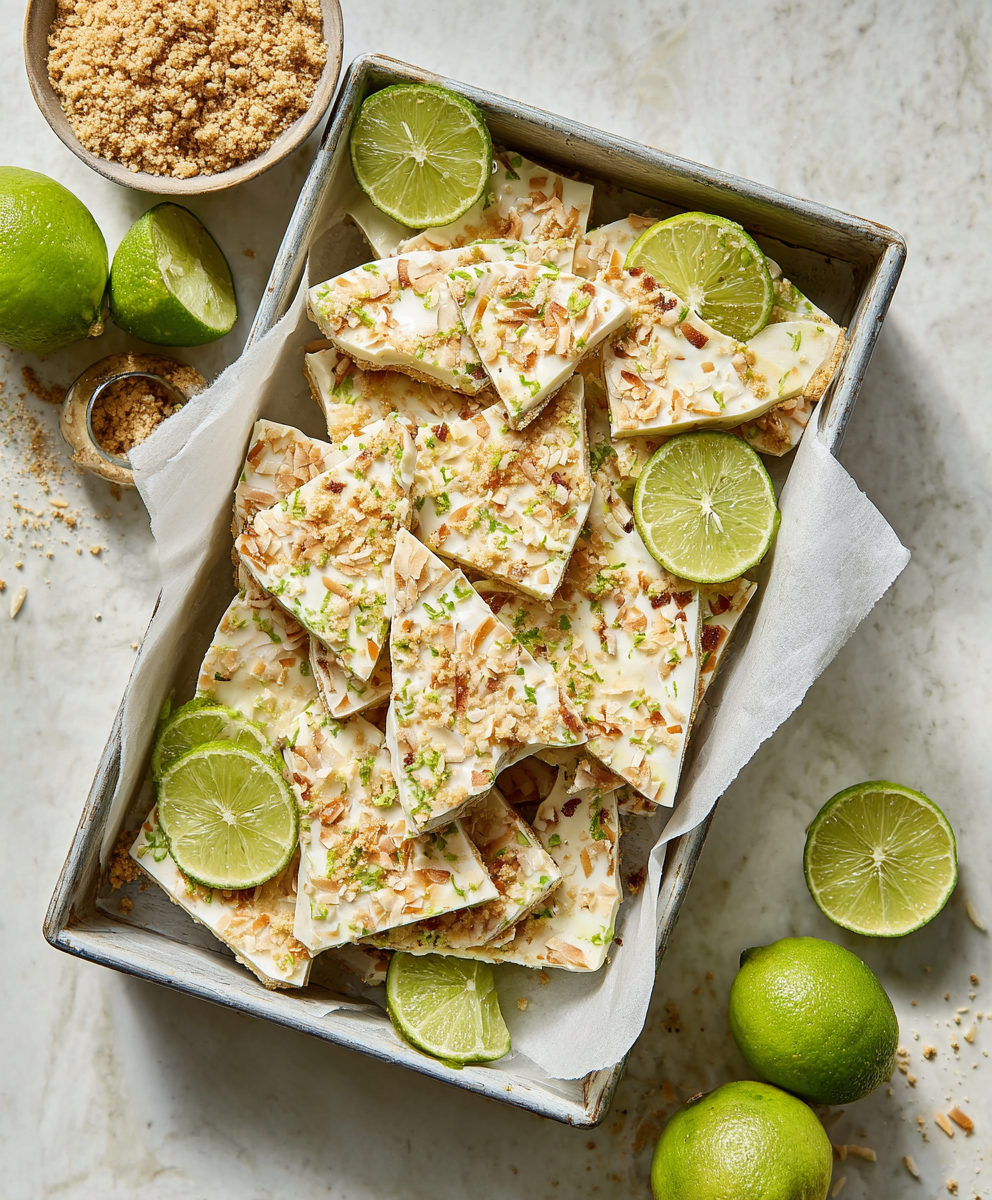
A bright, tangy frozen treat that channels key lime pie in a protein-packed, freezer-ready bark — perfect for warm days, snack prep, and a lighter dessert.
Leave a comment & rating below or tag @galovicooking on social media!
Enjoyed this recipe? Share it with friends and family, and don't forget to leave a review!
This recipe looks amazing! Can't wait to try it.
Comments are stored locally in your browser. Server comments are displayed alongside your local comments.

Join to receive our email series which contains a round-up of some of our quick and easy family favorite recipes.