>>
30-MINUTE MEALS! Get the email series now →


Crispy, savory rolls filled with fragrant Thai basil beef and crunchy bell pepper, wrapped in delicate rice paper and pan-seared to golden perfection.
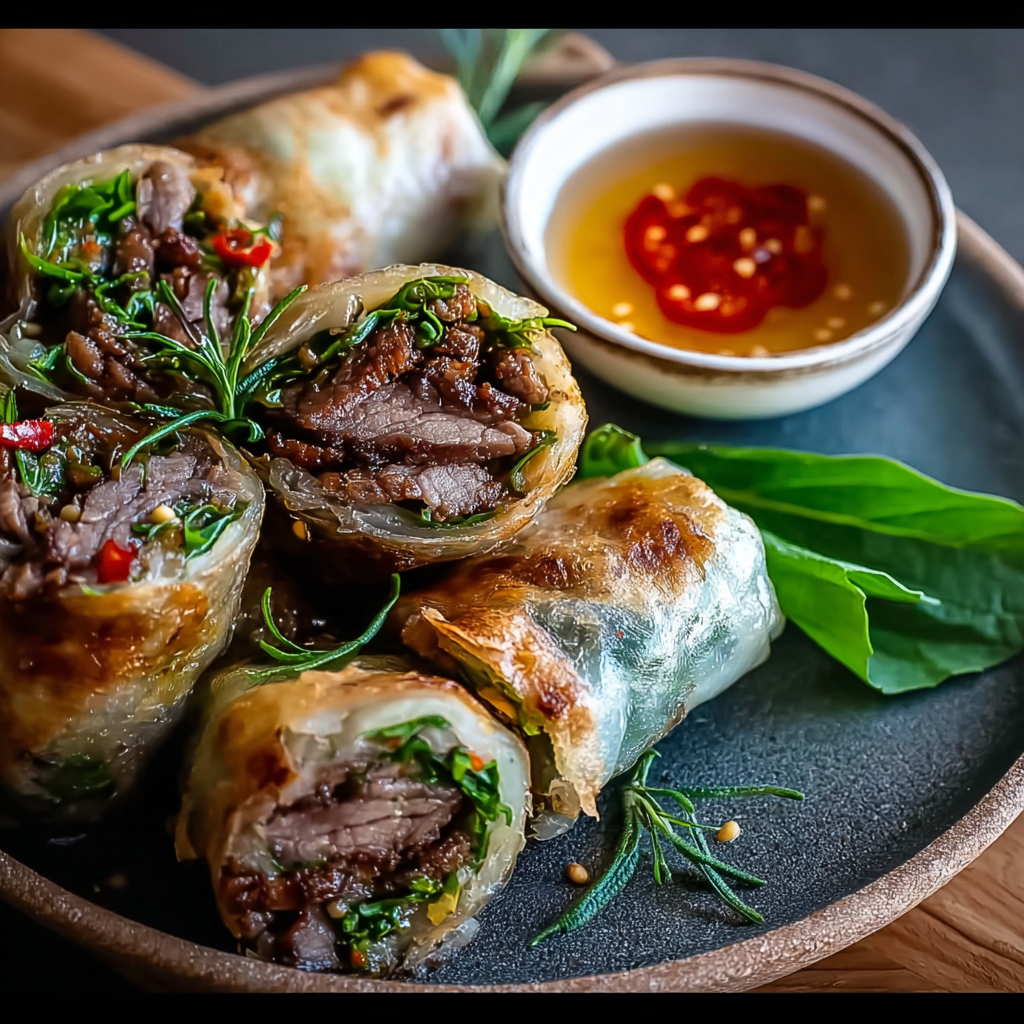
I first served these at an impromptu alfresco dinner when basil was abundant in my garden; neighbors arrived with salads and drinks, and we polished off a platter in less than twenty minutes. My kids loved the rolling process and felt very grown-up assembling their own. Over time I refined the seasoning—just a splash of soy and a generous handful of basil—and now it’s one of our most-requested easy dinners.
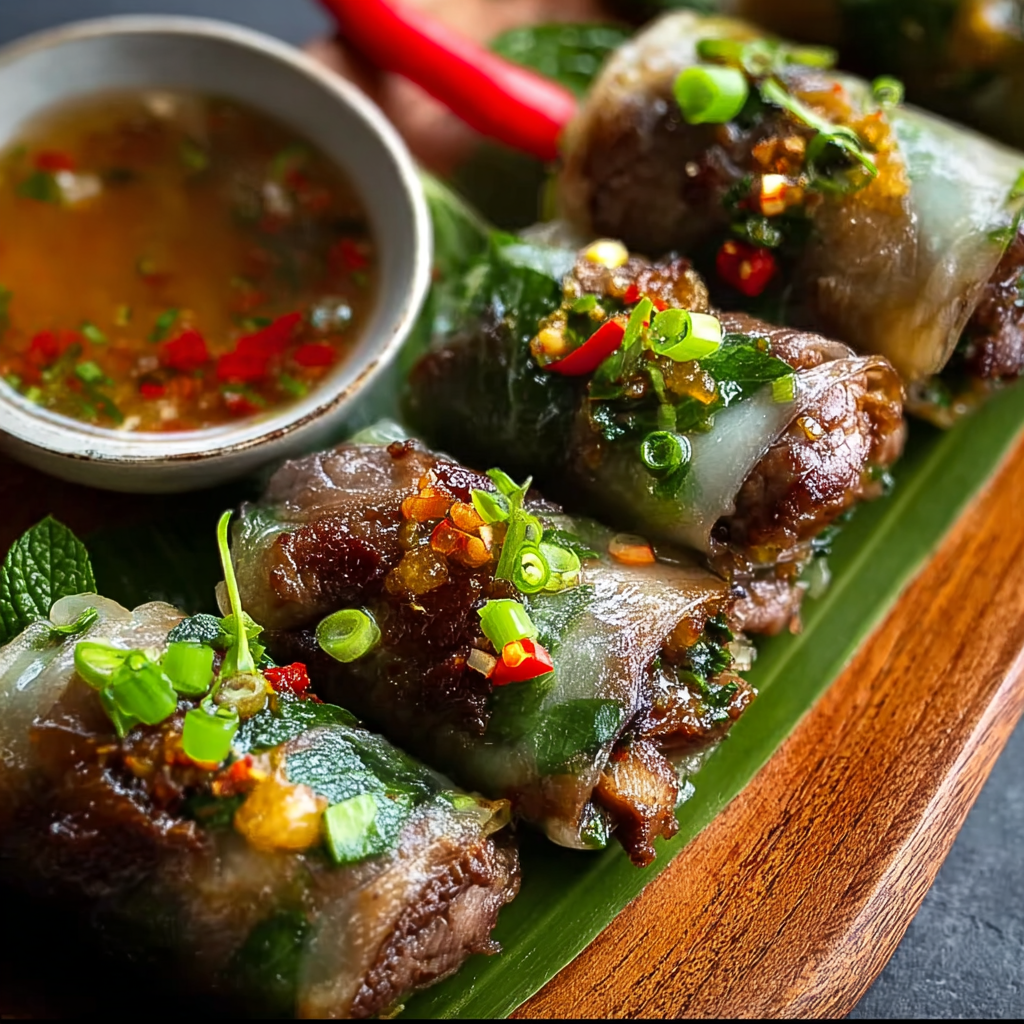
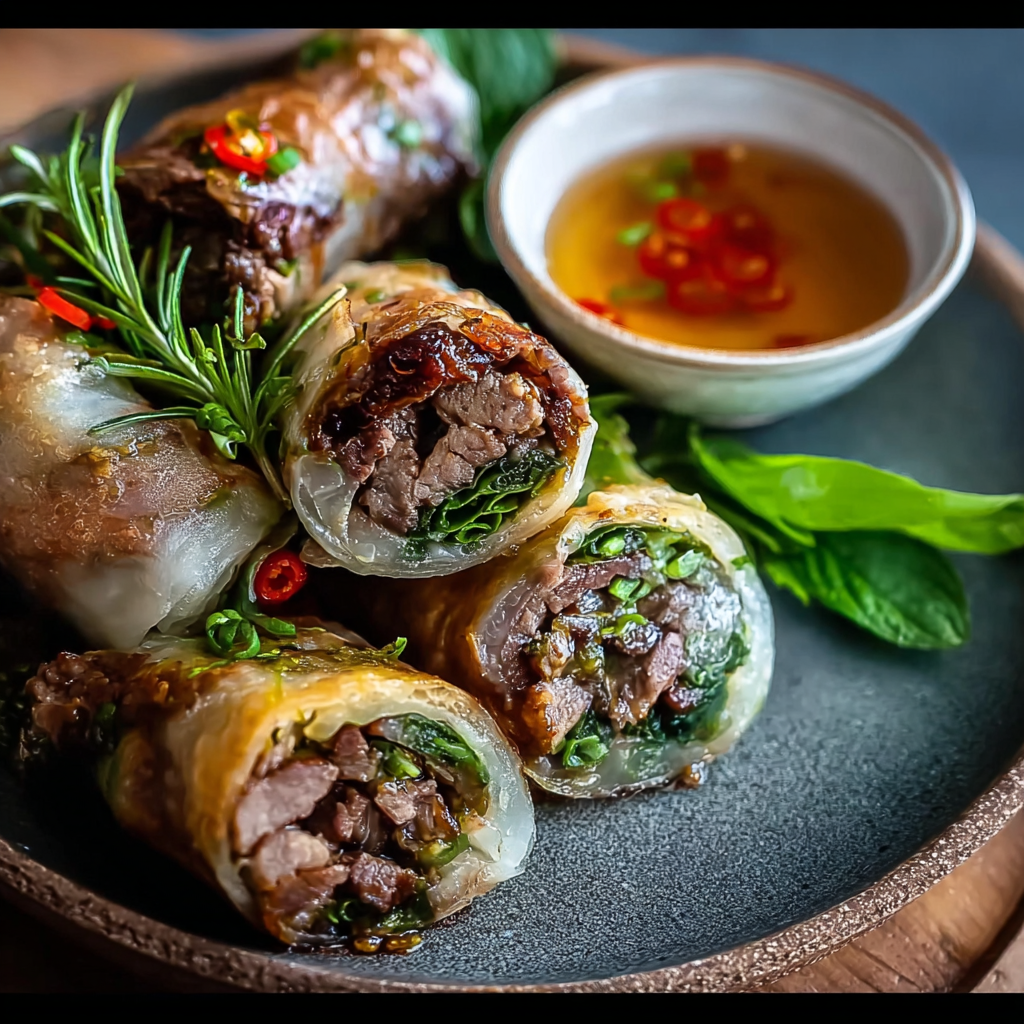
My favorite part is how quickly the aromatic basil transforms a simple filling into something complex. The first time I served these at a small gathering, everyone asked for the recipe and complimented the contrast between the fragrant herb and the caramelized beef. Over time I discovered that letting the filling cool slightly before rolling makes assembly neater and reduces tearing—now I always allow a brief rest after cooking.
Store cooled, fully cooked rolls in a shallow airtight container lined with paper towel to absorb any residual moisture; place a second paper towel on top before sealing. Refrigerate for up to 3 days. For longer storage, freeze unseared assembled rolls on a tray until firm, then pack in a freezer-safe bag for up to 3 months. Reheat frozen rolls in a 375°F (190°C) oven for 12–15 minutes from thawed, or 18–22 minutes from frozen, flipping halfway through to re-crisp both sides. Avoid microwaving if you want to preserve the exterior texture.
Swap ground beef for ground chicken, turkey, or pork for a lighter or different flavor profile; cooking times remain similar. For a vegetarian version, use crumbled firm tofu or a plant-based mince, and add 1 tablespoon of hoisin or 1 teaspoon toasted sesame oil for depth. Replace soy sauce with tamari to make it gluten-free, and adjust salt accordingly. If Thai basil is unavailable, try a mix of sweet basil and a pinch of fresh mint to approximate the bright herbal note, though the result will differ from true Thai basil.
Serve these warm with a trio of dipping options: sweet chili sauce for a classic pairing, a simple soy-lime dip (soy sauce, lime juice, a pinch of sugar), or a creamy peanut sauce for richness. Pair with a crisp cucumber salad or quick pickled carrots and daikon for contrast. Garnish with extra Thai basil leaves or thinly sliced scallions and a wedge of lime for brightness. For a full meal, add jasmine rice and a steamed green vegetable such as bok choy or broccoli.
These rolls borrow flavors common in Southeast Asian cooking—particularly the use of Thai basil, soy-based seasoning, and rice-based wrappers. While not a traditional Thai street food item in this exact form, the combination of savory meat, fragrant herbs, and rice paper reflects regional practices of wrapping and serving bite-sized foods. Thai basil itself is a staple in many central and northern Thai dishes and has a long culinary history throughout Thailand and Southeast Asia.
In summer, use peak-season bell peppers and extra basil for a bright, herbaceous bite; add thinly sliced mango for a fruit-forward contrast. During cooler months, fold in a handful of sautéed onions or mushrooms to add earthiness and bulk. For holiday gatherings, scale up and keep the filling warm in a covered dish set over low heat and sear rolls in batches to maintain crispness when serving a crowd.
Make the beef filling ahead—cook, cool, and refrigerate for up to 48 hours. When ready to eat, soften wrappers and assemble just before searing to preserve wrapper integrity. Portion the filling into small scoops using a 3-tablespoon measure for consistent roll size. Store assembled, unseared rolls on trays separated by parchment; cover with plastic wrap and refrigerate for up to a day. These store-and-roll methods save active time on busy evenings.
Whether you make them for a casual family dinner or a friendly gathering, these Thai basil beef rolls are versatile, fast, and flavorful. They celebrate fresh herbs and simple techniques—try them once and they’ll become a quick favorite in your repertoire.
Allow the filling to cool slightly before assembling to prevent tearing the rice paper.
Use fresh Thai basil for its distinct anise flavor—sweet basil won’t provide the same profile.
Soak each rice paper briefly (10–15 seconds) and work quickly to avoid overly soft, sticky wrappers.
This nourishing thai basil beef roll recipe is sure to be a staple in your kitchen. Enjoy every moist, high protein slice — it is perfect for breakfast or as a wholesome snack any time.
Yes—store cooled, fully cooked rolls in an airtight container in the refrigerator for up to 3 days. Reheat in a 350°F oven for best texture.
Use tamari or a gluten-free soy alternative and confirm rice paper wrappers are labeled gluten-free. Standard soy sauce often contains wheat.
This Thai Basil Beef Roll recipe makes perfectly juicy, tender, and flavorful steak every time! Serve with potatoes and a side salad for an unforgettable dinner in under 30 minutes.
Heat a large skillet over medium. Add 1 lb ground beef and brown, stirring after the initial sear to break it up. Cook about 5 minutes until no pink remains and some caramelization forms.
Stir in 1 tablespoon soy sauce and add the thinly sliced bell pepper. Cook 2–3 minutes until peppers soften but remain bright. Adjust seasoning with salt and pepper as needed.
Remove from heat and fold in 2 cups fresh Thai basil leaves. Let the mixture cool for 5–8 minutes before assembling to prevent wrapper tearing.
Fill a shallow dish with warm water. Dip one rice paper for 10–15 seconds until pliable, then place on a flat surface and work quickly to assemble.
Place about 3–4 tablespoons of filling onto the lower third of the wrapper. Fold the bottom over, tuck sides in, and roll tightly from bottom to top to seal.
Heat 1 tablespoon oil in the skillet over medium-high. Place rolls seam-side down and cook 2–3 minutes per side until golden brown. Work in batches if necessary.
Transfer rolls to a rack or paper towel briefly to drain. Serve warm with dipping sauce such as sweet chili, soy-lime, or peanut sauce.
Last Step: Please leave a rating and comment letting us know how you liked this recipe! This helps our business to thrive and continue providing free, high-quality recipes for you.
Leave a comment & rating below or tag
@galovicooking on social media!
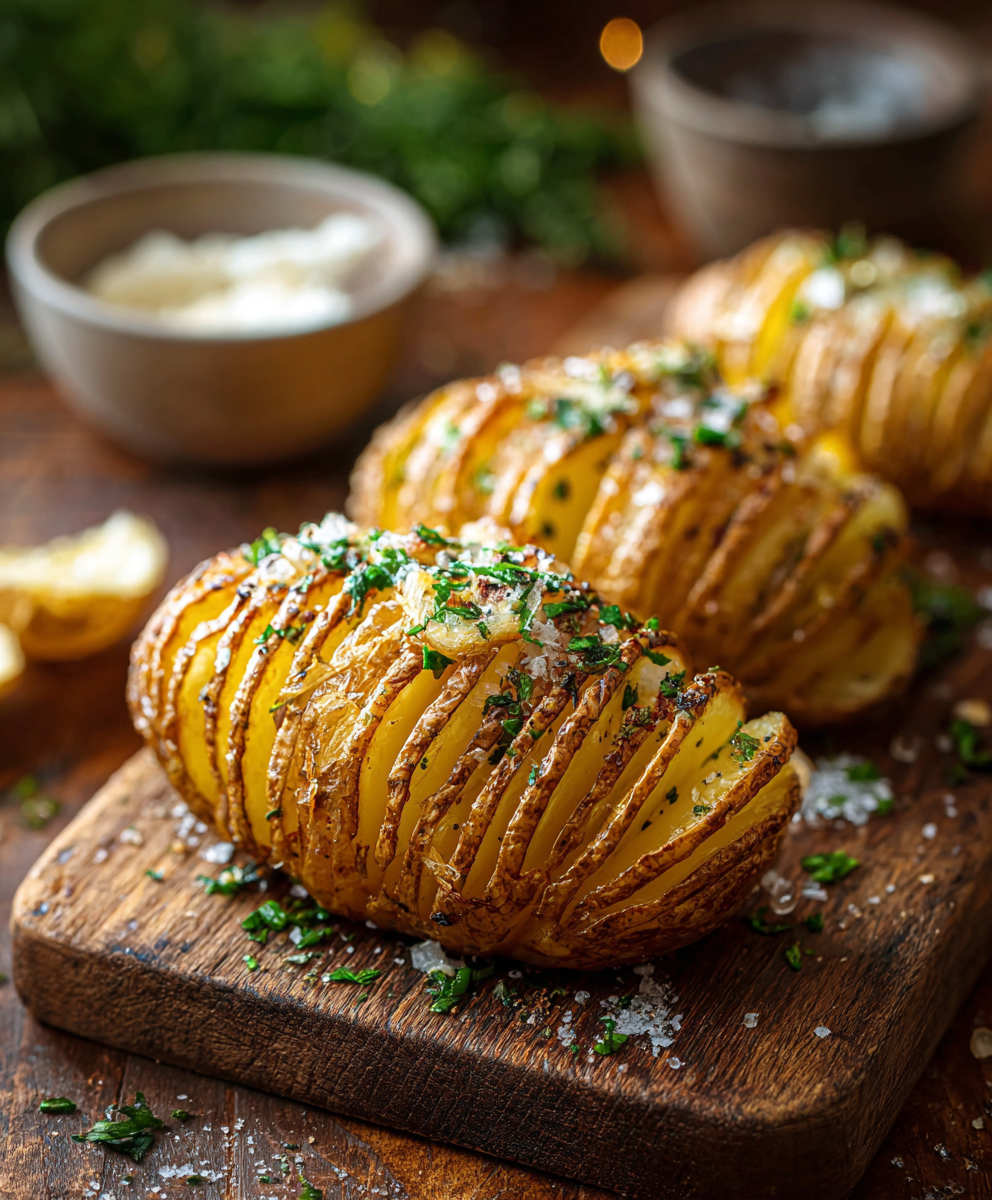
Crispy on the outside, tender inside: classic Hasselback potatoes brushed with melted butter and seasoned simply with kosher salt and pepper.
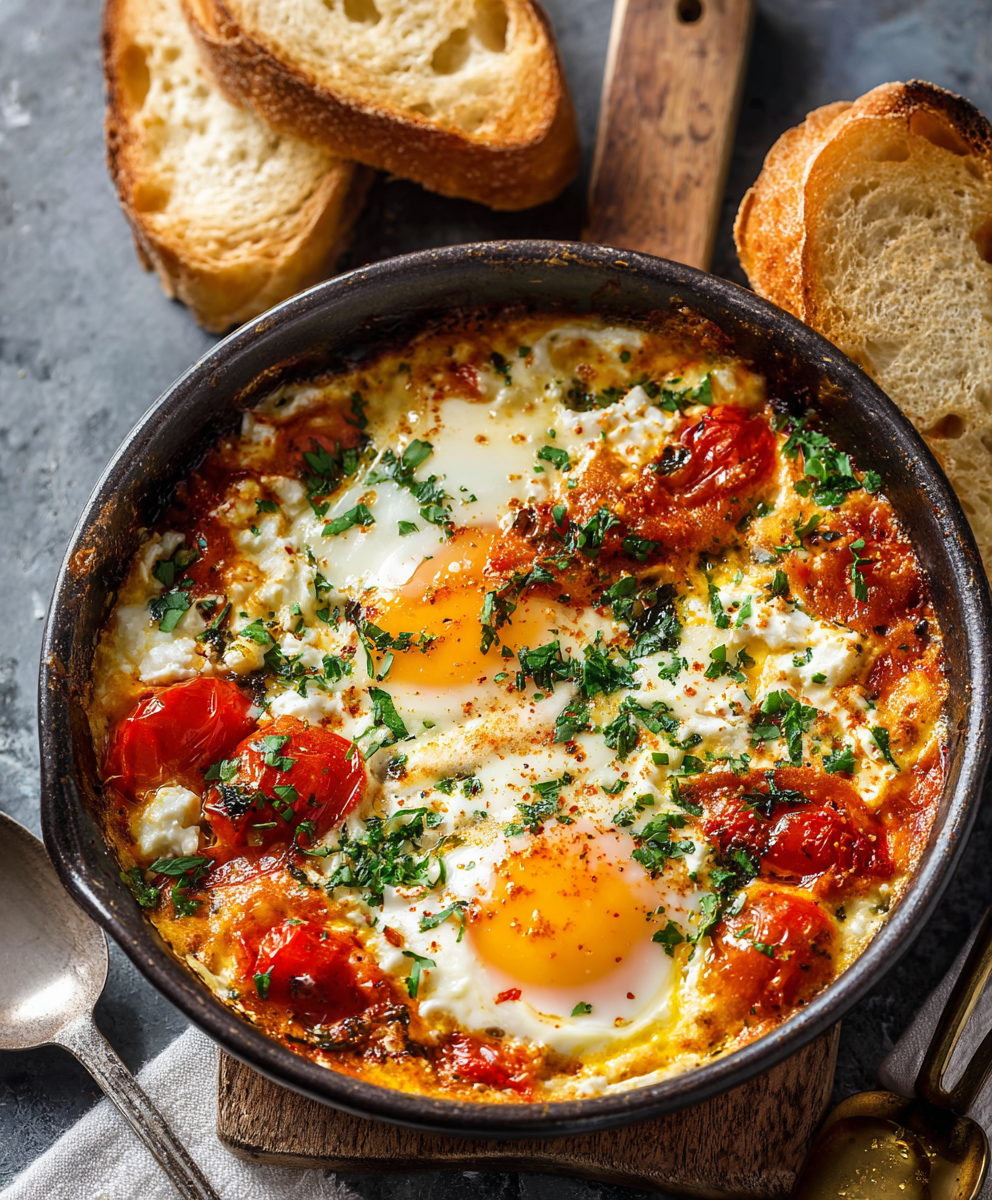
A comforting Mediterranean-inspired bake of roasted tomatoes, feta, spinach, and eggs — creamy, savory, and perfect for breakfast, brunch, or an easy weeknight meal.
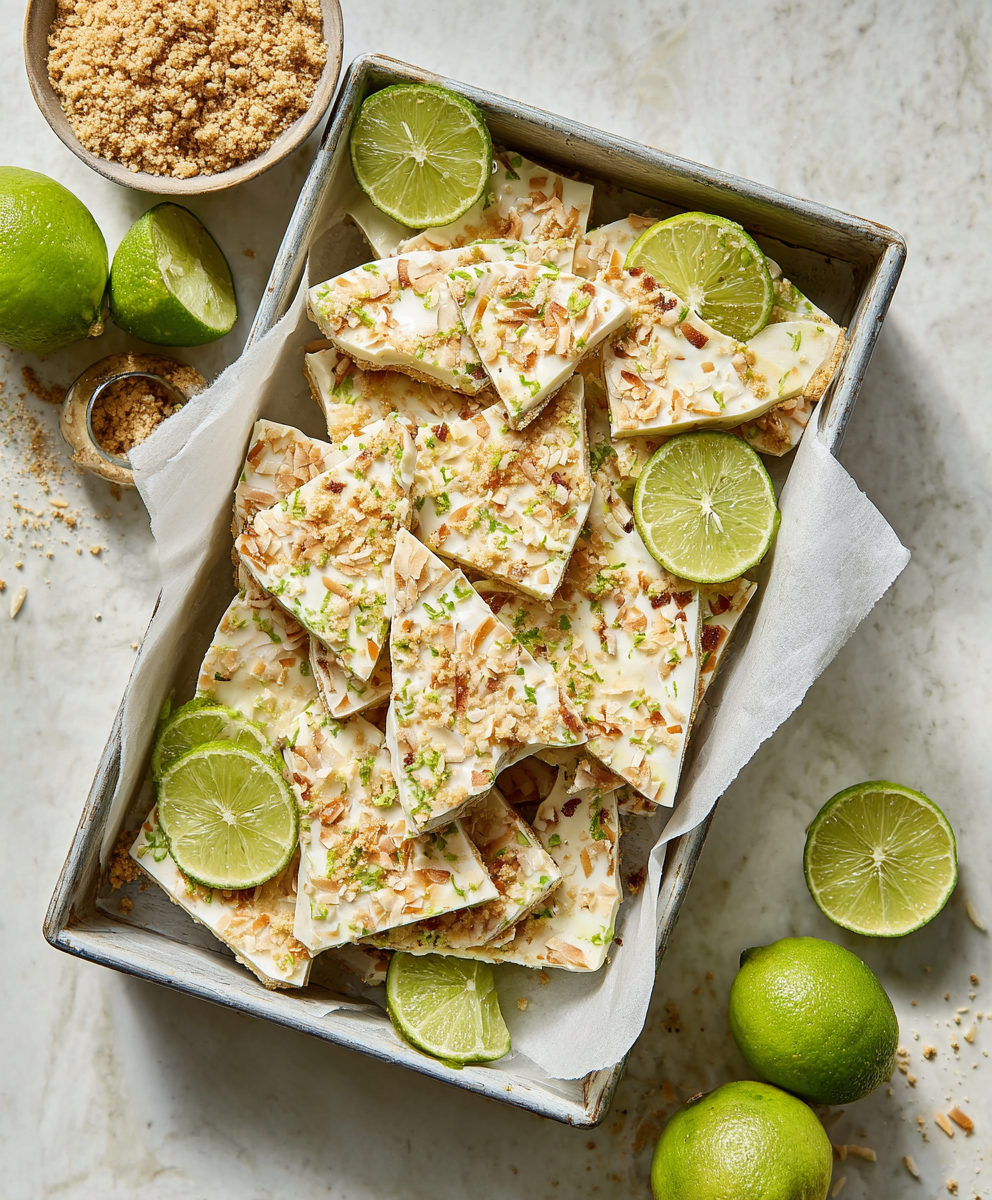
A bright, tangy frozen treat that channels key lime pie in a protein-packed, freezer-ready bark — perfect for warm days, snack prep, and a lighter dessert.
Leave a comment & rating below or tag @galovicooking on social media!
Enjoyed this recipe? Share it with friends and family, and don't forget to leave a review!
This recipe looks amazing! Can't wait to try it.
Comments are stored locally in your browser. Server comments are displayed alongside your local comments.

Join to receive our email series which contains a round-up of some of our quick and easy family favorite recipes.